Susanna and I have been working on renovating the mud room/laundry room space. It is a pretty big project, but we are making progress. The room has two windows, and one of the windows has a broken pane.
I have renovated old windows in the past. I’m not good at it and I don’t really enjoy it. It is detail work, and the workbench isn’t quite the right size for it. So typically I work on a pair of saw horses in the basement. Again, not ideal.
Susanna decided to tackle the windows. Of course I’m hoping that she will find it more enjoyable than I did and keep going when she is done with the four sashes in the laundry room. To make the project easier, I decided to make a workbench dedicated to repairing the windows.
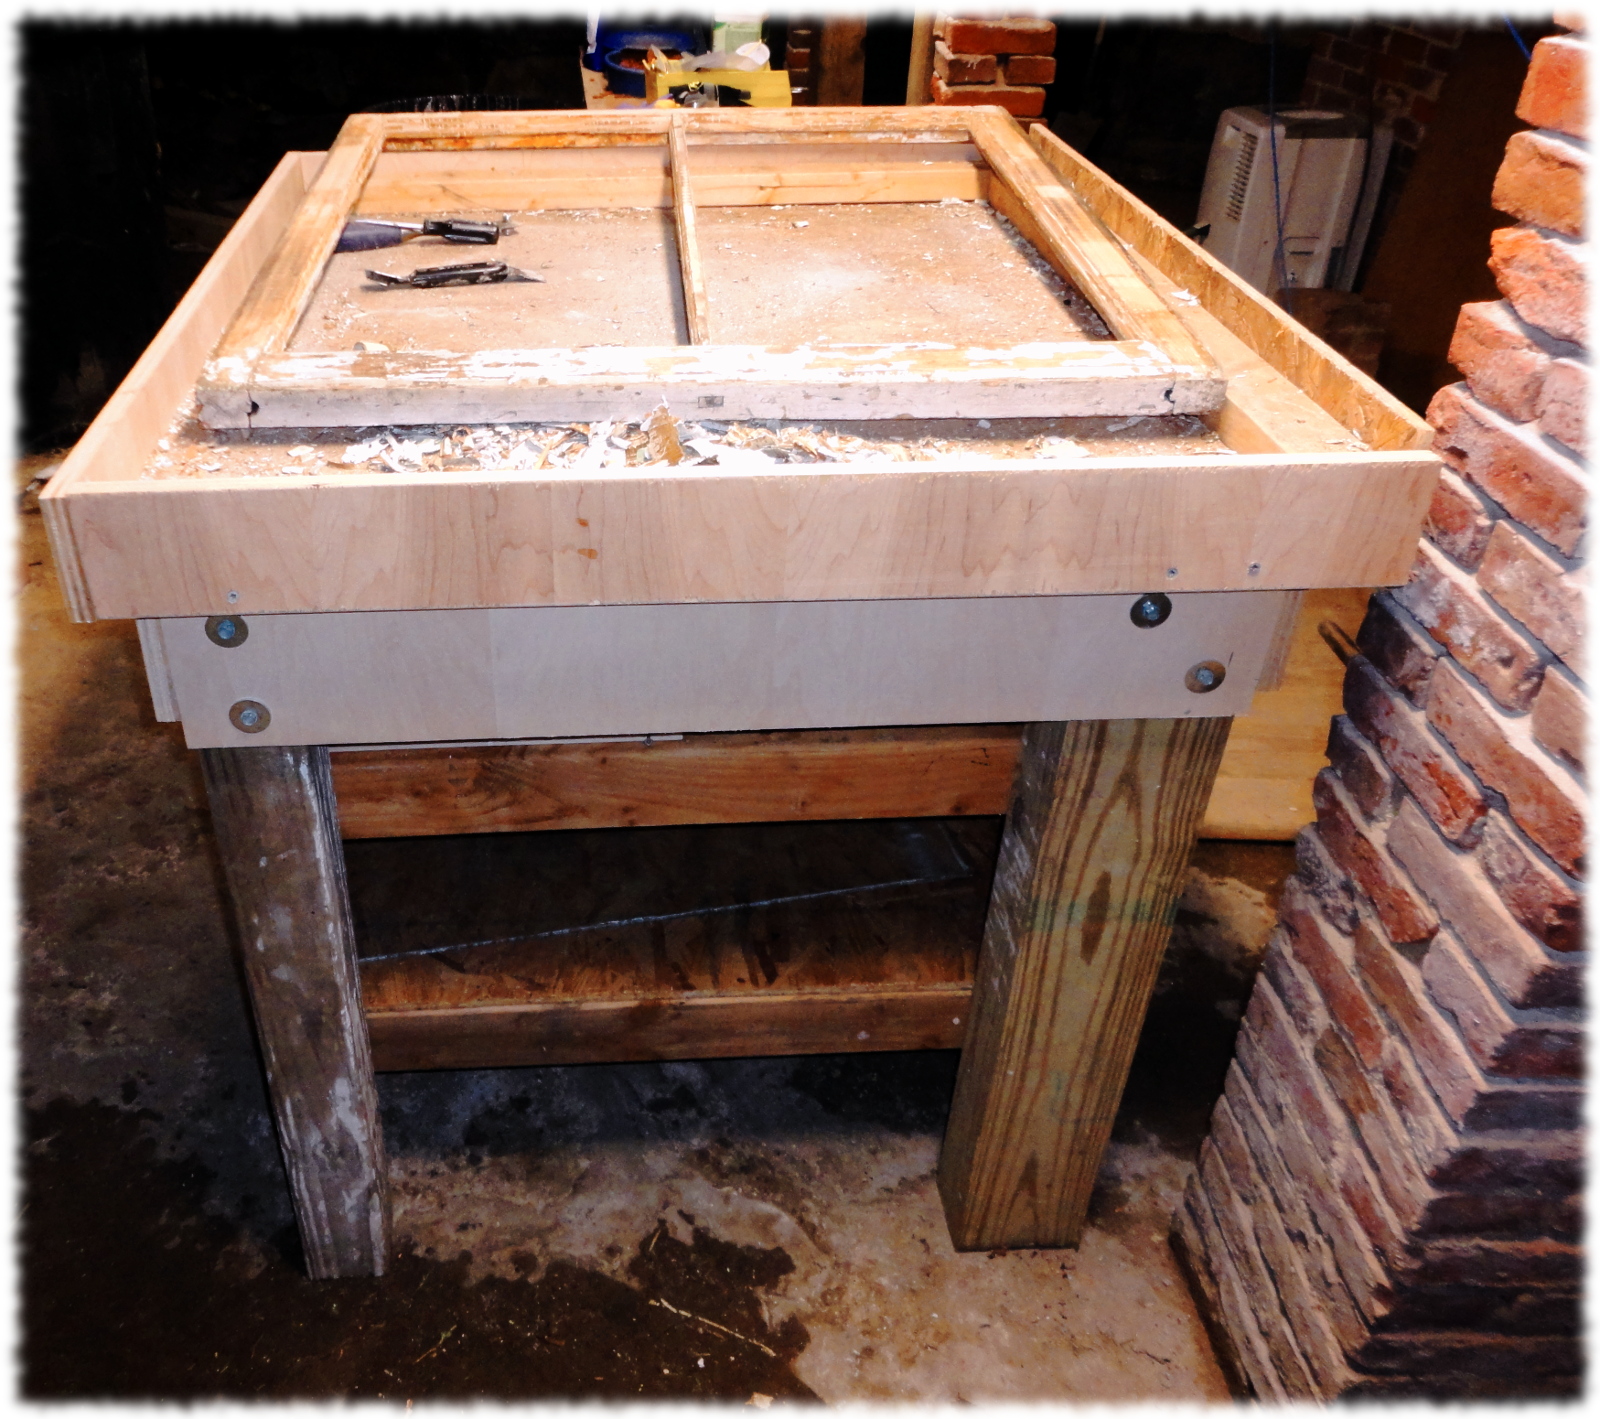
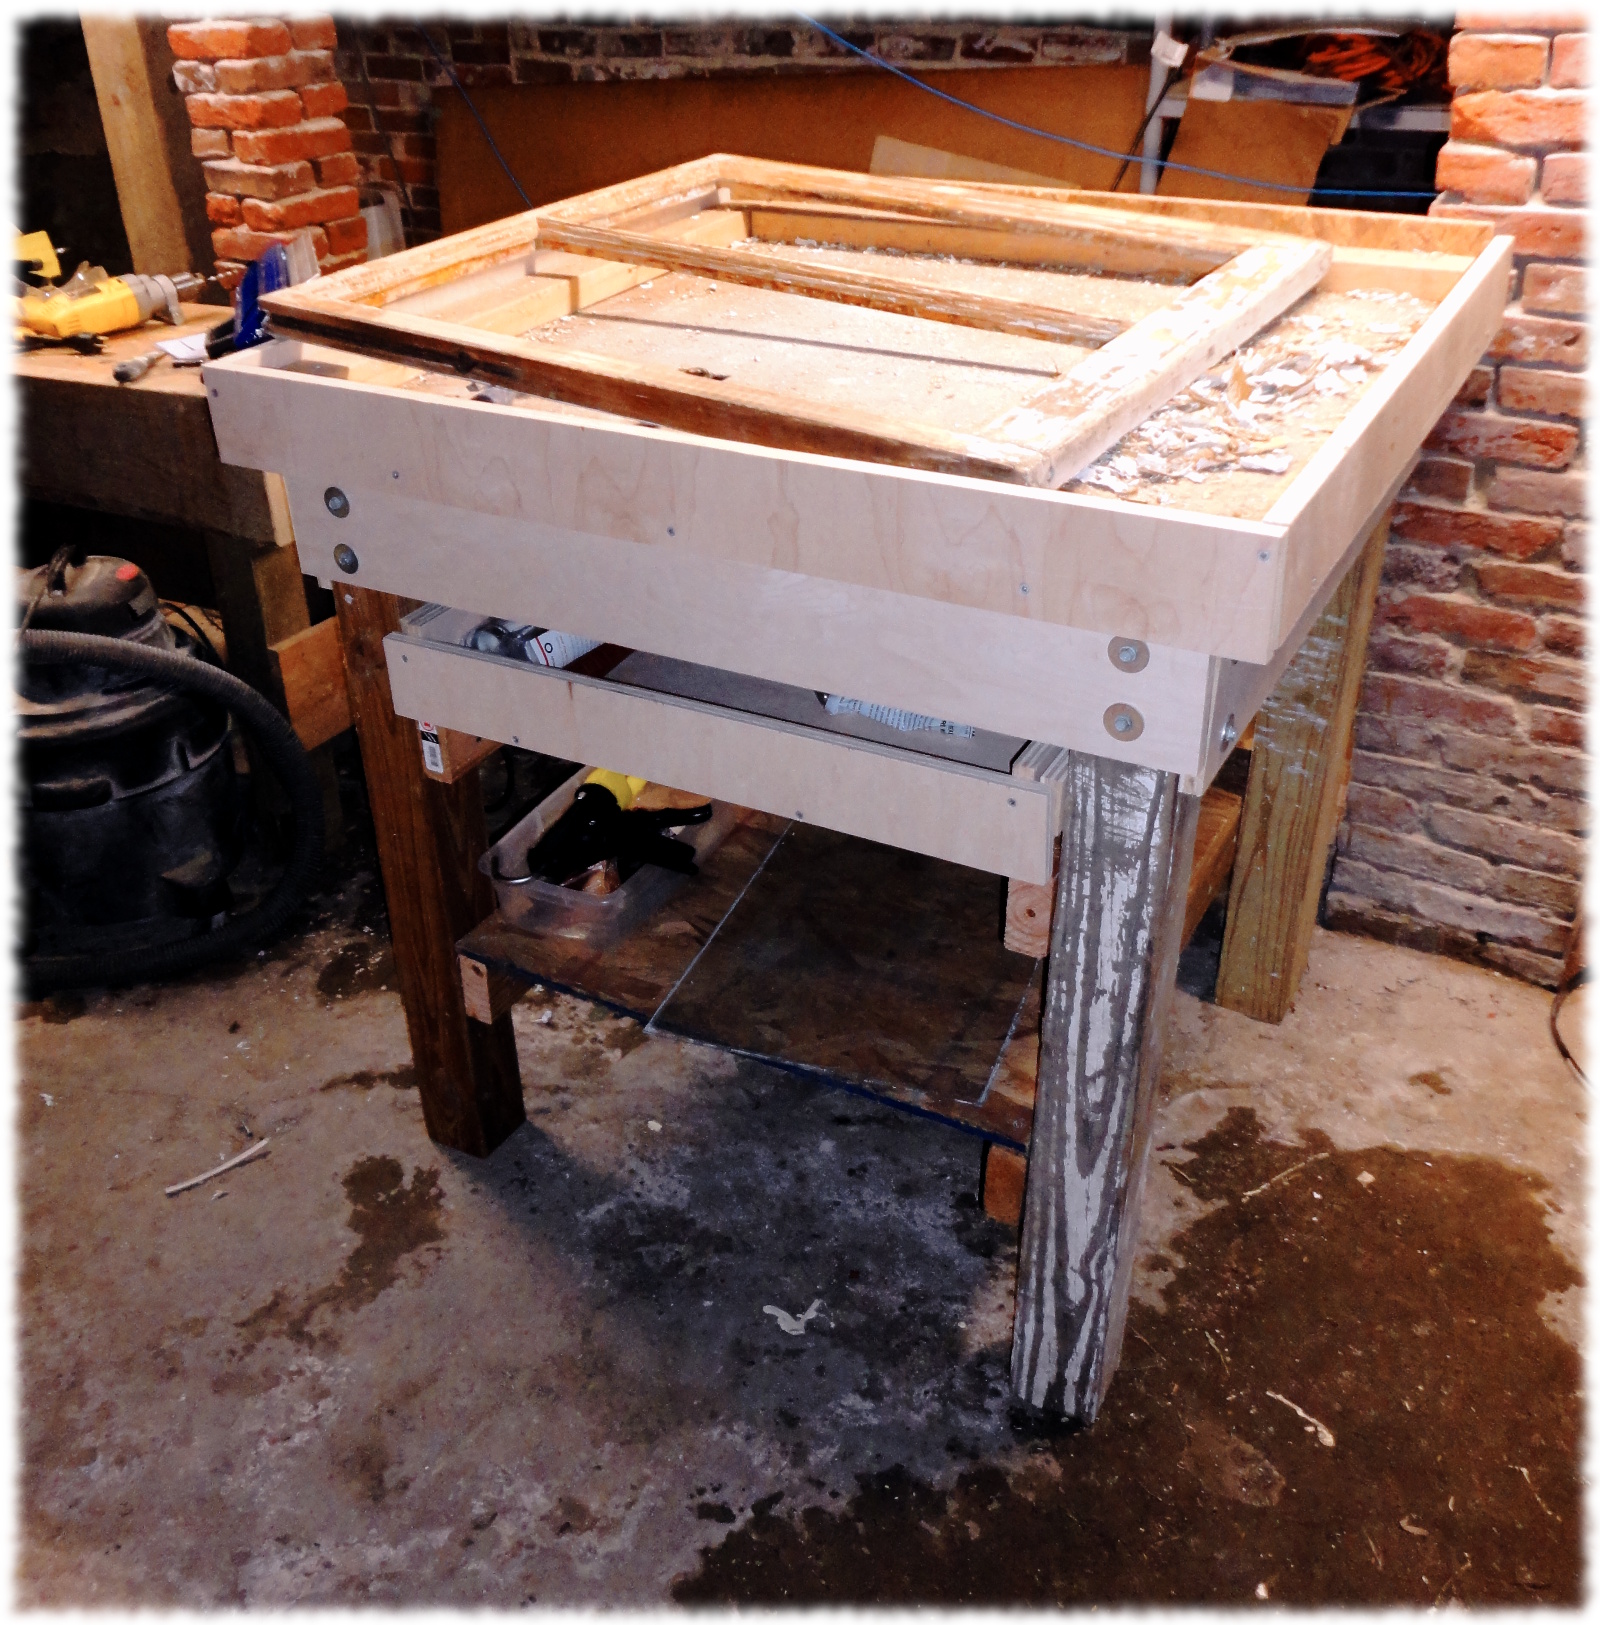
The bench height is a little taller than my woodworking bench so you can see what you are doing without bending over too much. I made the top a couple of inches larger than the window sash size, and added a lip all around. The lip allows you to push on the window from any side and keeps the mess contained. I also added a shelf (place to store glass and tools) and a drawer.
The bench was made from scrap lumber that I had around the shop, and used hardware that I already had. I made the bench in a couple of hours last weekend, and as you can see, Susanna has already stripped one of the lower window sashes.
She has been using an infra-red paint removal tool, the silent paint remover, to help remove the old paint and putty. I’ll detail the process in a later post (if I get around to it).