Yesterday was a good day to get some work done on the sailboat. The weather was sunny, but not to hot (low 60s) and no rain forecast until later today.
I had been trying to figure out how to replace or repair the toe rails. I was trying to remove them as full pieces, but he bolts were fiberglassed over from the inside, so I couldn’t easily unscrew them. Yesterday I started grinding the bolts/fiberglass cover off from the inside. And it worked! I also learned that the deck is solid fiberglass, vice a cored fiberglass. That will make repairs easier (no repairing rotted core material). I wound up cutting up the toe rail and removing it. I’ll build a new rail out of sapele or teak once I repaint the deck.
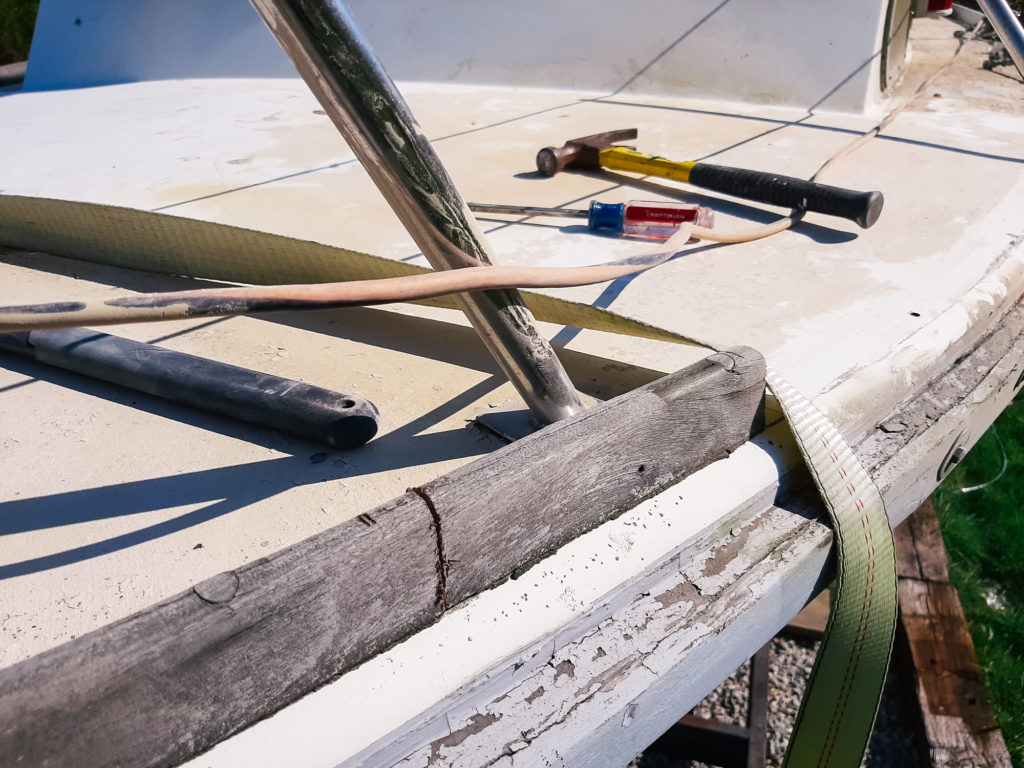
The boat has some interesting (and strange) construction characteristics. The backing plates were made from plywood, and in some case enclosed in fiberglass (or at least the were for the railing base and bow pulpit). In most cases water has leaked past the deck fittings and completely rotted the backing material. But those are quick to grind out.
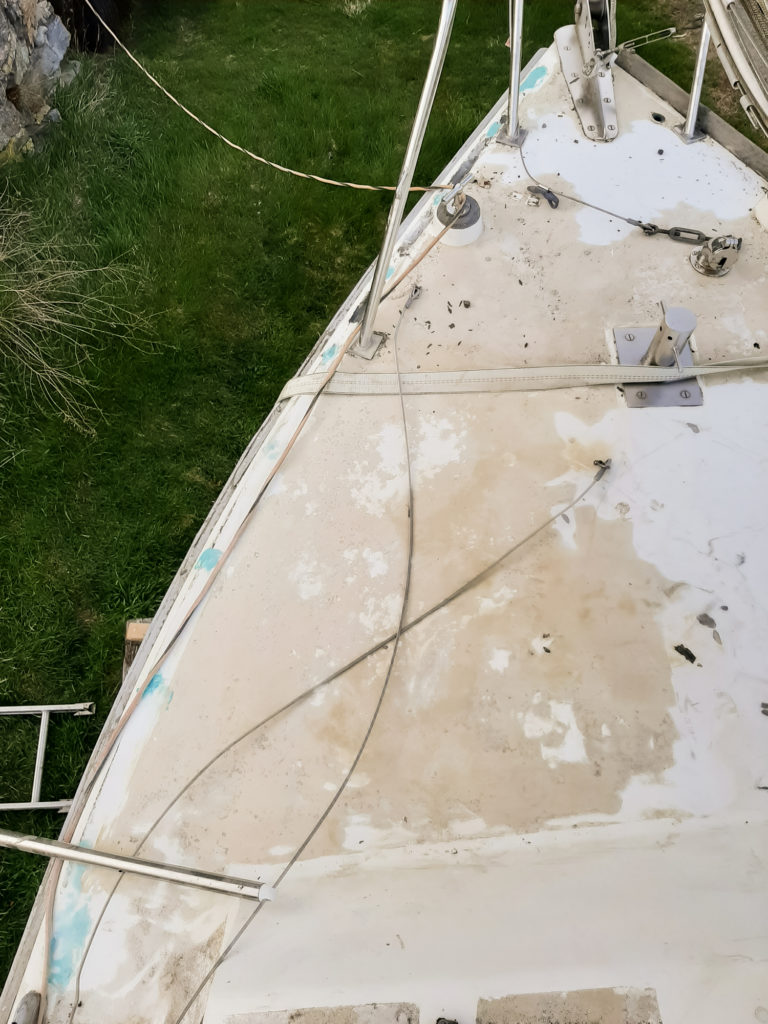
I’ve also added a disk sander to my tool collection. The disk sander is much more aggressive than the random-orbit sander, and excels at removing he old paint/gelcoat/nonskid from the deck. I think my next step will be to remove all the hardware from the bow section of the deck and repaint that section and reattach the appropriate hardware. Though, maybe I should sand and repaint the interior part of the deck before adding the hardware.
After sanding and making a mess, I decided to play around with gelcoat. I don’t have spray equipment for the gelcoat, so will have to decide if it is worth the work to brush on gelcoat or painting is easier. I painted a small section of Will’s boat with gelcoat as well as the top of the companionway hatch. My thought is to sand the gelcoat on Will’s boat down to smooth as a base for the top cover (paint or gelcoat, depending on what he wants). I plan to wet sand the fresh gelcoat on the companionway hatch to see how smooth the painted surface and one layer of gelcoat appears. I’m hoping that the thicker gelcoat acts as a high-build primer. It seems pretty easy to sand smooth, at least for a small area.
Next question. What colors to use on the big boat?