The trouble with ducks

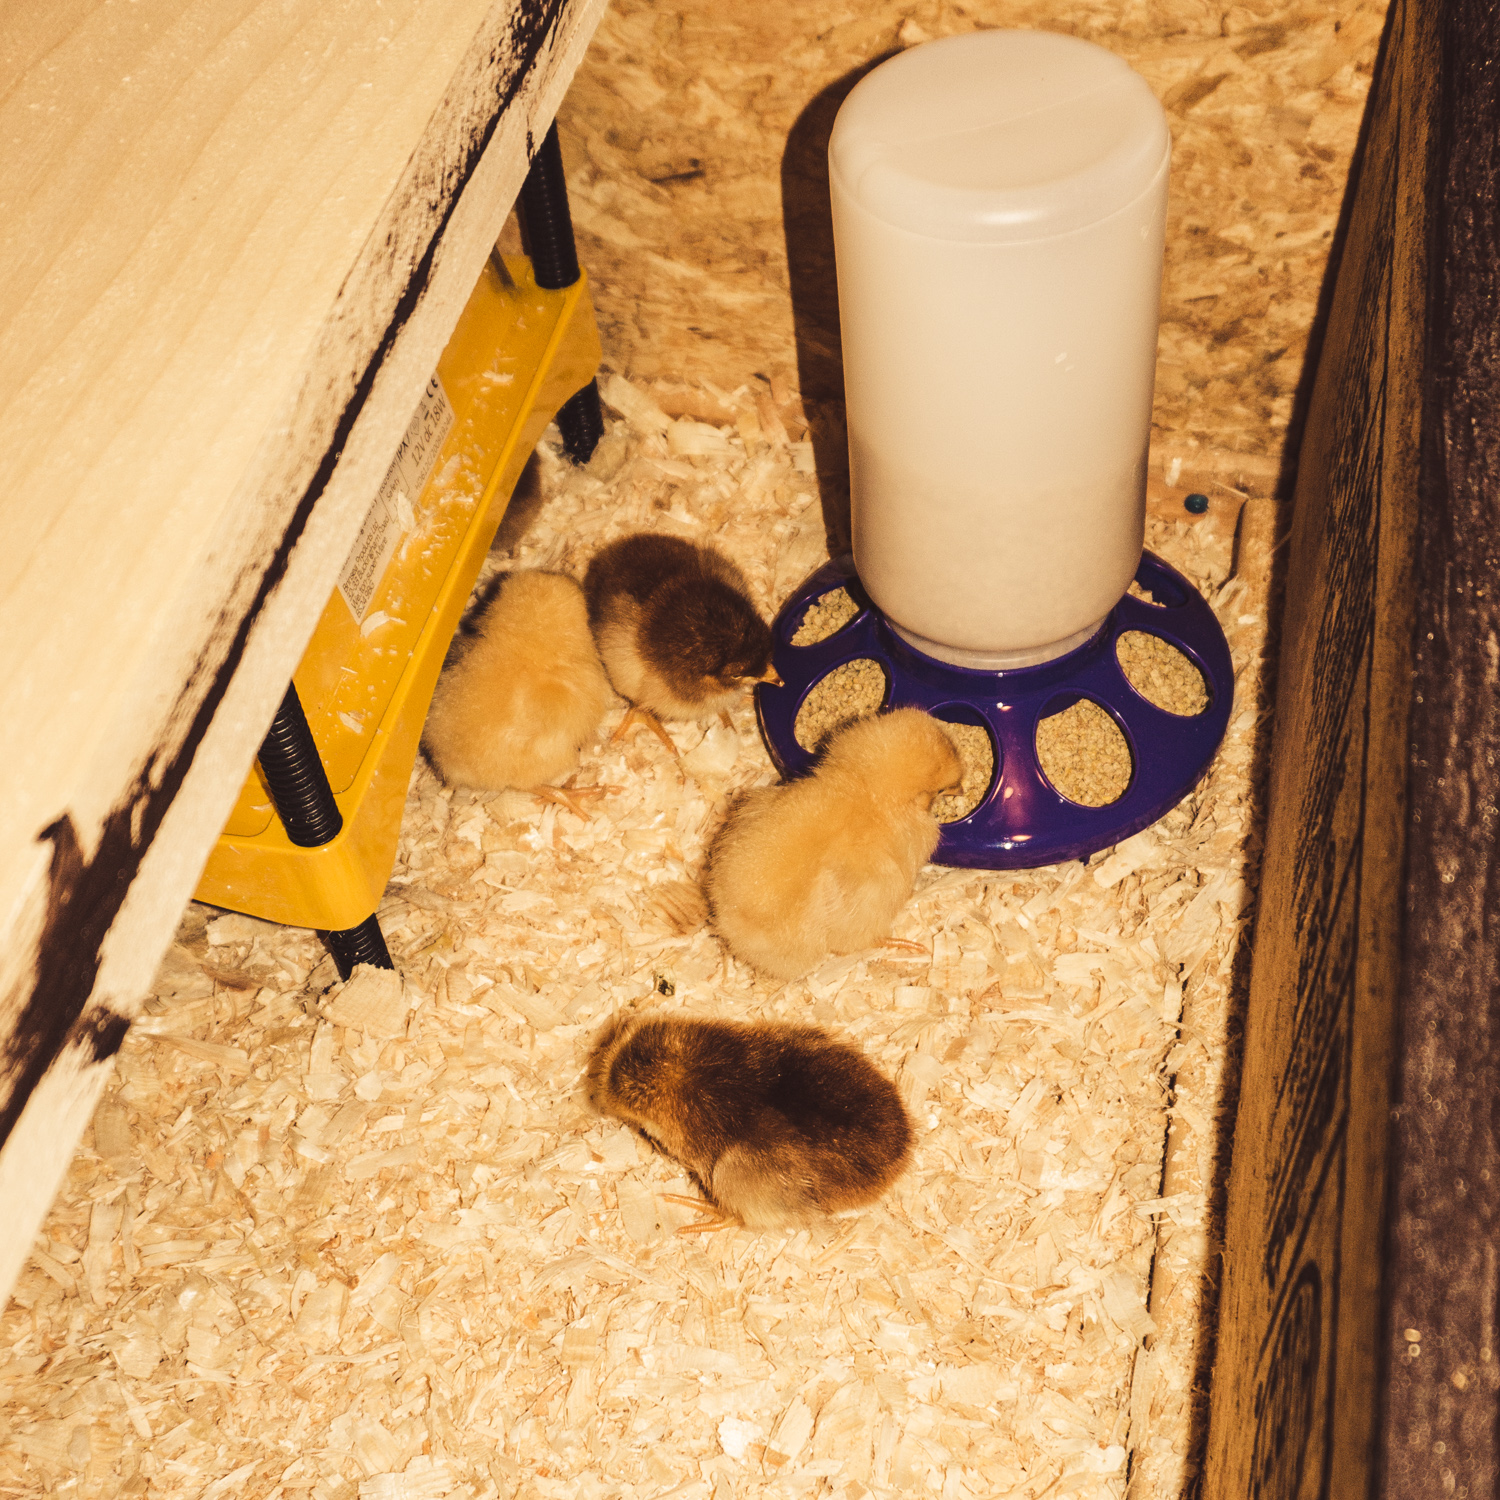
The trouble with ducks is that they like water. They like water a lot. And I mean a lot. From the first day they are in the brooder they play in the water. This is my second round with ducks, and I forgot how messy they can be. Every two days the brooder is totally soaked and starts to smell. I can’t imagine that having a wet brooder is good for either the ducklings or chicks.

A completely soaked brooder

If I cleaned out the brooder every day, I could probably keep up with it. But give it two days and 1/2 of the brooder is wet. Give it three and the entire thing is soaked. Earlier in the week I put a pan under the waterer, but they just filled that up and spilled it all over the coop. Time for a bit of engineering (i.e. a quick google search of what other ideas people had come up with). My solution was to make a tray to collect the water that the birds can’t get to – I’m not the first to do this, so I can’t take credit for this idea.

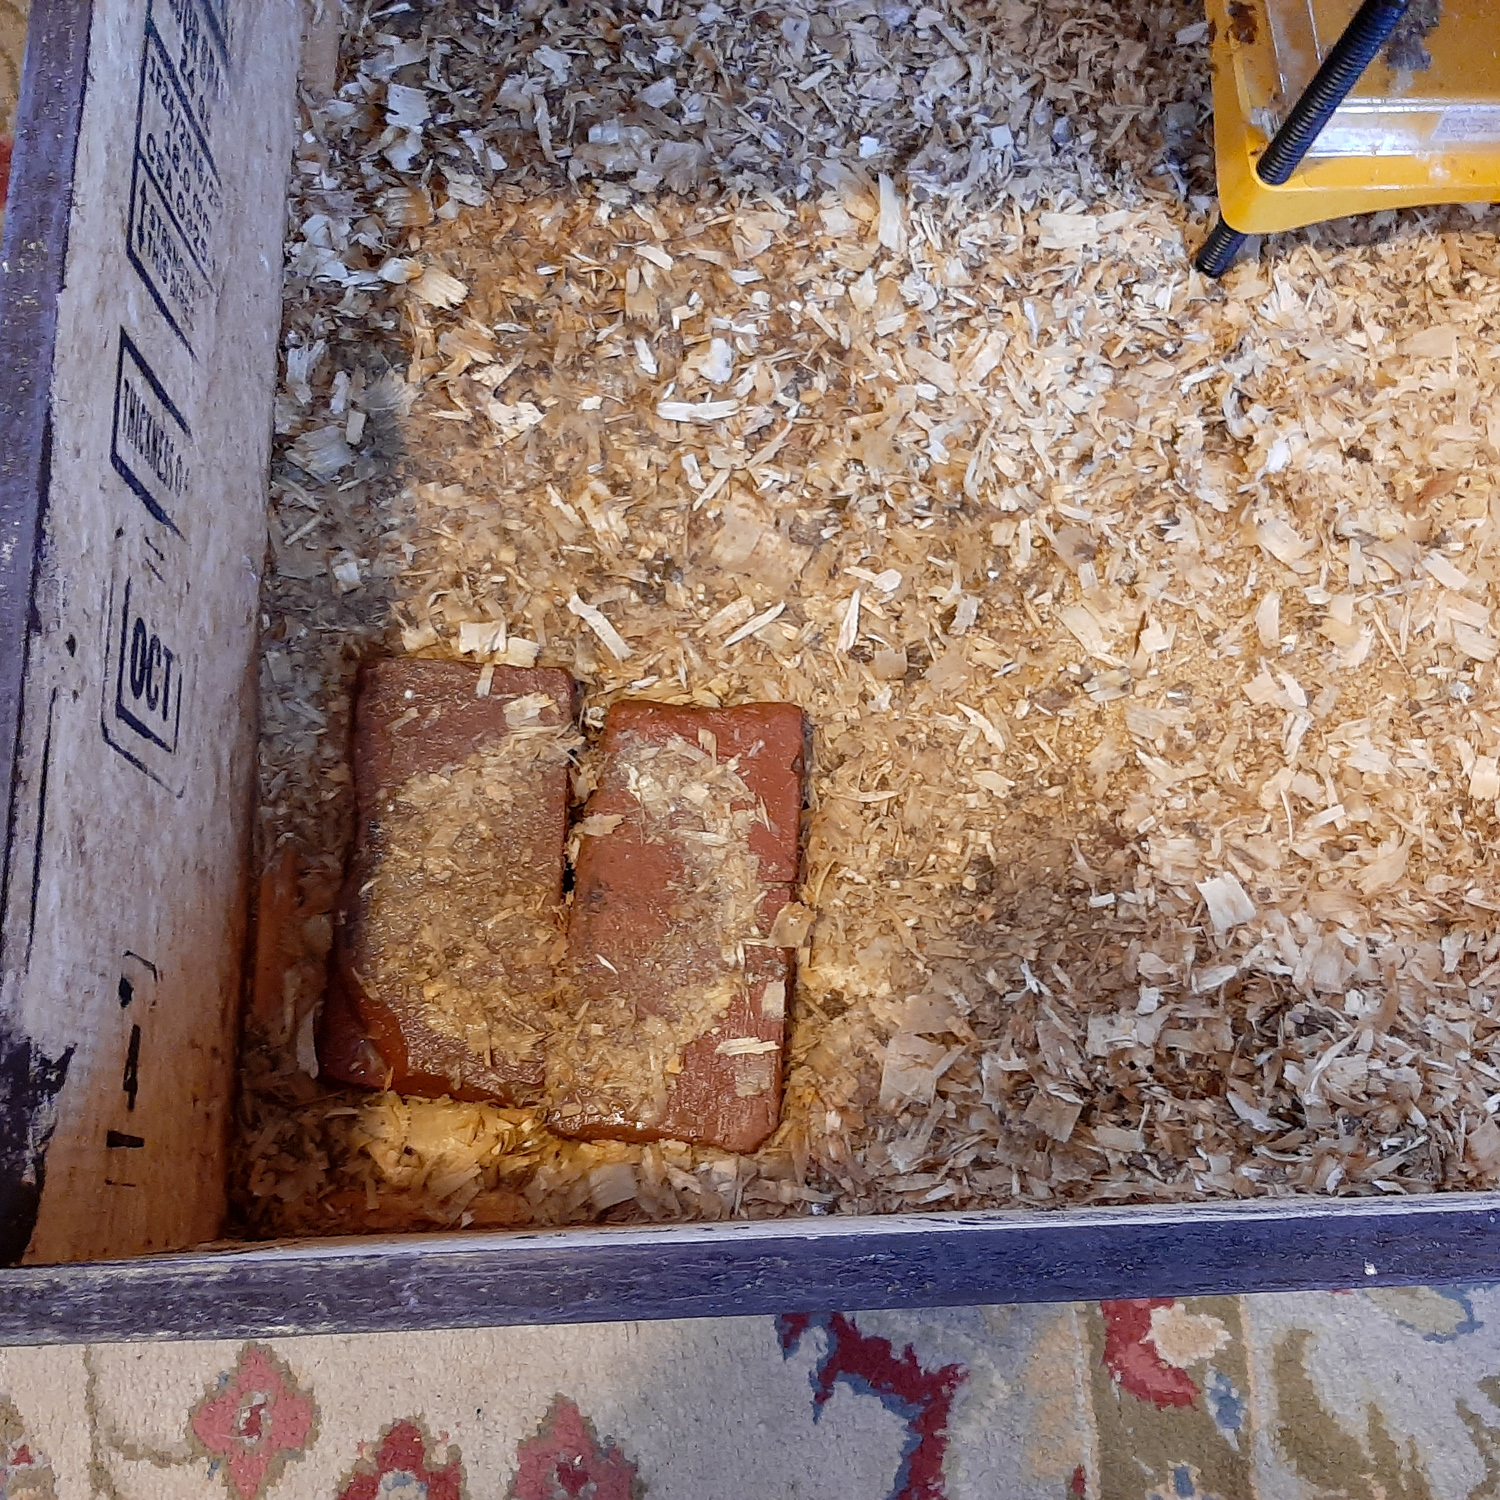
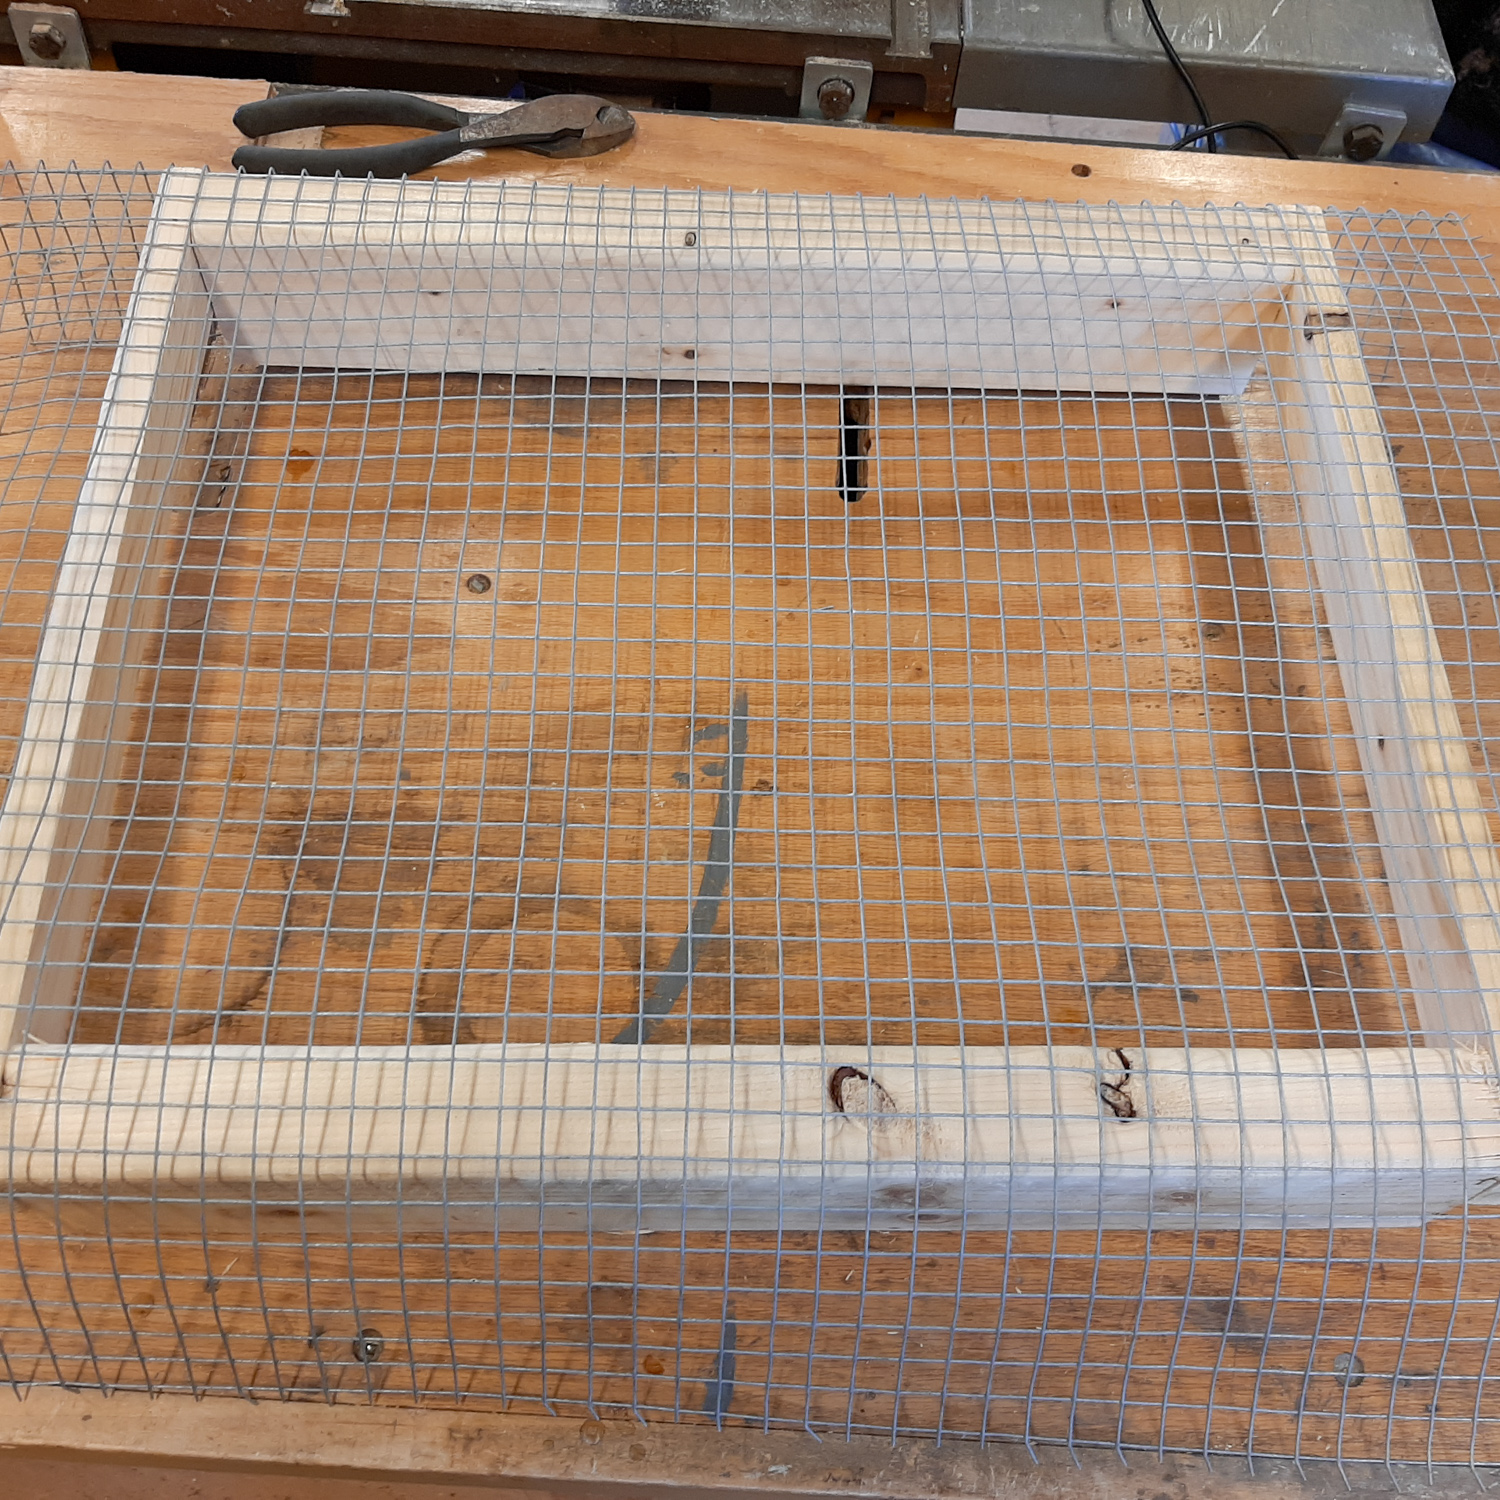
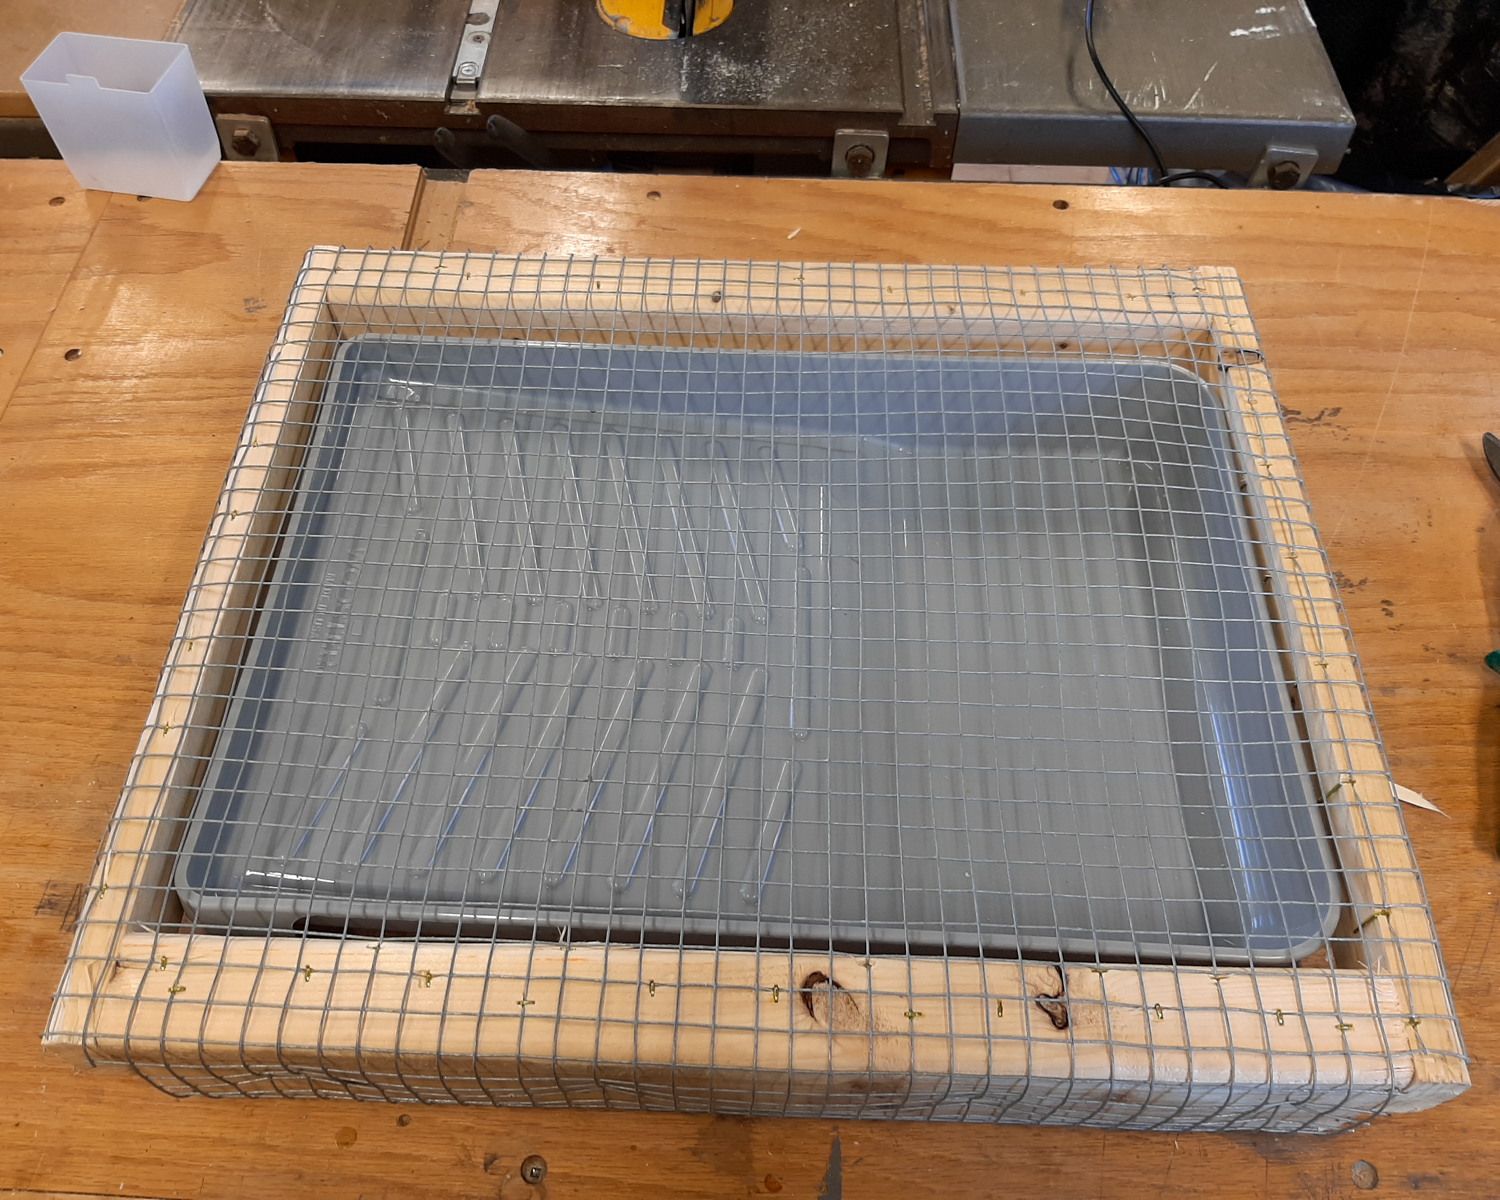
I picked up a $5 paint tray from the box store. I built a frame with mesh to cover the tray. The frame was made from 2×4 cutoffs and covered it with wire mesh that I rescued from the trash.

Frame and mesh in progress – a cordless staple gun makes this easy work.
Completed water collection tray

Ben and Izzy helped temporarily move the birds to the bathtub and I did a good clean of the brooder, taking the wet wood shavings out and putting clean bedding in. I installed the new tray and we returned the birds to their home.

Water and tray installed in the brooder.

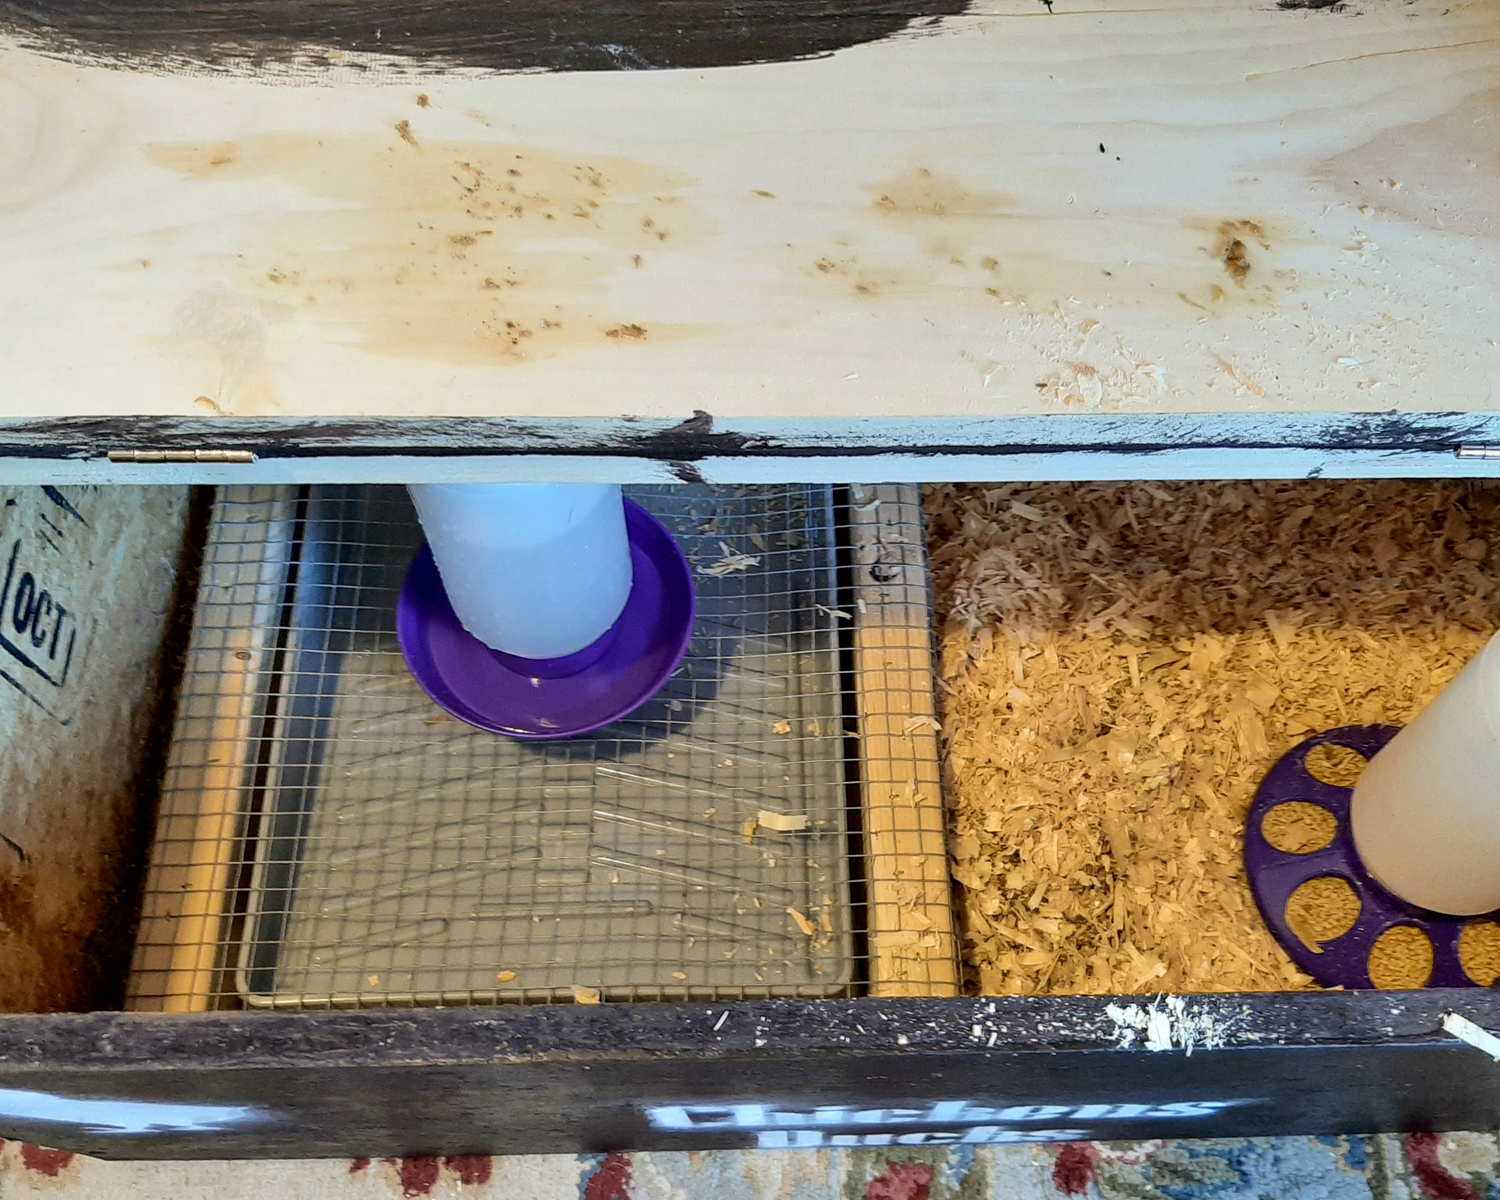
The waterer sits on the mesh with the spill out going into the paint tray an now nearly reaches the top of the brooder. So far, so good. The ducks are making a mess as usual, but it appears to be mostly in the paint tray. I’ll still have to fill up the water several times a day and probably dump the tray daily, but hopefully it will keep the rest of the bedding dry.

I think I’ll try something like this in the coop, but maybe have the tray drain outside. I remember the last time we had ducks, they made a mess of the chicken run. Maybe this time I can keep it a little cleaner and we can keep having ducks.

Total cost: $5. Total time to assemble and clean: Approximately 1 hour.

Chickens and Ducks- Day 2

We picked up our second batch of birds today from the Norwich Agway. This was their first delivery of the season, and the line at opening went out the back door. We picked up 10 more birds, 6 chickens and 4 ducks. The chickens are 2 Easter Eggers, 2 Buttercups, and 2 Speckled Sussex. I’m hoping that we get no more than 1 rooster out of the 12 chickens we picked up this year, but there is only a 90% accuracy on the chickens. The ducks are a straight run, so it should be a mix of males/females. We picked up 2 White Pekins and 2 Khaki Campbells. I think the brooder is full enough for now. We may pick up more on the last run of chicks/ducks at the end of April if we can move the current birds into the coop by then – maybe grab some Blue Swedish ducks.

Izzy showing off one of the ducks (Khaki Campbell)
Susanna with one of the Khaki Campbell ducks
Isabella with one of the White Pekin ducks

Backyard Picnic

Today the thermometer pushed into the mid-60’s and Izzy and I were able to enjoy our lunch out on the patio. It finally feels like spring. However that won’t last. The forecast for next week includes snow.

Lunch at the patio

Tomorrow the plan is to get up early and get the next batch of birds; this will likely be one of the few times Izzy won’t fuss about getting dressed in the morning.

Chicken Season

We picked up our first batch of chicks today from Fleming’s Feed in Preston. We got a total of 6 today, 3 Buff Orpingtons and 3 RI reds. Saturday morning we get the next batch from the Norwich Agway, 6 more chicks and 4 ducks (maybe). The brooder was made from left over lumber and painted. The stencils were cut out on the laser for the decoration. Instead of a heat lamp, I picked up a Brinsea Ecoglow Safety Brooder to keep them warm. After a friend lost his garage to a fire caused by a heat lamp, I decided it is not worth the risk to use one.

Izzy with playing with the chicks
The chickens in the new brooder.

Putting lipstick on a pig (or slow progress on the chicken coop)

This weekend I’ll make progress building the coop. That is my hope. That was my hope last weekend, and the soil-cement slab still sits there unimproved since I put it in. But this weekend will be different.

I did pick up a door for the coop last weekend. I found a listing for free doors/windows in the northern part of the state. Izzy and I drove there and, sliding around on the ice, loaded a door into the back of the mini-van. It is a metal clad exterior door, but in pretty rough shape; not really worth the hour drive to get it. The bottom of the door was completely rotted away, and, deciding that it doesn’t really matter how tall the door is to the chicken coop (I can duck my head, and the chickens certainly won’t care), I cut off the bottom 3- 4 inches of the door.

The (hopefully) soon to be chicken coop door before painting.

The paint was in pretty bad shape, so I pulled off the plastic trim decoration and decided to use some fairing compound to fill the holes and then paint the door with some left-over marine topside paint that I was going to throw away. I didn’t spend a lot of effort making it look great, but it does look better than it did when I picked it up. And no one will ever notice it once it is installed.

The door after priming and painting. Hopefully I have enough paint left over to finish the other side. Better to use the paint than throw it away. I’ll probably flip the door around so it opens outwards, so at least the chickens will have a nice baby blue door to enjoy from the inside.

Now I need to go and get Ben up so he can help me pull out lumber to start building the coop. Plus I can’t forget to make the brooding box – I did pull out the plywood scrap for the bottom, but promptly got distracted with other projects. We pick up the first batch of chicks on Friday and I’ll need a place to put them when I get home.