A Saturday in Middletown Connecticut

William standing on Main Street
Will on Main Street in Middletown

Saturday was a big family outing.  The outing was all planned by Susanna; which of course is nice for me (not having to plan).  Our trip centered around watching a play at the Oddfellows Playhouse in Middletown, CT.  The play was only for one hour (I think it wound up being only 45 minutes or so), so we planned to visit the city and the children’s museum there as well.

We drove up late in the morning, giving us plenty of time for lunch before the play.  We parked on the street next to the playhouse (and even saw the fire hydrant that Susanna got a ticket in front of the previous week).

Ben at Lunch
Ben having his root beer at lunch

The first stop was to walk to Main Street and find a place to eat lunch.  We walked by a toy store, and of course had to stop and look.  I told the boys that they could only look (we weren’t there to get toys).  That doesn’t keep them from begging to buy a toy (“It’s only 7 dollars, I’ll pay you back when I get home…”).  But we managed to get out of there with no new toys and not too many tears.  We had a wonderful lunch at Javapolooza Cafe on main street.  The boys even got a free doughnut for dessert, and had their favorite drink ever, root beer.

The next stop was back to the toy store…. where the boys got a toy tank (they were very good at lunch without me even promising them that they could go back and get a toy).  We had a few minutes for them to stop and play as we waited for the start time of the play.

Playing with their new toys
Will and Ben playing with their toys
Stopping to play

After stopping to play we walked up to the playhouse for the play.  It was an original play put on by a group of 10 year old children.  The play was about the other side of the story – how maybe the villains in the fairy-tail stories have never had their side told.  It was very funny, and everyone enjoyed the play.  Even if the boys did get restless a bit (Will definitely had trouble sitting still, and even Ben was restless and bumped his lip on the chair in front of him – don’t ask, I’m still not sure how he did that).  It was fun to visit the playhouse that Susanna has been working (volunteering for school – she needs to observe/teach for a two 7 week internships – one of which she is doing here) at for the past couple of weeks.

Playing at the children's museum

After the play we walked across the street to the Kidcity Children’s Museum. The boys thought that was the highlight of the day, and didn’t want to leave when it was time to head home.  I thought it was maybe geared for kids that were a little younger, but it had lots of fun stuff for them.  It is certainly bigger than the children’s museum in Niantic.

After the museum we all headed home (a tired family) for quiet time and dinner.

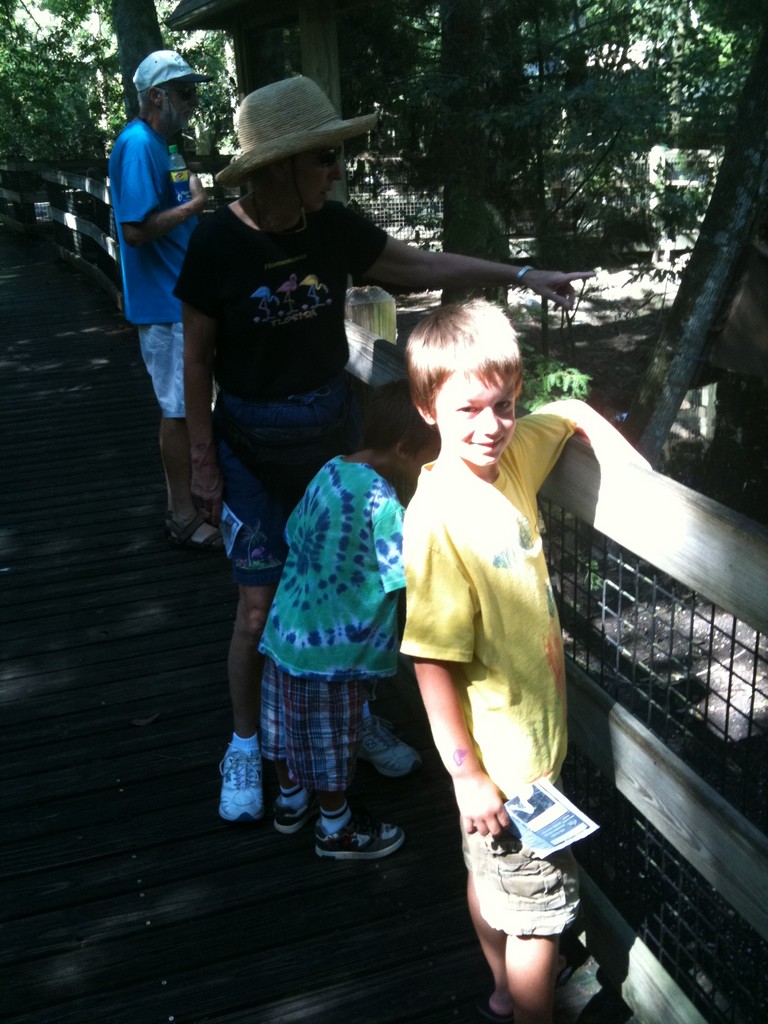
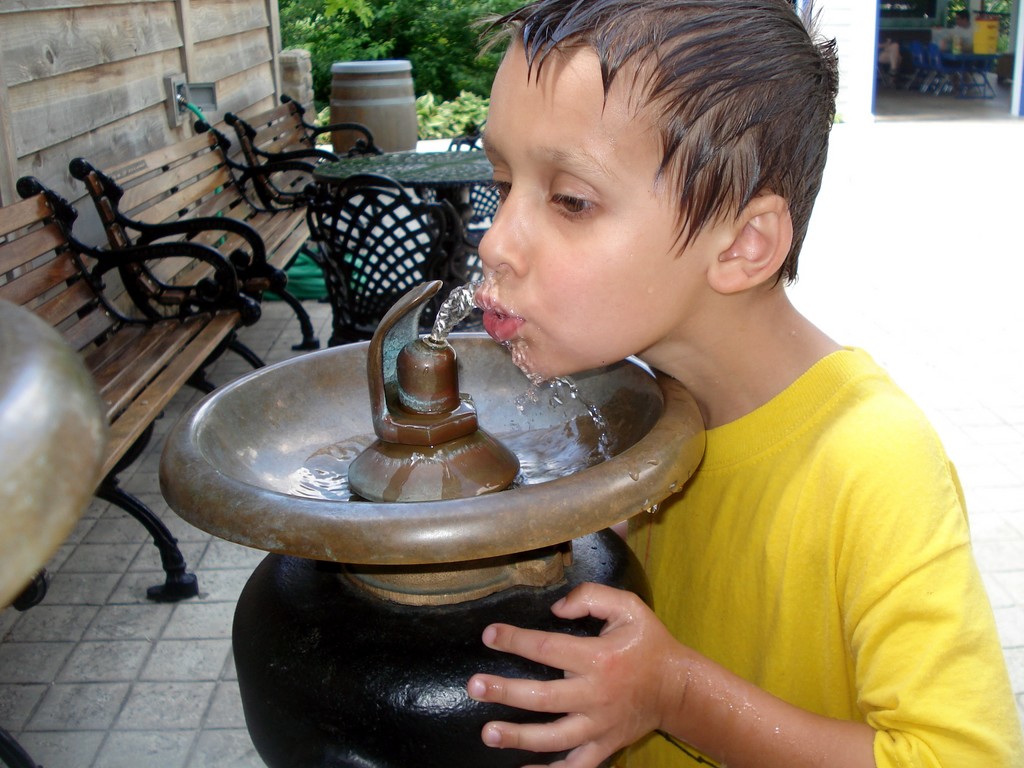
Here are some more pictures from our trip:

Susanna at the Museum
Trains at teh children's museum

A few more family pictures

William Curtis
William with Sheet (Summer 2009)

Here is a picture from last summer.  I took it on one of our beautiful days outside when we were living in Taftville.  I had hung the sheets out to dry on the laundry line, and William posed in front of the sheets.  I then took the picture and made it a sepia toned photograph using GIMP.  I think this is one of my better pictures of William.

Benjamin sitting on a chair

This next picture was from around the same time as the one before it.  It was an adjustment living in Taftville and being a single parent half of the time – but I think we made the best of it (of course it was a difficult summer for all I am sure).  Here is Benjamin showing his best smile (something he doesn’t always do for pictures).

The neverending bedroom renovation

This is a project that has gone on way too long.  But I am making progress.  In August with the help of Susanna, Will and Ben we tore down most of the plaster on the two exterior walls in the bedroom.  I have currently nearly finished installing the wiring.  Next is to clean up the exterior walls (pull remaining nails/plaster down) and then add insulation. 

Here are some pictures of the renovation:

Workbench

Approximately two months ago I decided to enter the Sawdust Chronicles 2010 build challenge.  Here is the writeup from that project.

Here is the final project:

final-in-room
The final bench project

I finished the build project.  I wasn’t sure if I was going to make it (it has been a busy month).  But I was able to do the final assembly and finish today…  I may decide to do another coat of varnish on the top of the bench at a later date, but it is completed and added to the furniture in the house.

What were my challenges?  I had initially thought of doing a bench out of red oak with an inlay.  However the oak is turned out pretty plain (too mid-toned – I wanted a lighter shade of wood for the top).  So I used the oak to make a prototype bench.  What a great idea.  It was a technical challenge – I had never constructed something like this before – and a design challenge – I didn’t really like the original design/proportions.  Overall it was a great learning project, and even better to have a deadline to work to to force me to finish it, even if I had to work a little faster than I liked by the end.

After I constructed the prototype, I posted it for comments on lumberjocks.com.  Based on those comments (and my ideas), I decided to change the design of the bench:

prototype-for-comparison

– I would keep the legs with the same curve, but add a bigger diameter hole.
– I made the stretcher a lot smaller, more in proportion to the legs, and added a gentle curve to the stretcher.
– I made the top longer (32″ long) – It would fit the location better.
– I made the stretcher the same thickness as the stock from the legs, it seemed to be a better proportion.

The first step of the construction was to make the top, and inlay the leaves.  I made the top of birch (I believe).  I cut the leaves on the scroll saw and cut the inlays with the router (based on a podcast by Marc Spagnuolo).  It turned out to be more challenging than it appeared by the podcast, but overall I like how the inlay turned out, and will probably incorporate that type of inlay into future projects.

inlay
Leaf Inlay Detail

I routed the sliding dovetail slot on the top.  On the prototype I made a stopped dovetail, on this one I made a through dovetail and used a piece of scrap walnut as a filler for the front of the dovetail.  I didn’t fill the back of the dovetail (so the bench can come apart, but not easily right now).  I think if I had more time I may have added one for the back.

I then glued up the legs from sapele and milled the stretcher from the same.  I believe it is sapele, but I have acquired a lot of lumber from a friend, and it wasn’t all labeled very well.

I cut the dovetail on the legs on the router table.  I did cut the legs a little long, to ensure that if I cut too much off in making the dovetails, I could start over and not have to throw the legs away.  After routing the dovetail on the legs, I cut the legs to length, and then drilled the hole and used the same template I used on the prototype to make the legs.  I rough cut the curves on the bandsaw and used a pattern bit on the router to get the final shape.

I cut the curve on the stretcher and used a pattern bit to rout the curve to final shape.

The stretcher and legs are joined by a half-lap joint, and then the while leg/stretcher assembly is then attached to the top using a sliding dovetail.  I used an American Woodworking project as inspiration for the construction method.  I cut the slots for the legs/stretcher on the bandsaw and cleaned up by hand.

What did I do wrong?  I made a couple of technical mistakes on the final project.  The half-lap joints aren’t as clean as I would like them to be.  I had the same problem on the prototype.  I may have been rushing a little bit to get the project out the door on the final project.  I also started to drill one of the cutouts at the end of the stretcher on the wrong side.  It is on the back so isn’t very visible, but if I had more time, I would have cut a new stretcher and started over.  I also finished the top prior to assembly, but didn’t have time to prefinish the rest of the pieces.  I think it would have been easier to finish if I had prefinished all of the pieces.

What would I do differently the next time?  Maybe use wood that would contrast even more (maybe ash for the top and walnut for the legs).  I would prefinish all the pieces.  I would try to get the half-lap joints tighter.  I really liked the idea of building a full-sized prototype to help with construction and design ideas (I included a picture of the prototype to show the differences).

What were my costs?  I purchased the red oak at $1/bdft, and the birch and sapele for about the same.  Even if I had to pay market for the lumber, I didn’t use much lumber to create the project, maybe 8 bdft.  Total cost for lumber I’ll say is $50.  Plus $15 for a can of wiping varnish and $5 for glue and sandpaper for a total construction cost of $70.

The only tools I purchased for this was a new dovetail bit for the router (maybe $20).

Below are pictures of the project

sliding-dovetail-detail side-picture


Chuck Curtis