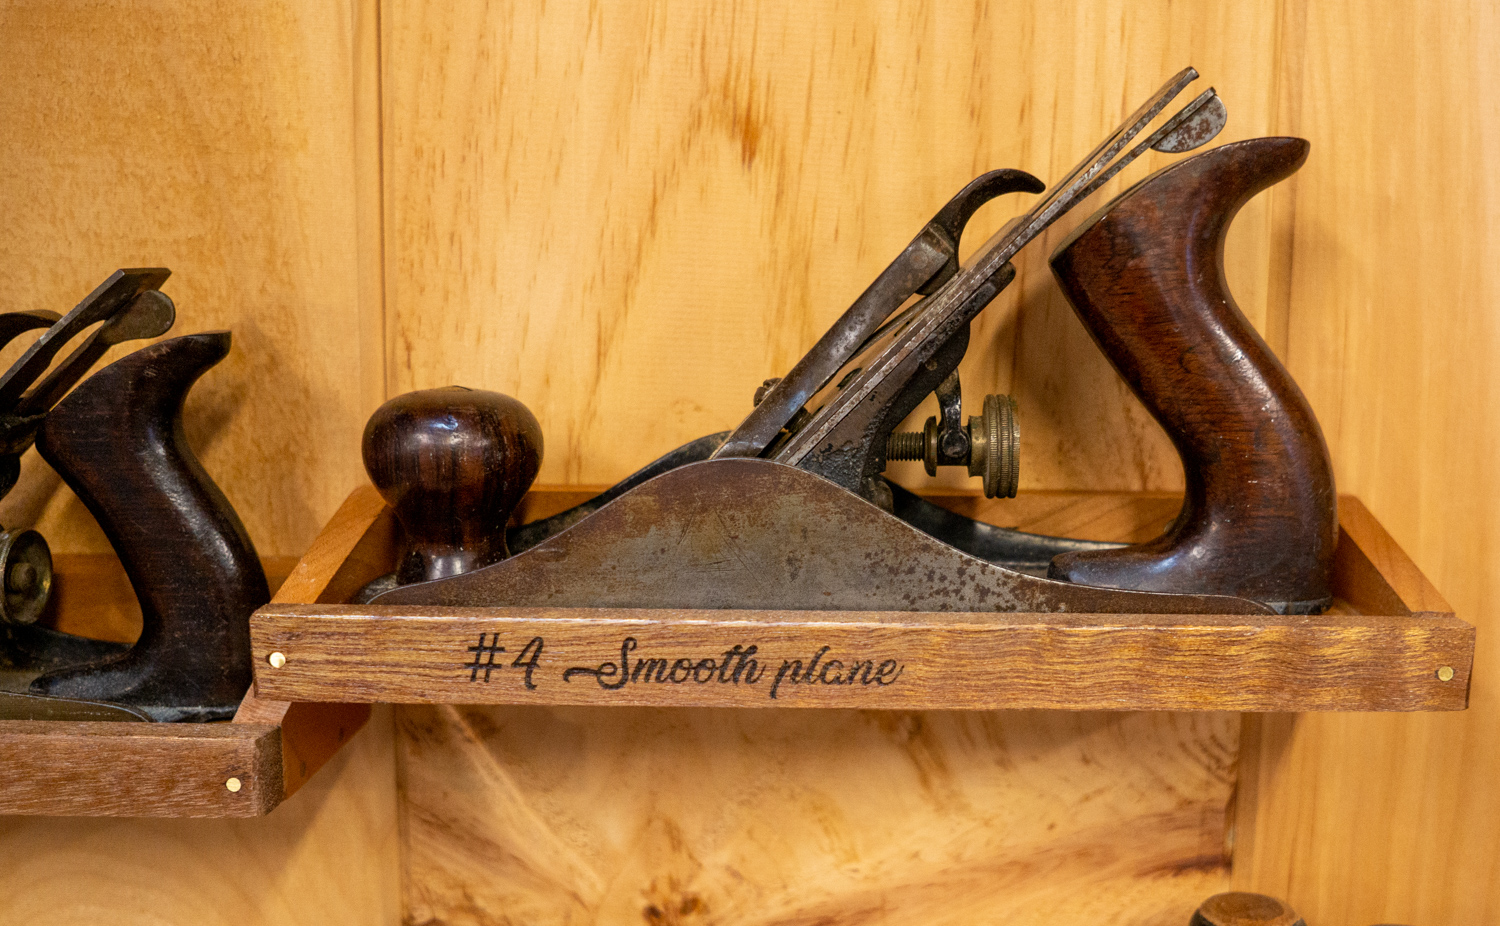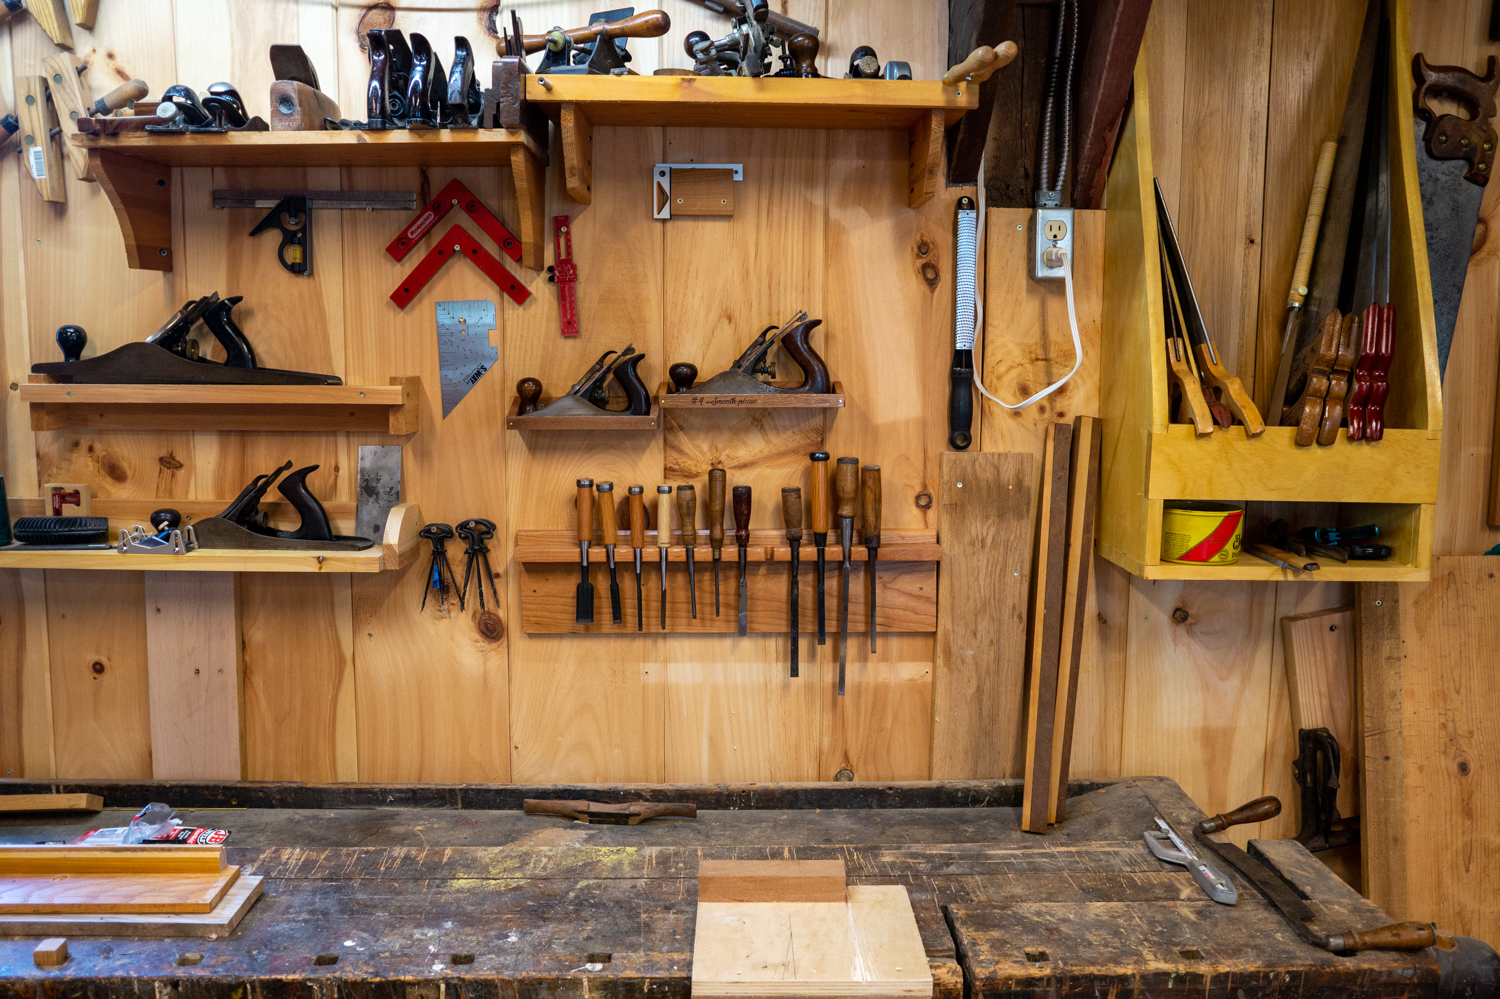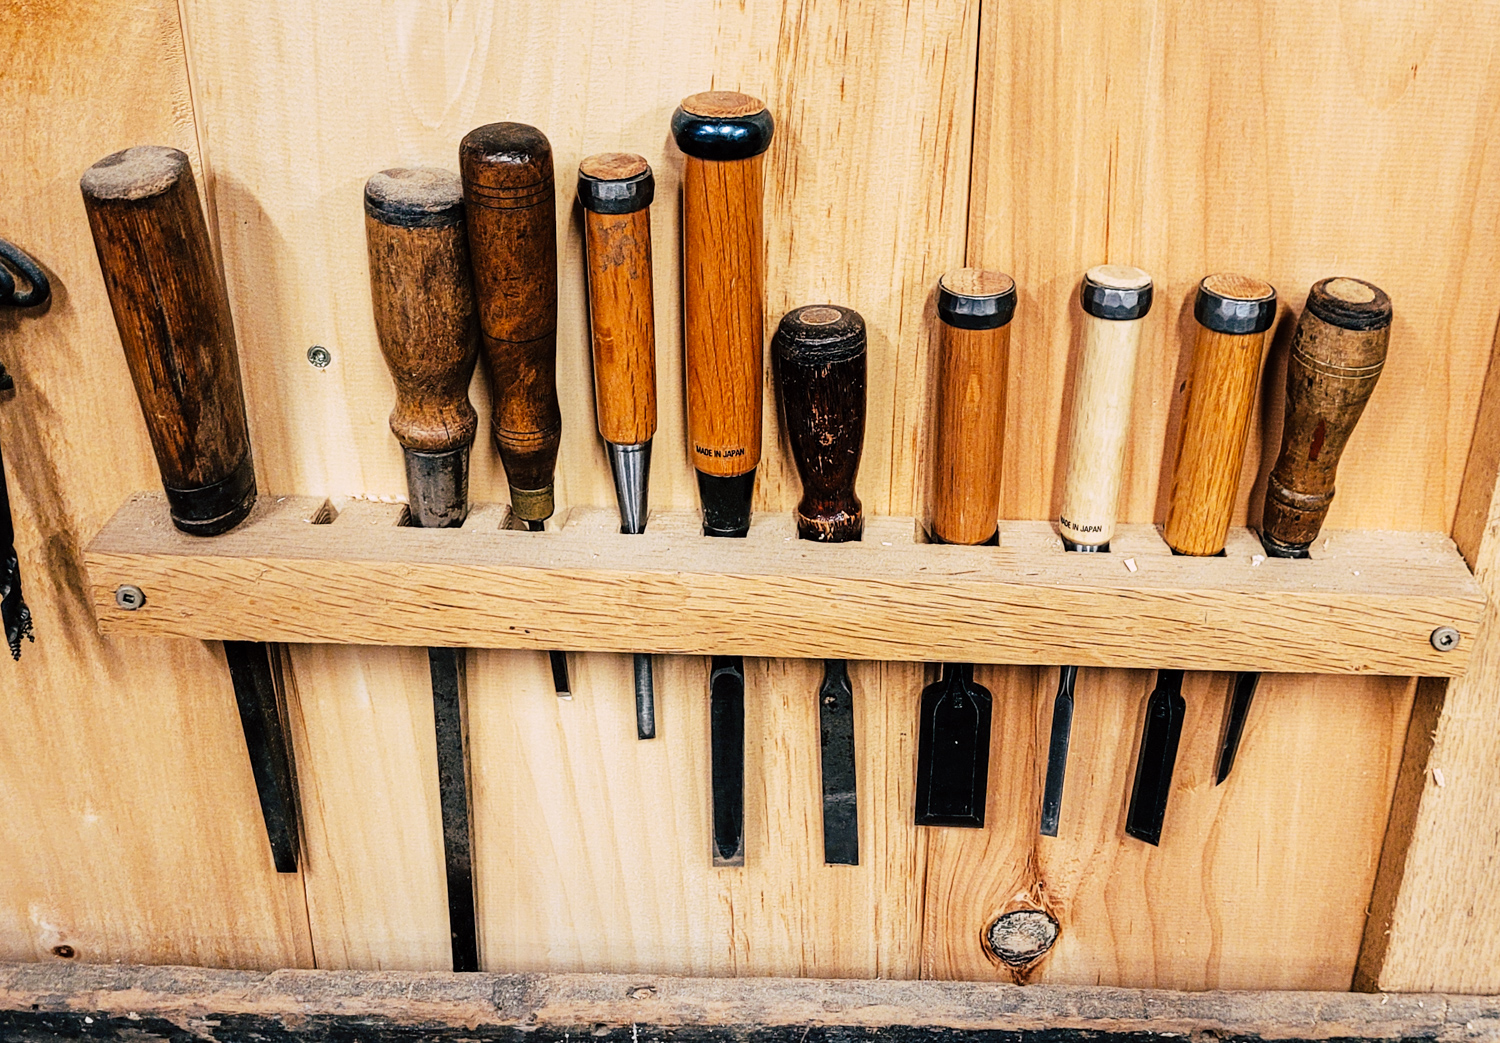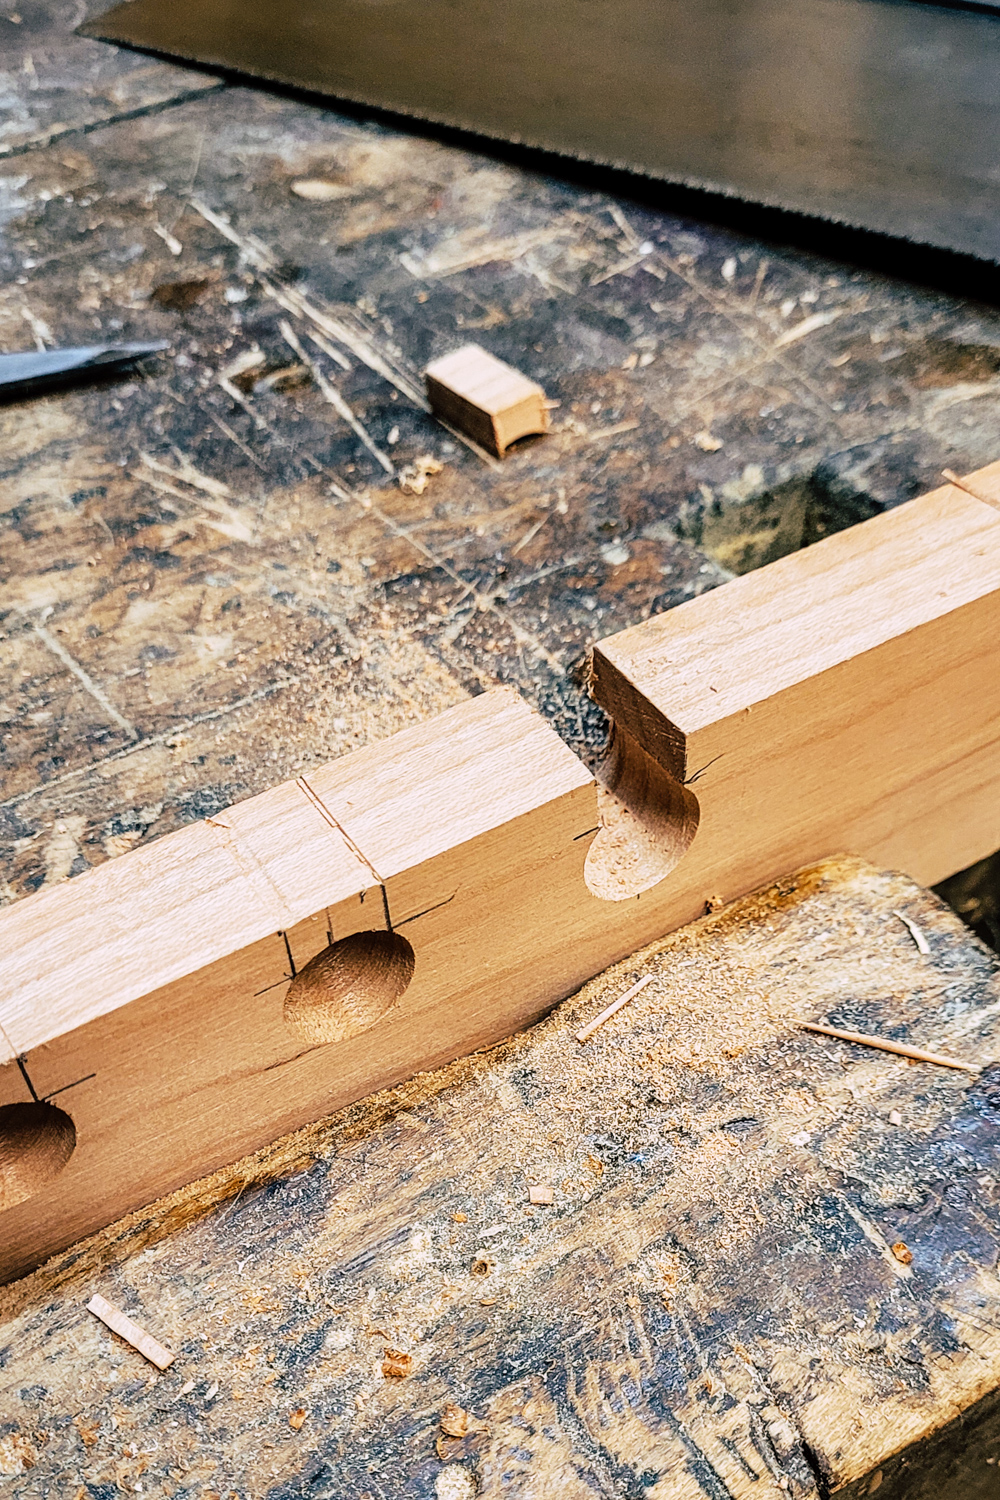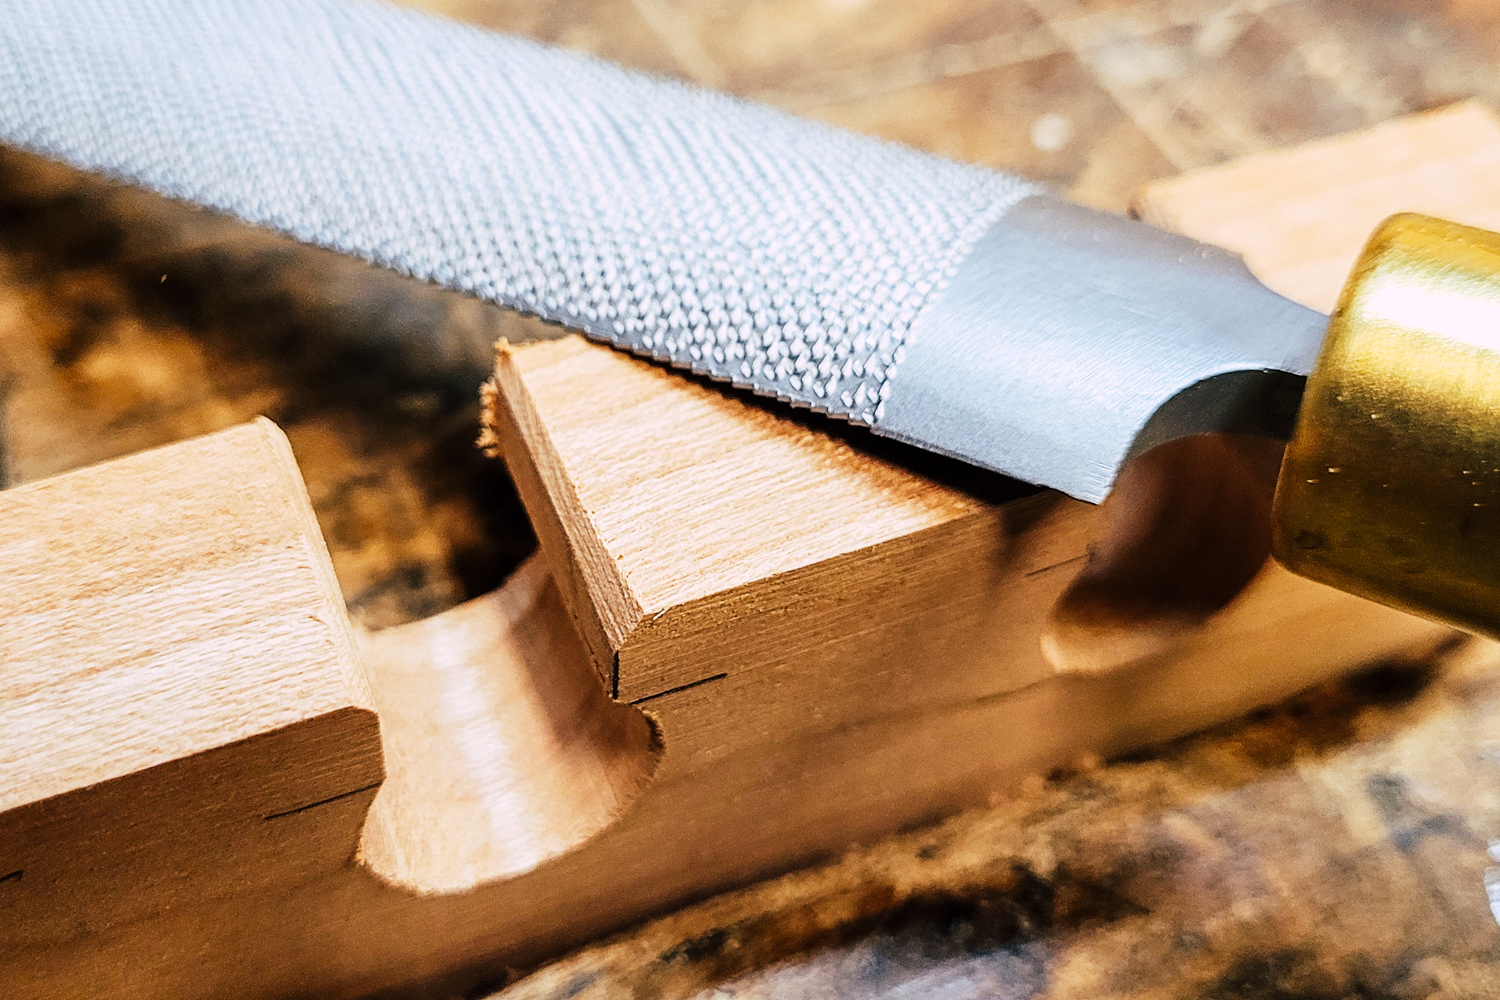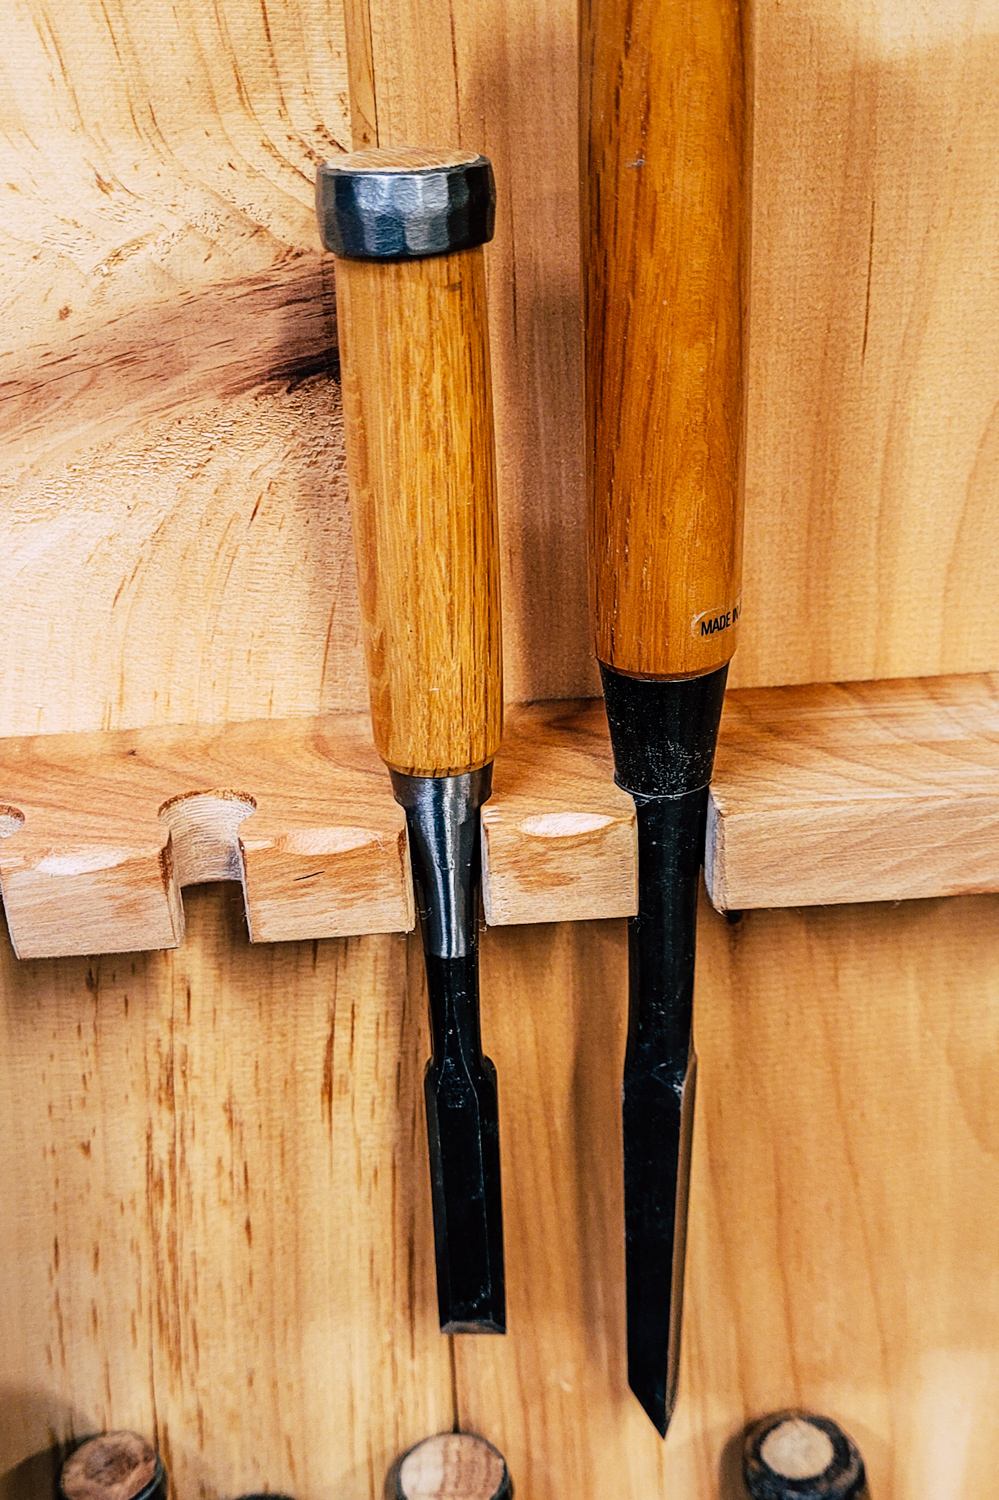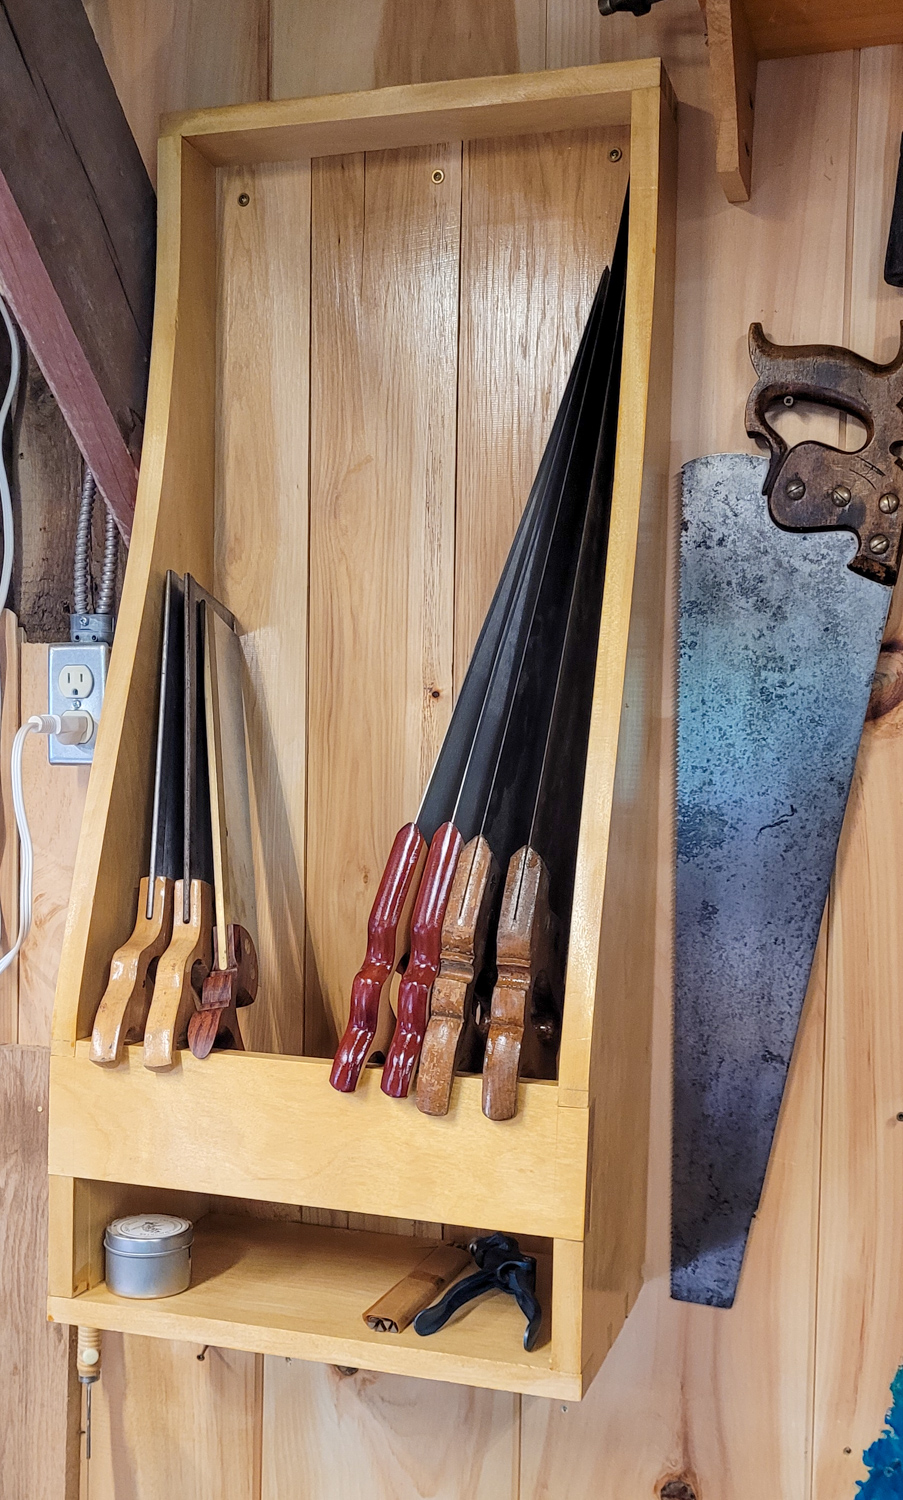
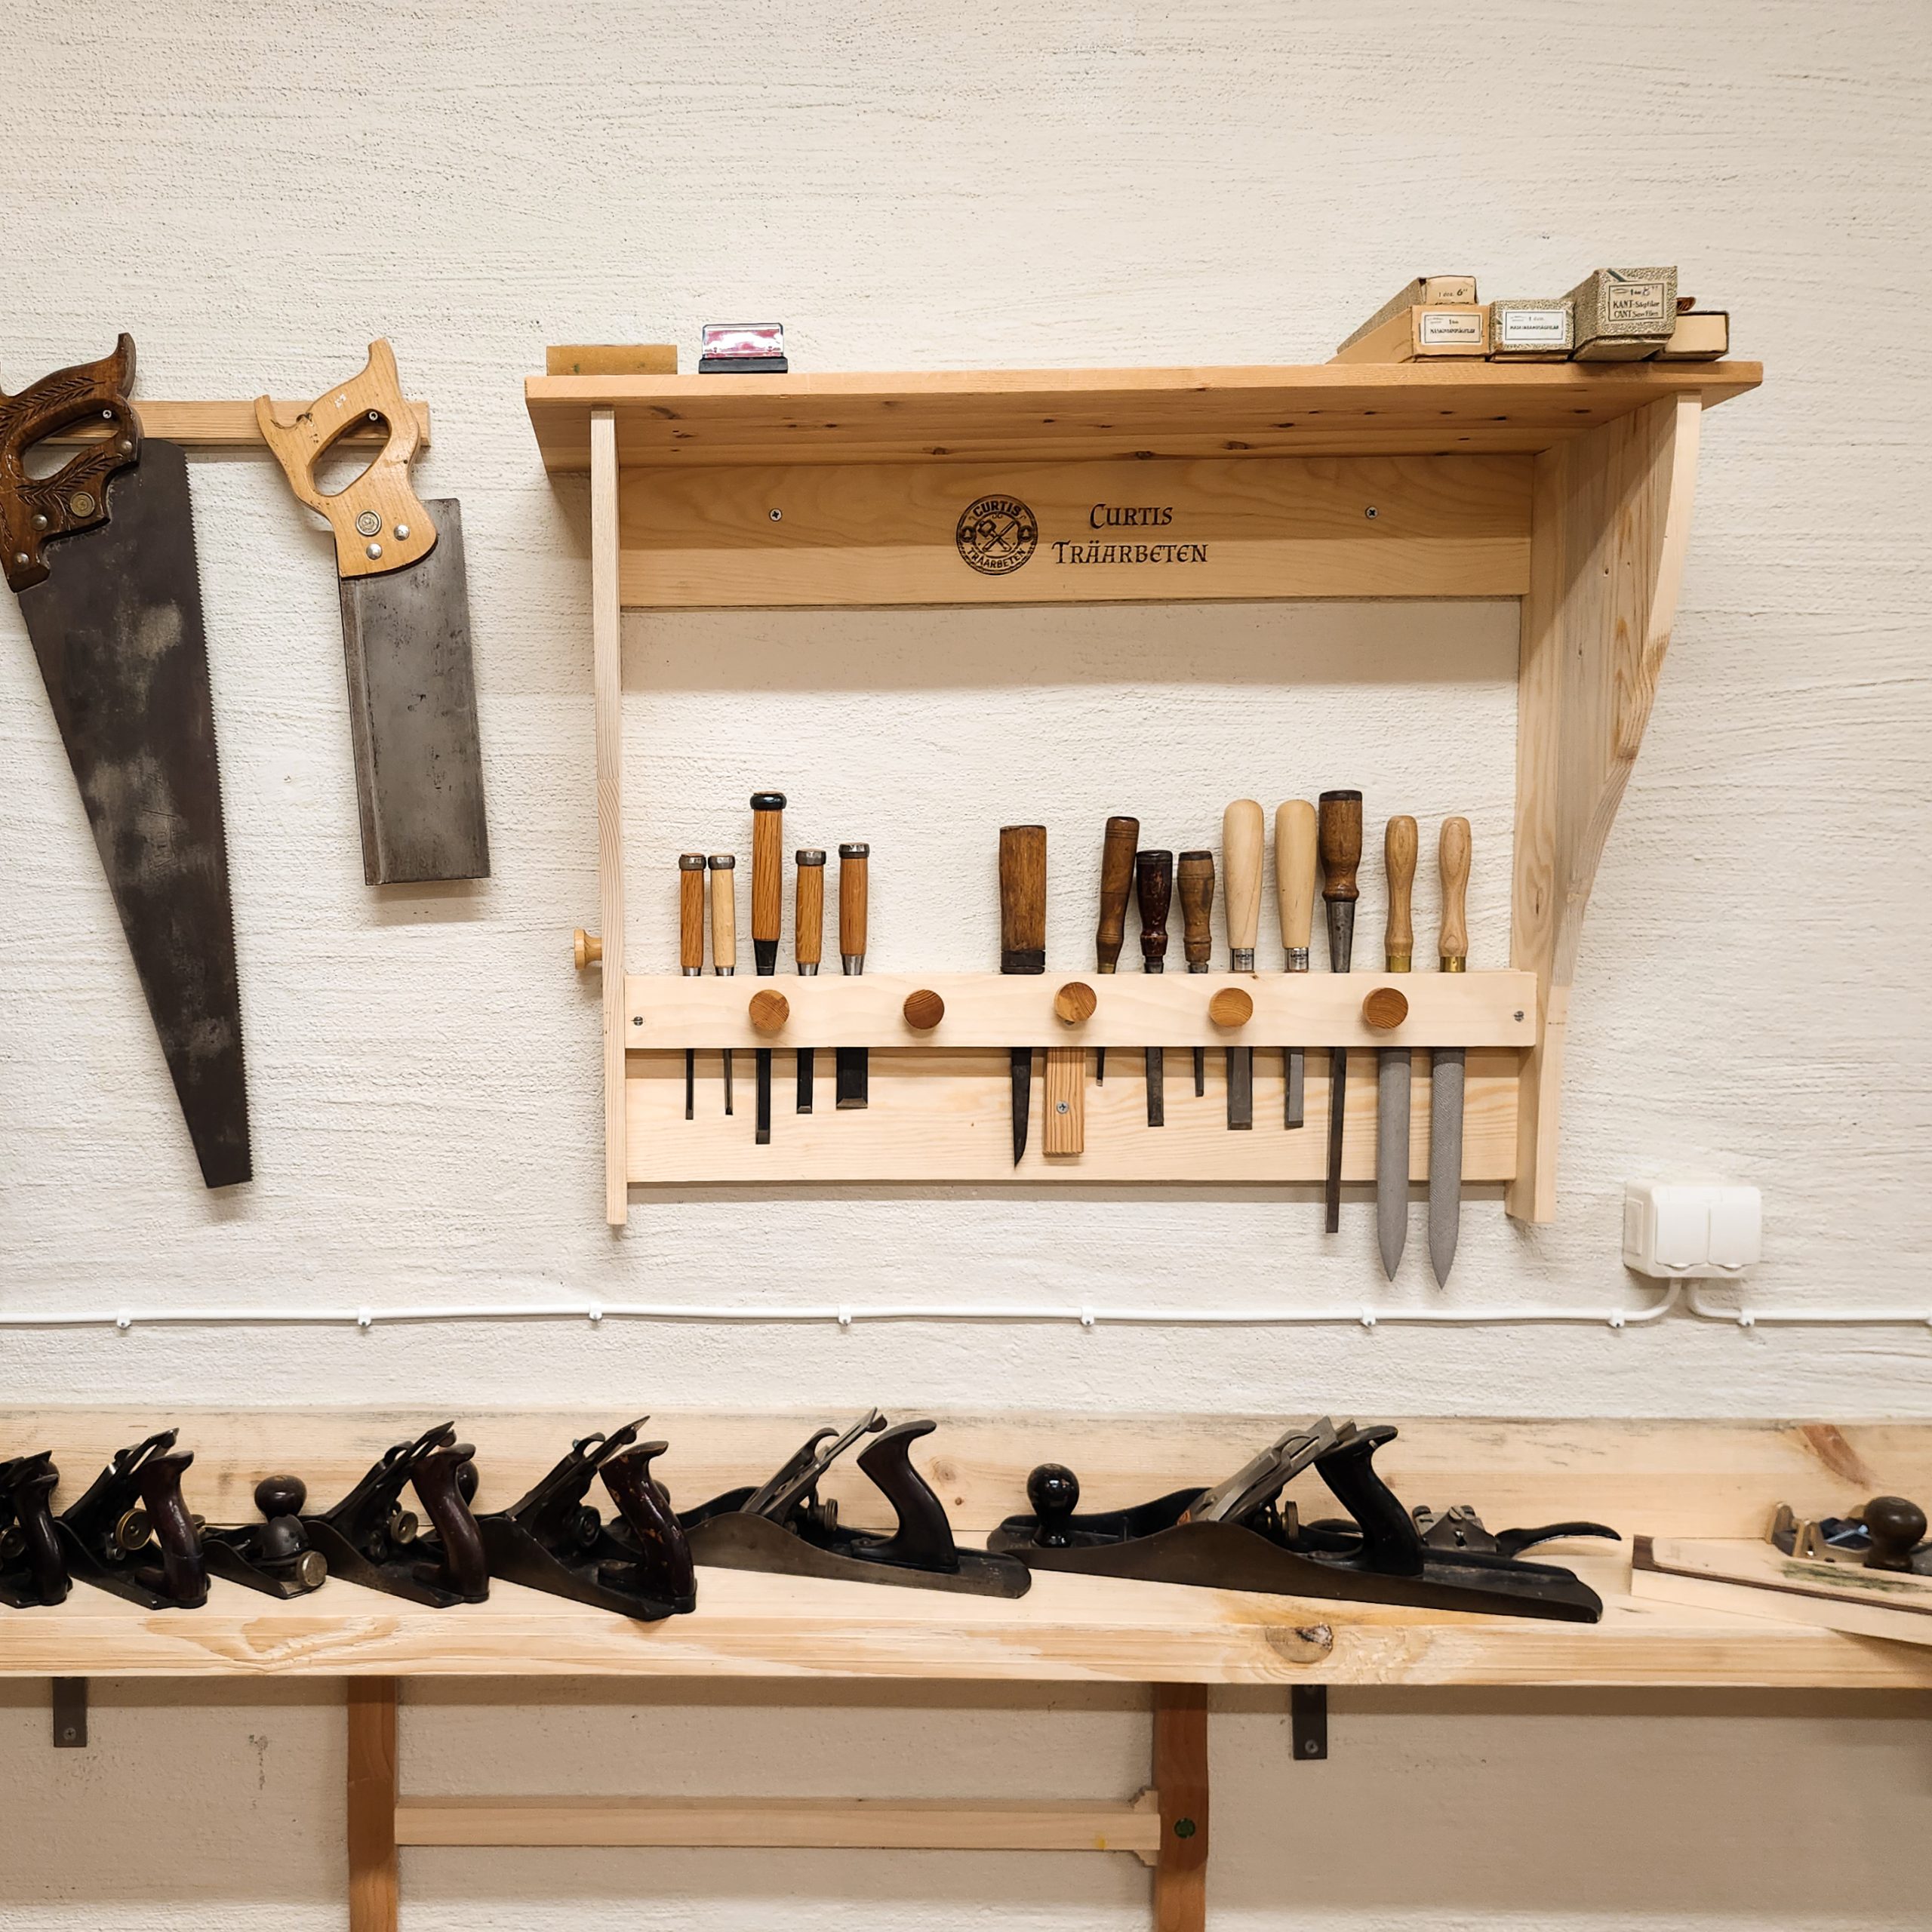
I took some time between (non-workshop) projects to finish up some improvements for the shop. The first was to complete a rack for my chisels. I had glued up the side panels a month ago, but decided to focus on the bench build. So my chisels sat in the bench tool tray the entire time. Not the end of the world, but it wasn’t very organized. I had to be careful to not knock them around or catch myself on one of the sharp edges.
I pulled inspiration from the April 2011 Popular Woodworking Magazine.
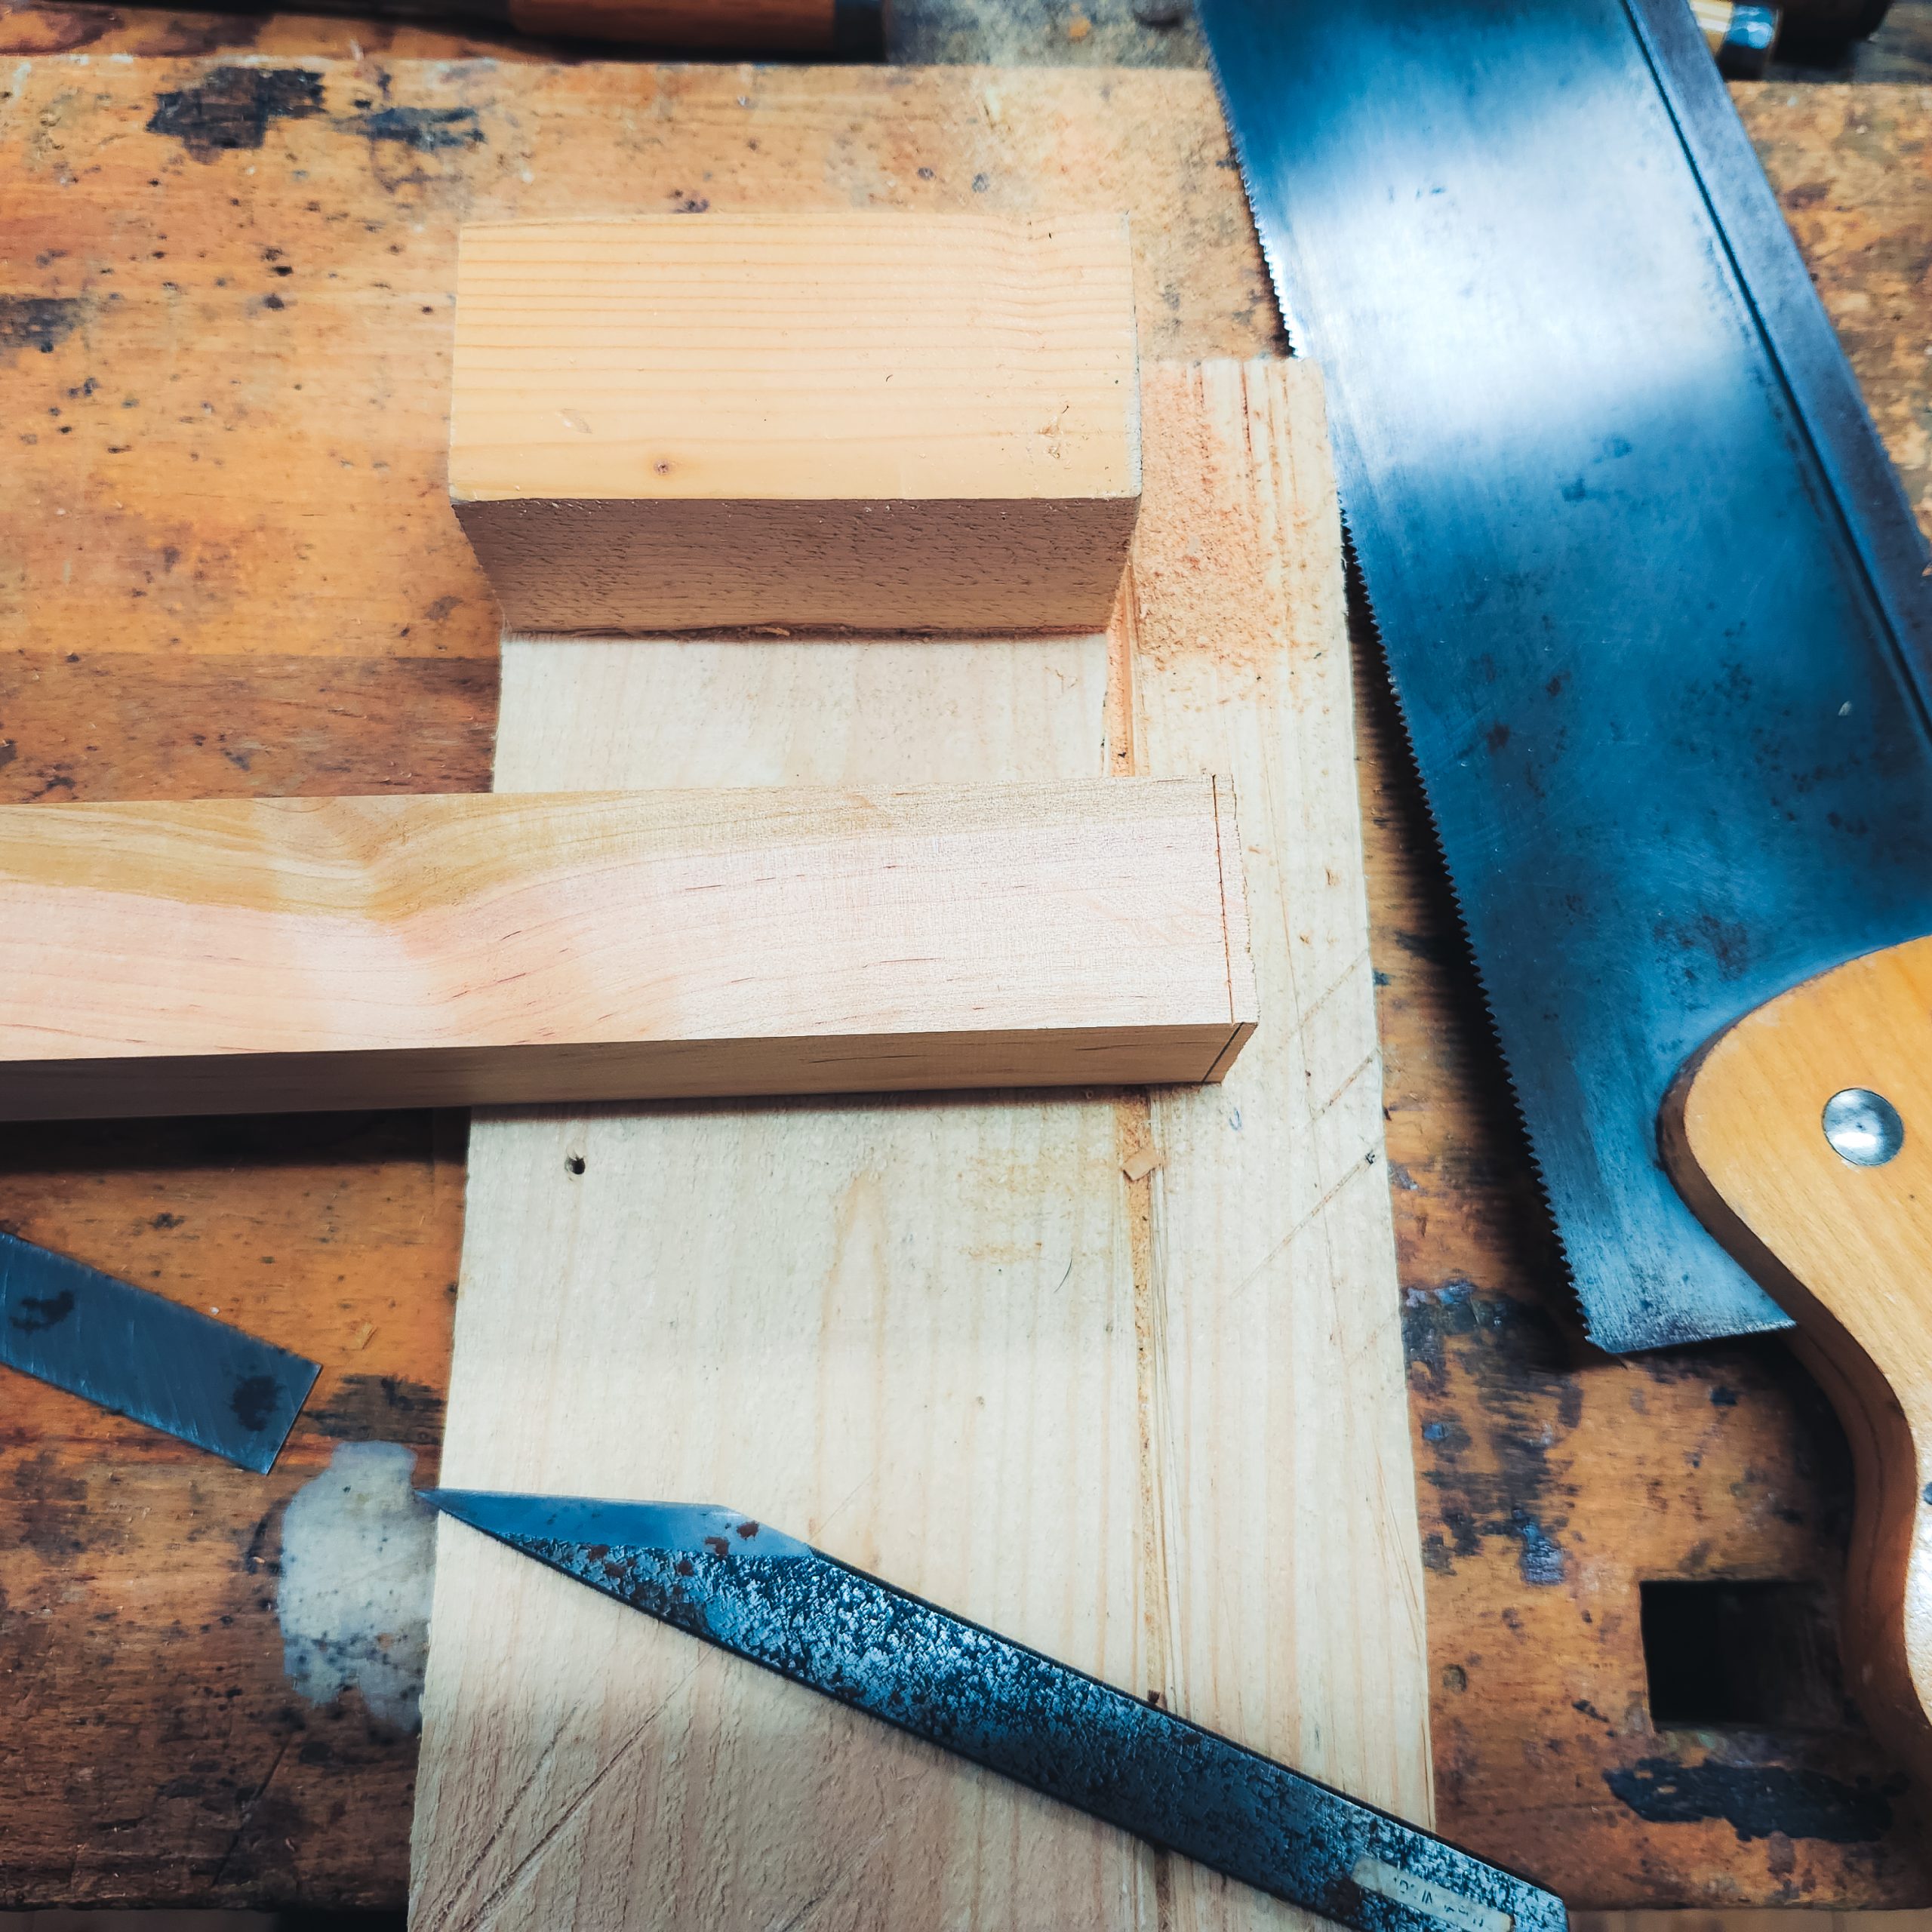
My next project will be building a chicken coop (hönshus) for the Norlandia preschool in Hovmantorp. It won’t be furniture, but it will help pay for the workshop. I needed sawhorses for the project (and they are useful to have around). I did a search around the web and decided to build a set of folding sawhorses that will easily fit in the car. I finished assembling the second sawhorse this morning before heading home to meet Izzy after school.

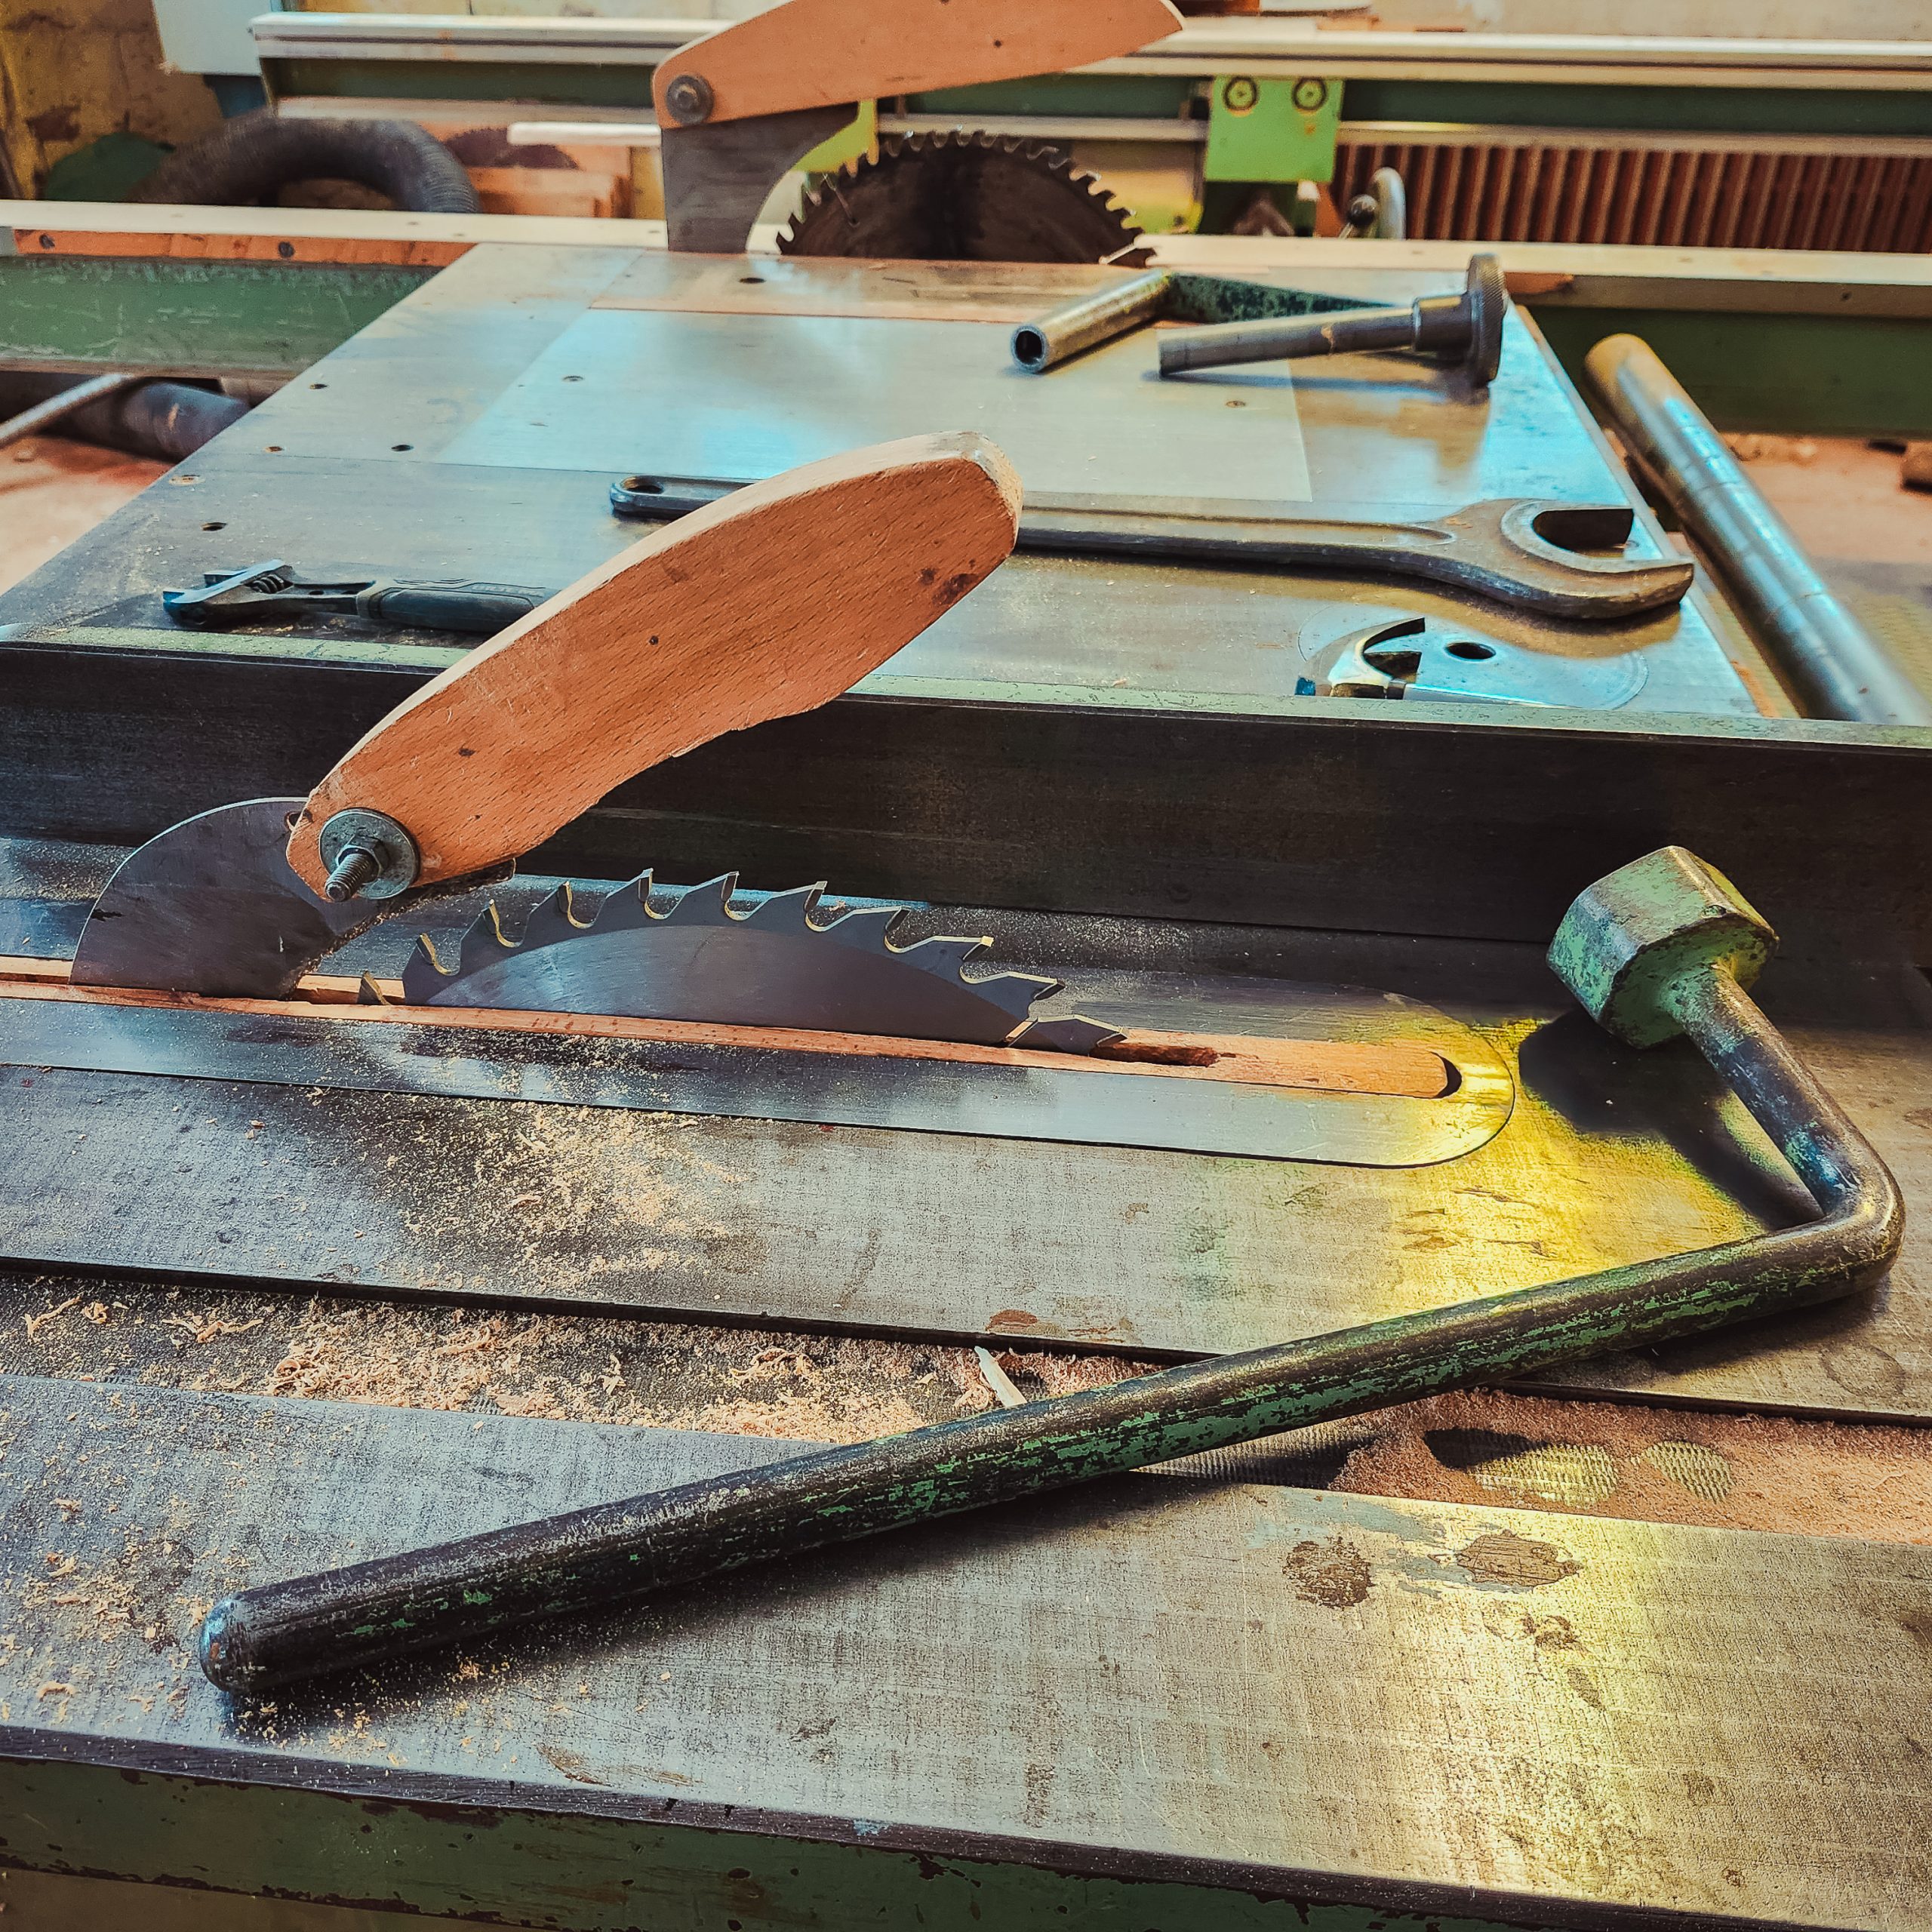
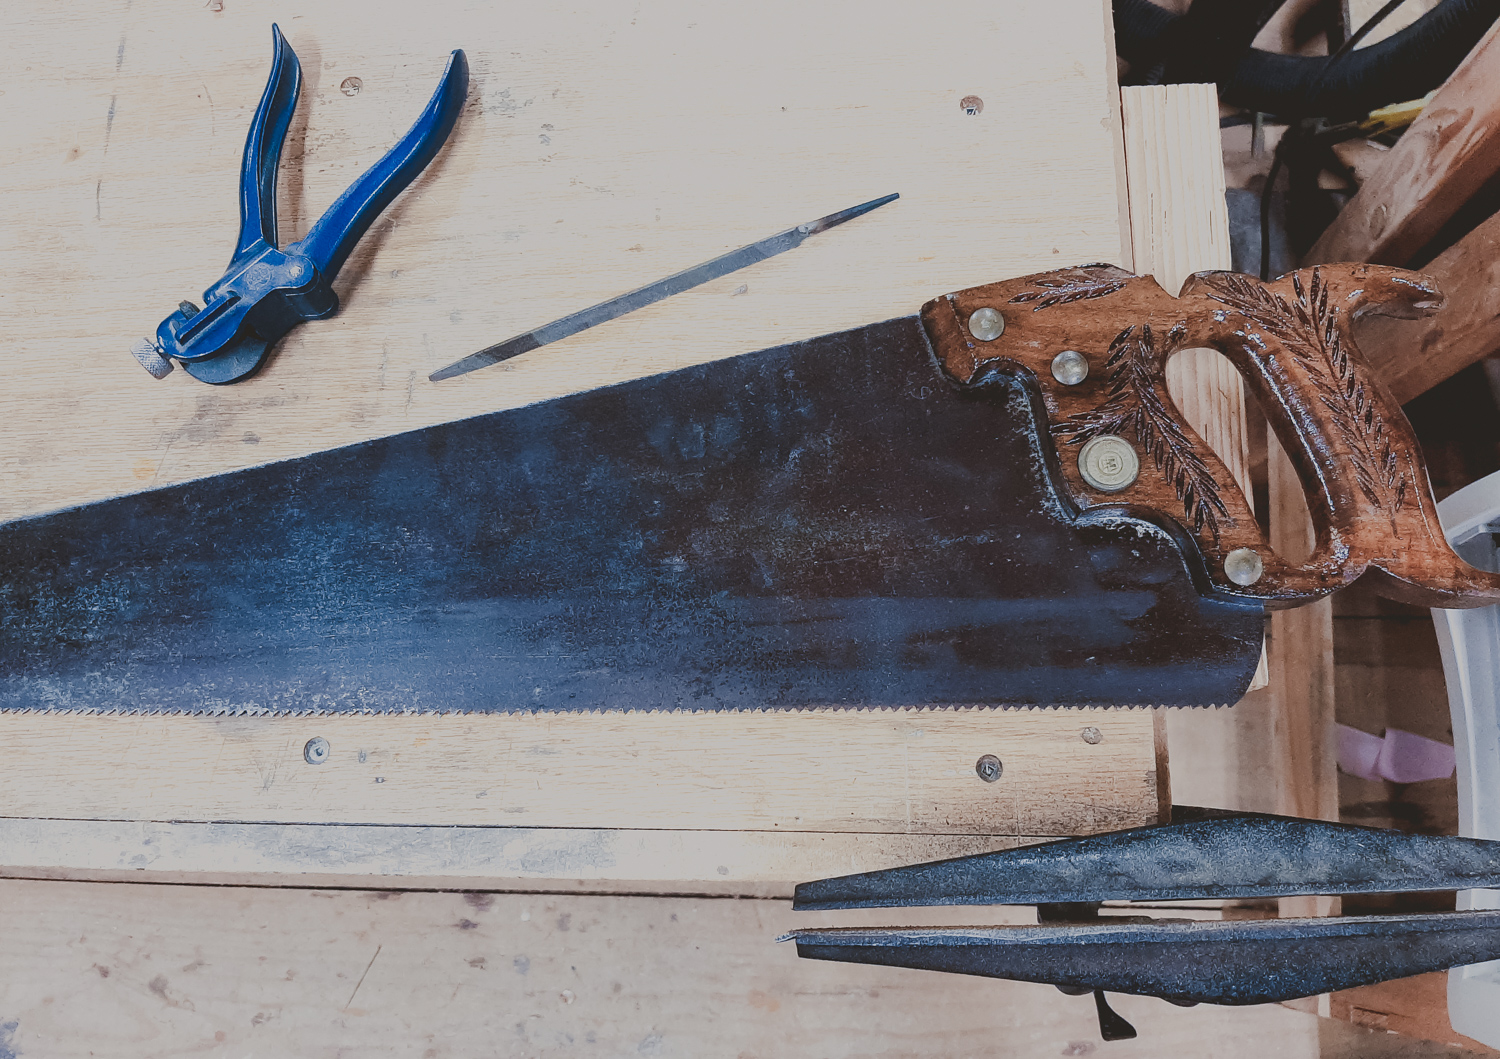
I have a few lessons learned from the build. The biggest is to double check the crosscut sled on the tablesaw. It wasn’t perfectly square which explaned my trouble getting the pieces to line up perfectly. That is next on my list to fix in the shop. I threw together the crosscut sled to try it out on the tablesaw, but need to be more careful aligning it. There is a huge pendulum crosscut saw in the shop (a Waco EBMD Crosscut Saw from 1961 with I believe a 18-inch blade on it). I tried to true that one up, but I wasn’t able to get it perfect, but I think in hindsight it is better than the one on the tablesaw. Oh well, a project for next week.
I’m hoping to pick up the lumber for the chicken coop on Friday and do most of the build over the weekend. It will be a lot easier to build when the school is closed and I don’t have to run home to meet Izzy after school. The weather forecast looks favorable. Hopefully I can get a trailer for the lumber with my US driver’s license. If not, I’ll have to see when they can deliver the wood and do the build next week.
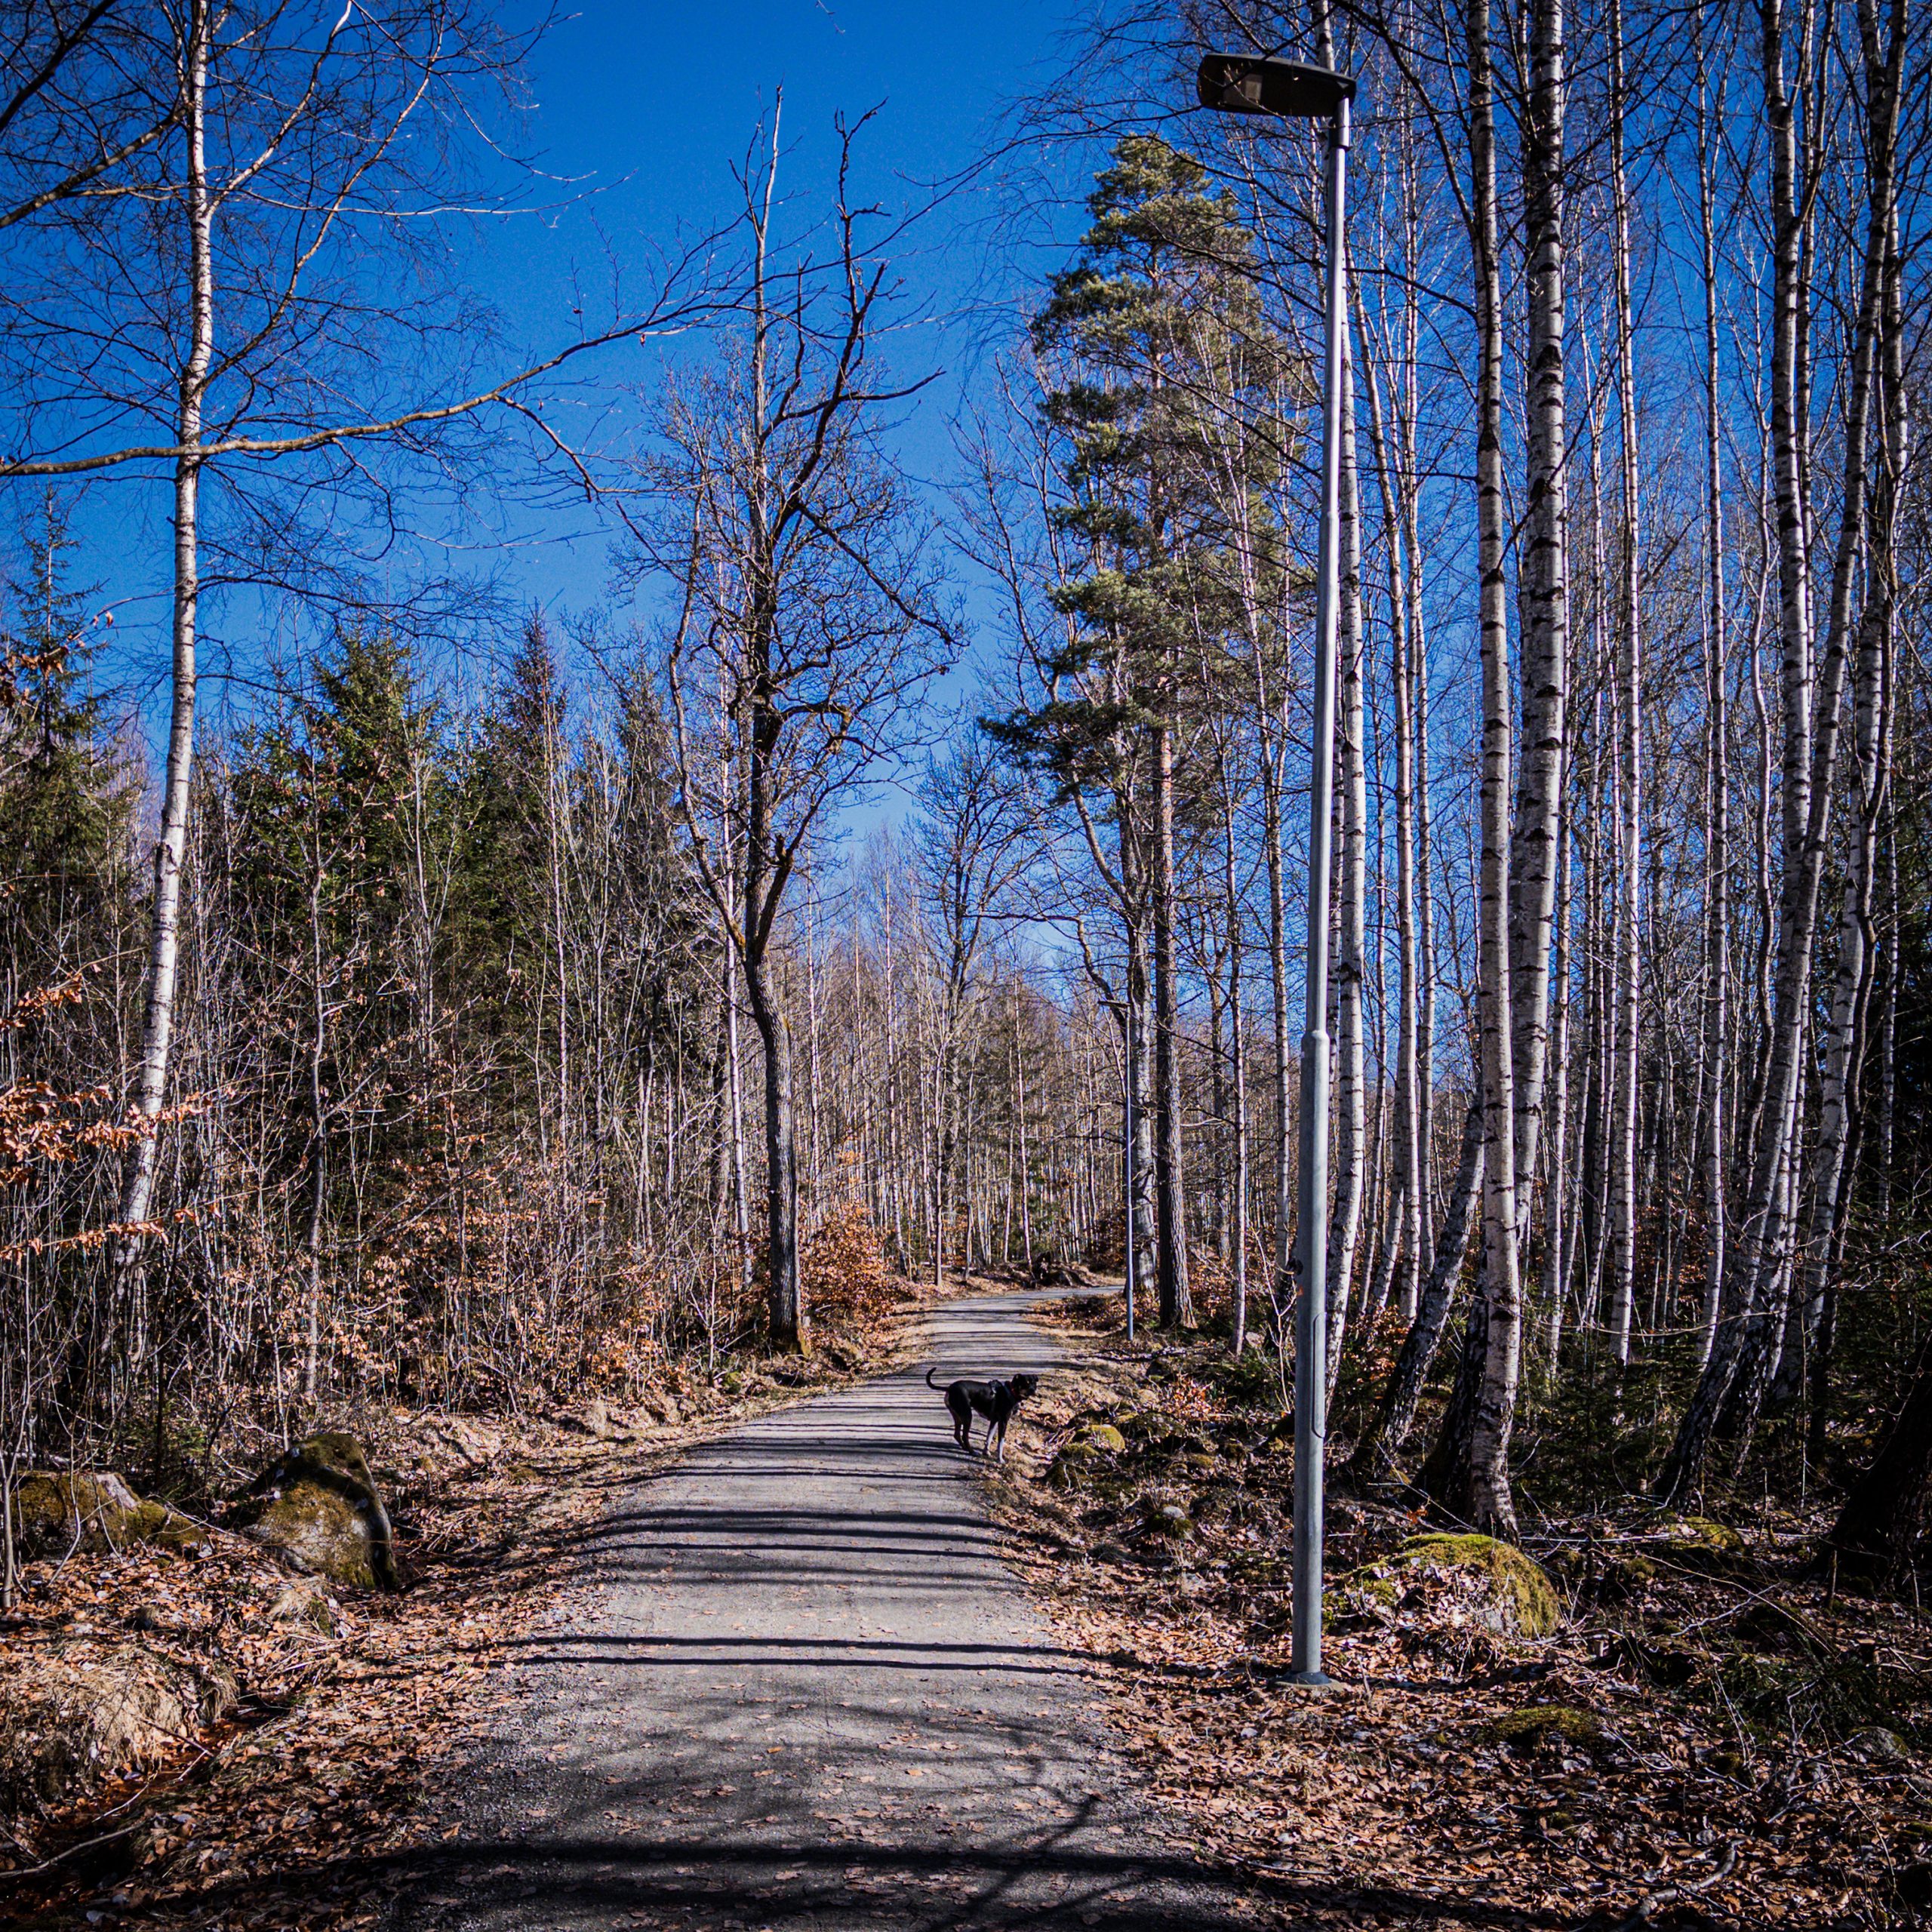
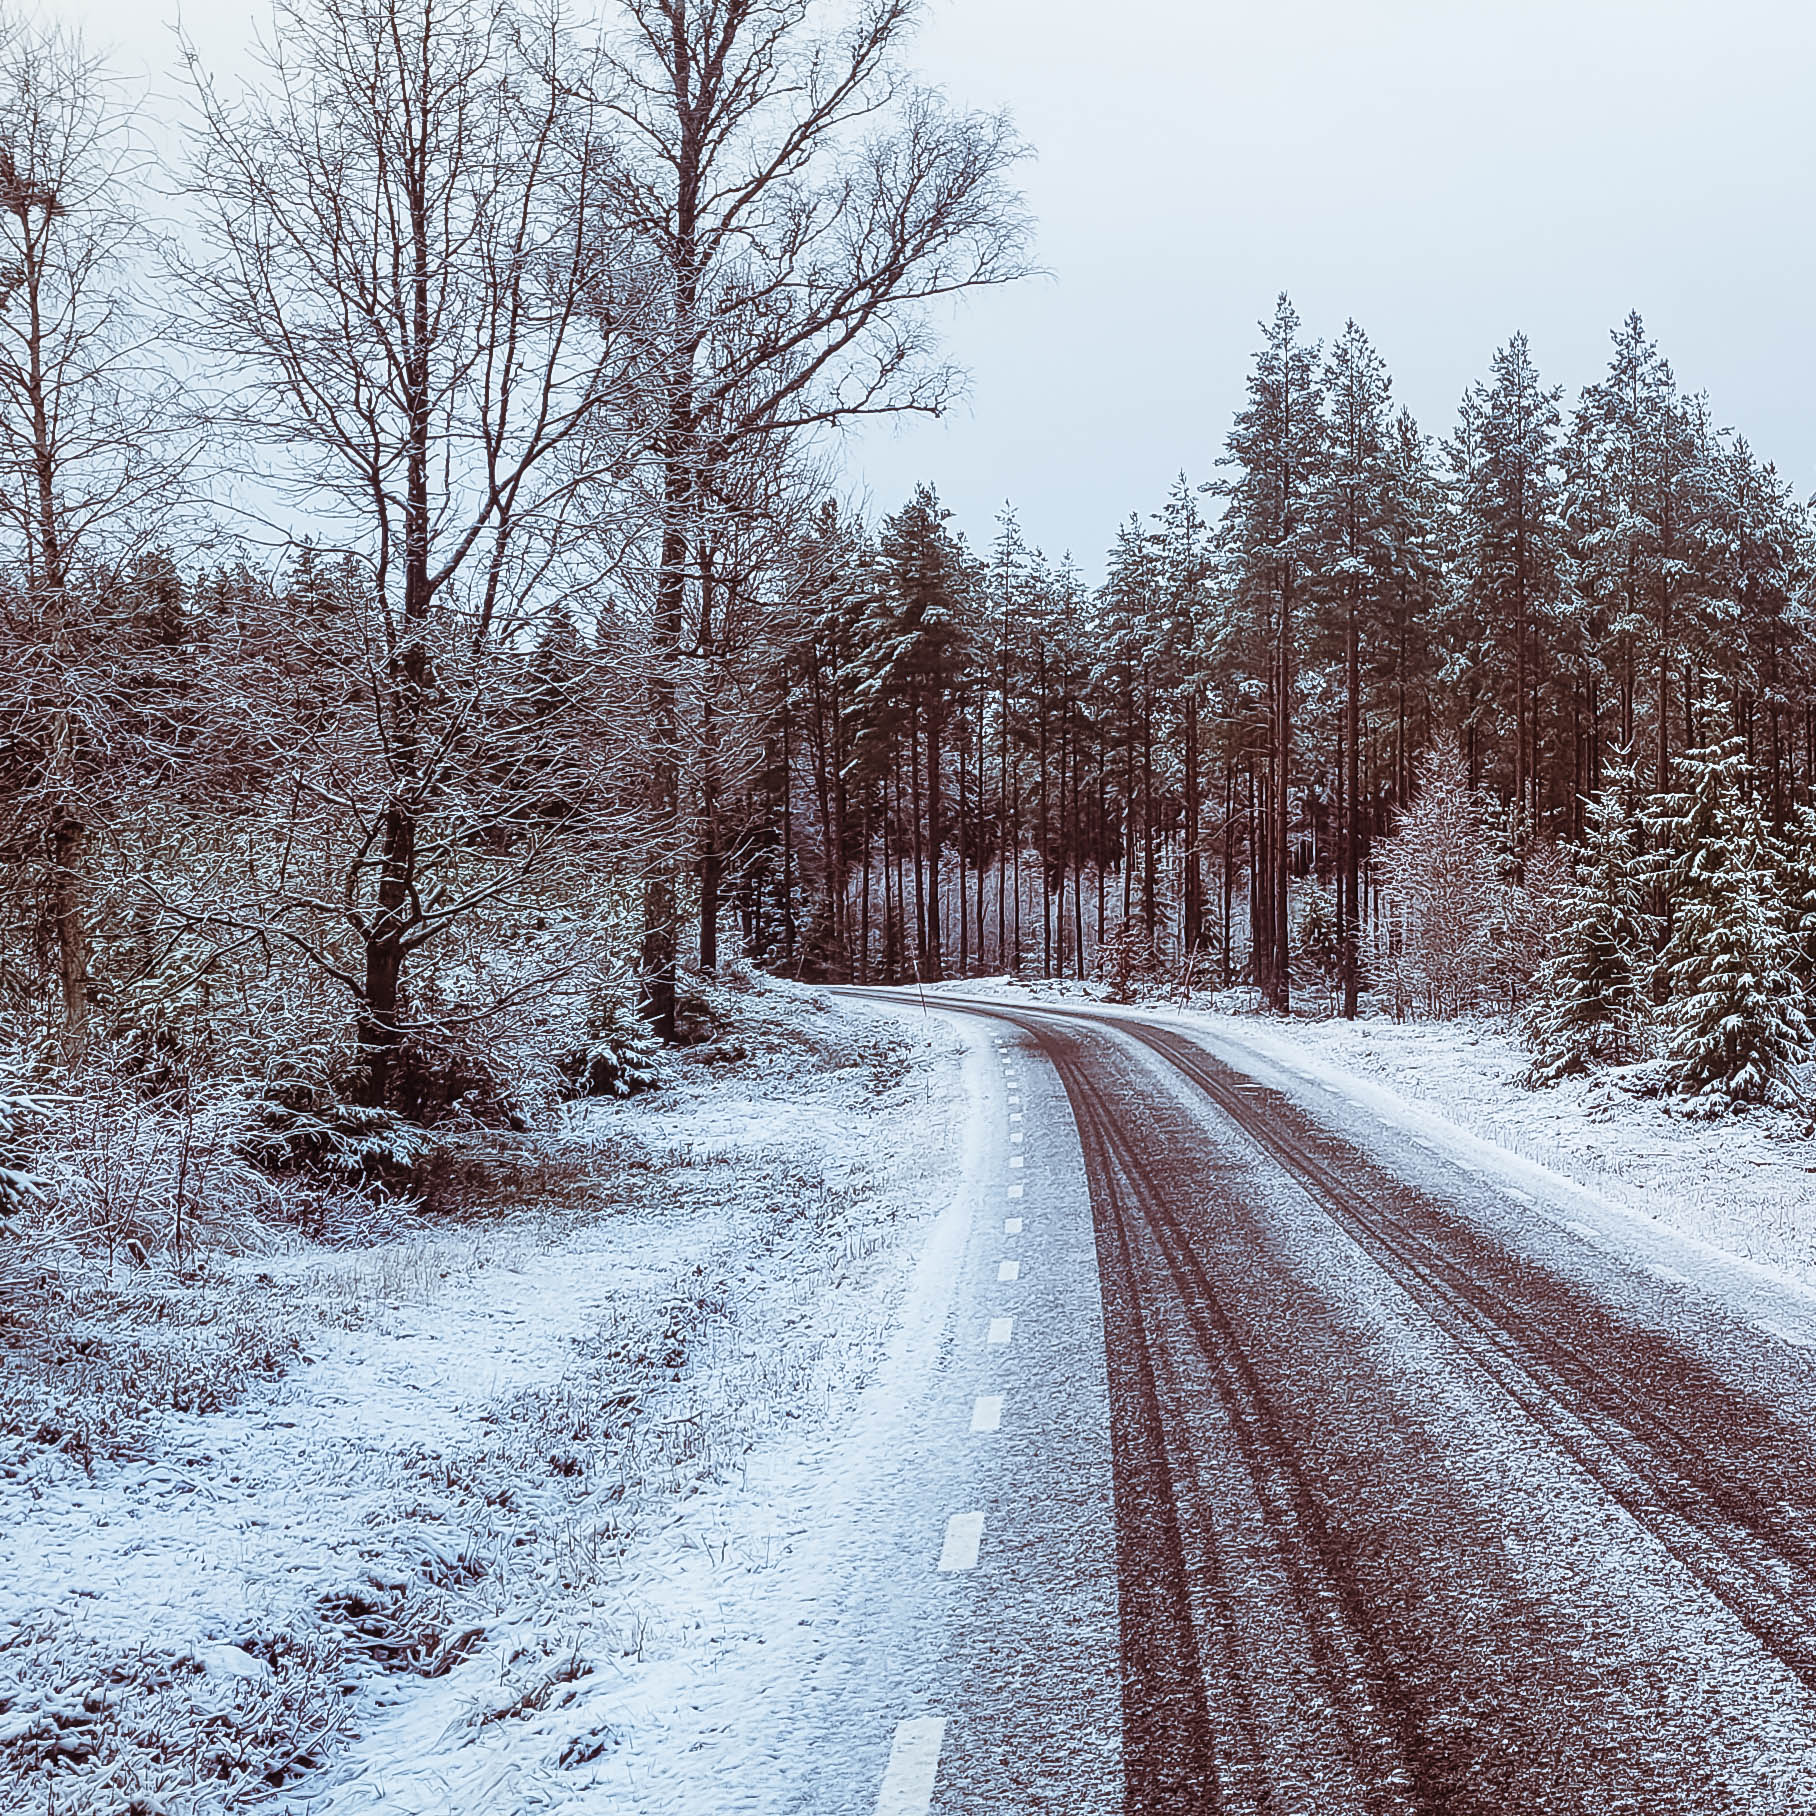
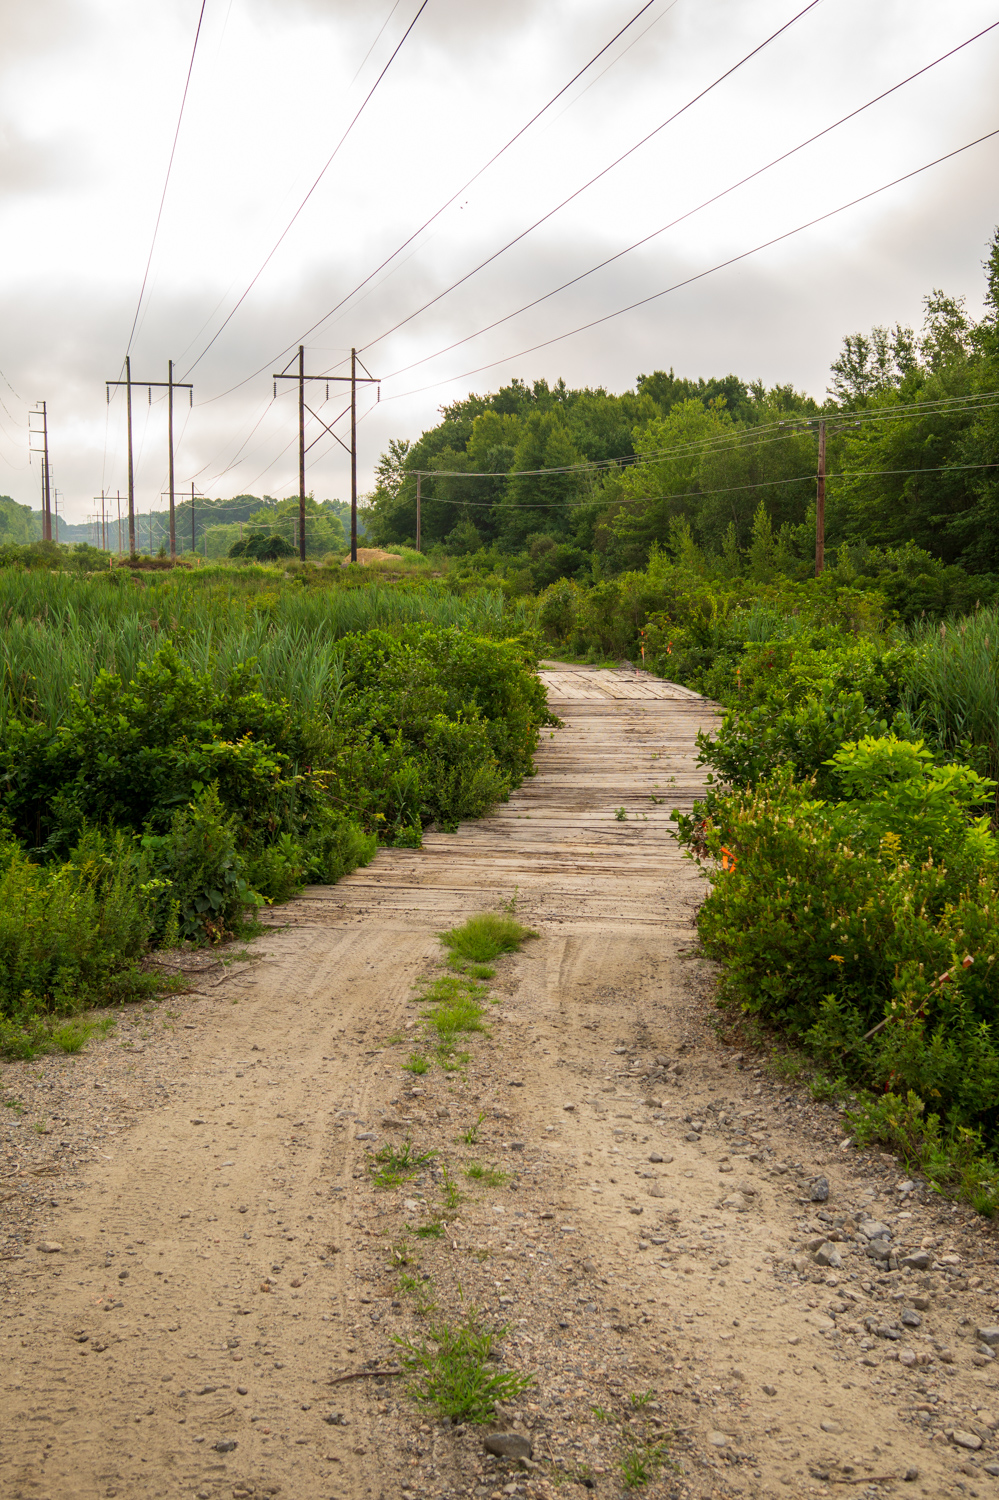
We are starting to get some spring-like weather here between the stretches of Sweden-winter-like weather (i.e. cold, overcast and wet). Today was one of them. There is a 2-mile loop from my workshop that takes me around a mile-long lighted running/walking/biking path (Löpanäs elljusspår) through the Rottne countryside and down by lake Innaren. It gets Hoagie and I out for a little over a half-hour and breaks up the day. It hasn’t been too busy during lunch-time which allows me to let Hoagie run a little bit.