A wonderful day to stay home sick…

I’ve been fighting a cold all week. I decided it was winning this morning. So I get to enjoy a nice quiet day at home watching TV and playing on the computer. I went back to sleep this morning and slept until 10:15. It was exactly what I needed.  Now for some more hot tea and couch time.

Maybe this afternoon I’ll feel up for cleaning the house a little bit. But I’ll stay out of the workshop today.

A quick refresh on the back stairs

Several years ago, I painted the back stairs (and the second floor hallway) the same color as the trim (Classic Ivory). That was a mistake. It was much cheaper than getting it refinished, and the original carpet was a disaster, but the paint was impossible to keep looking clean.

So today, I scrubbed the back stairs with TSP, and painted them brown. I think the brown is more traditional and shouldn’t show the dirt as easy. As a side note, the TSP did a great job cleaning off the dirt that had been worn into the stairs, but with two boys and two dogs a light-colored floor is just not a good idea.  I’ll eventually repaint the second floor hall, but that is a little bit more involved process (there are two stairs, so painting the back stairs doesn’t impact anyone).

Before and after pictures are below. They do need a second coat, but you can get the idea of how it will look.  I used “Floor and Porch” paint from Sherwin-Williams.  The paint color is “Tea Chest” (SW 6013).

The back stairs before painting. They are extra dirty from having a rainy/muddy weekend with the boys
The back stairs before painting. They are extra dirty from having a rainy/muddy weekend with the boys.
The back stairs after the first coat of paint. The goal was to pick a brown that would go with the green hallway. I'm not sure the picture does the colors justice.
The back stairs after the first coat of paint. The goal was to pick a brown that would go with the green hallway. I’m not sure the picture does the colors justice.


Progress (finally able to paint)

Will's room with a first coat of paint on the walls. The chimney in the foreground is the accent color
Will’s room with a first coat of paint on the walls. The chimney in the foreground is the accent color

I was finally able to start painting Will’s room. Susanna had previously painted the ceiling white  while I replaced the damaged wall. We are changing the room color from the previous green-blue to a blue with off white trim, and a gold color as the accent color (the chimney and doors are the accent color, and maybe one of the short walls, we will see when we get to that wall).

I found a section of the wall that missed when caulking the trim, so I will do that tonight before the final coat on the walls.  The trim will need to be painted as well.

The colors are all from Sherwin-Williams.  The walls are “Down Pour” (SW 6516) and the accent color is “Empire Gold” (SW 0012). The accent color is left over from the kitchen, but it seemed to complement the walls pretty well.  The trim will be classic ivory.

It is a cold and rainy day today.  A perfect day to get projects done in the house. I have a project in the works, but I’ll post about that when I”m finished with it tonight.

Back into the workshop

After a cold start to the long weekend, I was able to get back into the shop on Monday. The rain came on Monday, and with the rain came temperatures in the 40s. That isn’t too cold to heat up the shop to a  comfortable working temperature.

Kitchen Island base glued up with a piece of hickory that will wind up in the top

I did the assembly and glue-up of the kitchen island base on Monday, and spent time Tuesday night cleaning up the base. Of course, I can see all the flaws in the piece. I’ll have to be more careful with the joinery on the next project.  I’ll have to live with the less than perfect joints.

I had also planned on doing a bottom shelf, but forgot to cut the rabbets for the shelf on the bottom stretchers. I’m sure I could add a bottom shelf later if it is desired. I’ll have to see how it fits in the kitchen (and defer to what Susanna wants for the project).

The next steps are to take the base into the basement and spray finish it. I also have to finish milling the hickory for the top and glue up the top. I haven’t decided if I’m going to do a breadboard end for the top or just leave it plain.

Breadboard joinery (picture from finewoodworking.com)

Sprouts, Sprouts, Sprouts and getting ready for spring

Easy Sprouter and harvest
Easy Sprouter and harvest with seeds from sprouthouse.com in front

I figured it would be appropriate to follow a post on renovating the house with ADHD with a post on a completely unrelated (new) project.

Sprouting. Luckily this project doesn’t take much time.

We had periodically purchased sprouts at the store and used them in place of lettuce on sandwiches and for snacks. However, they are expensive, and the quality at the store greatly varies. So, I bought some seeds and tried sprouting in a mason jar. It was amazingly simple.

This time of year, getting greens is difficult. The lettuce at the store is bland. Most of the vegetables have been shipped from the southern hemisphere. Sprouts are a good way to get some variation with little work.

I purchased two Easy Sprout Sprouters from the The Sprout House. They came with a pound of valentines day sprouting seeds each. The process is pretty easy:

  1. Take a 1/8-1/4 cup of seeds and soak in a weak bleach solution (1 tsp bleach/1 cup of water) for 15 minutes.
  2. Rinse thoroughly.
  3. Fill the sprouter with water, covering the seeds.  Soak for 8-12 hours and drain.
  4. Rinse and drain two to three times a day.
  5. After 3-5 days, the sprouts are ready to harvest. I rinse them and spin them out in a salad spinner and let dry on the counter for a couple of hours before putting in the refrigerator.

Two Easy Sprout Sprouters gives us more sprouts than the two of us can eat. I have decided to wait a day between harvesting a batch and starting a new batch. The home-grown sprouts are much better tasting than the ones you get from the store, and there are lots of choices for sprout seed mixes.

In a (mostly) unrelated topic (only related somewhere in my mind), I started seedlings for the garden this spring. I started the pepper plants this weekend.  I’ll start the tomato plants in a month or so. I’m trying to get a few more plants growing in the garden than I did last year, but not making any more garden space.  I’m planning on building trellises this spring and growing the plants up. More about that as the spring gets closer.

Tucker trying to find warmth and sun next to the (soon to be) pepper seedlings
And, to not leave Targa out... enjoying the sun and warmth on the sun porch.
And, to not leave Targa out… enjoying the sun and warmth on the sun porch.

Renovating a house (with ADHD)

It is not about finishing projects. Okay, I guess it is. But I can’t think of it that way.

Let’s start over. I was telling the end of the story first.

The house doesn’t have ADHD. Well, maybe it does. That could be one of the things that appealed me to it in the first place. I have a vision on how it could look like.  “Look at how it could be, not how it is right now,” I would tell everyone. And yes, it has great potential. It is just a long path to get there.

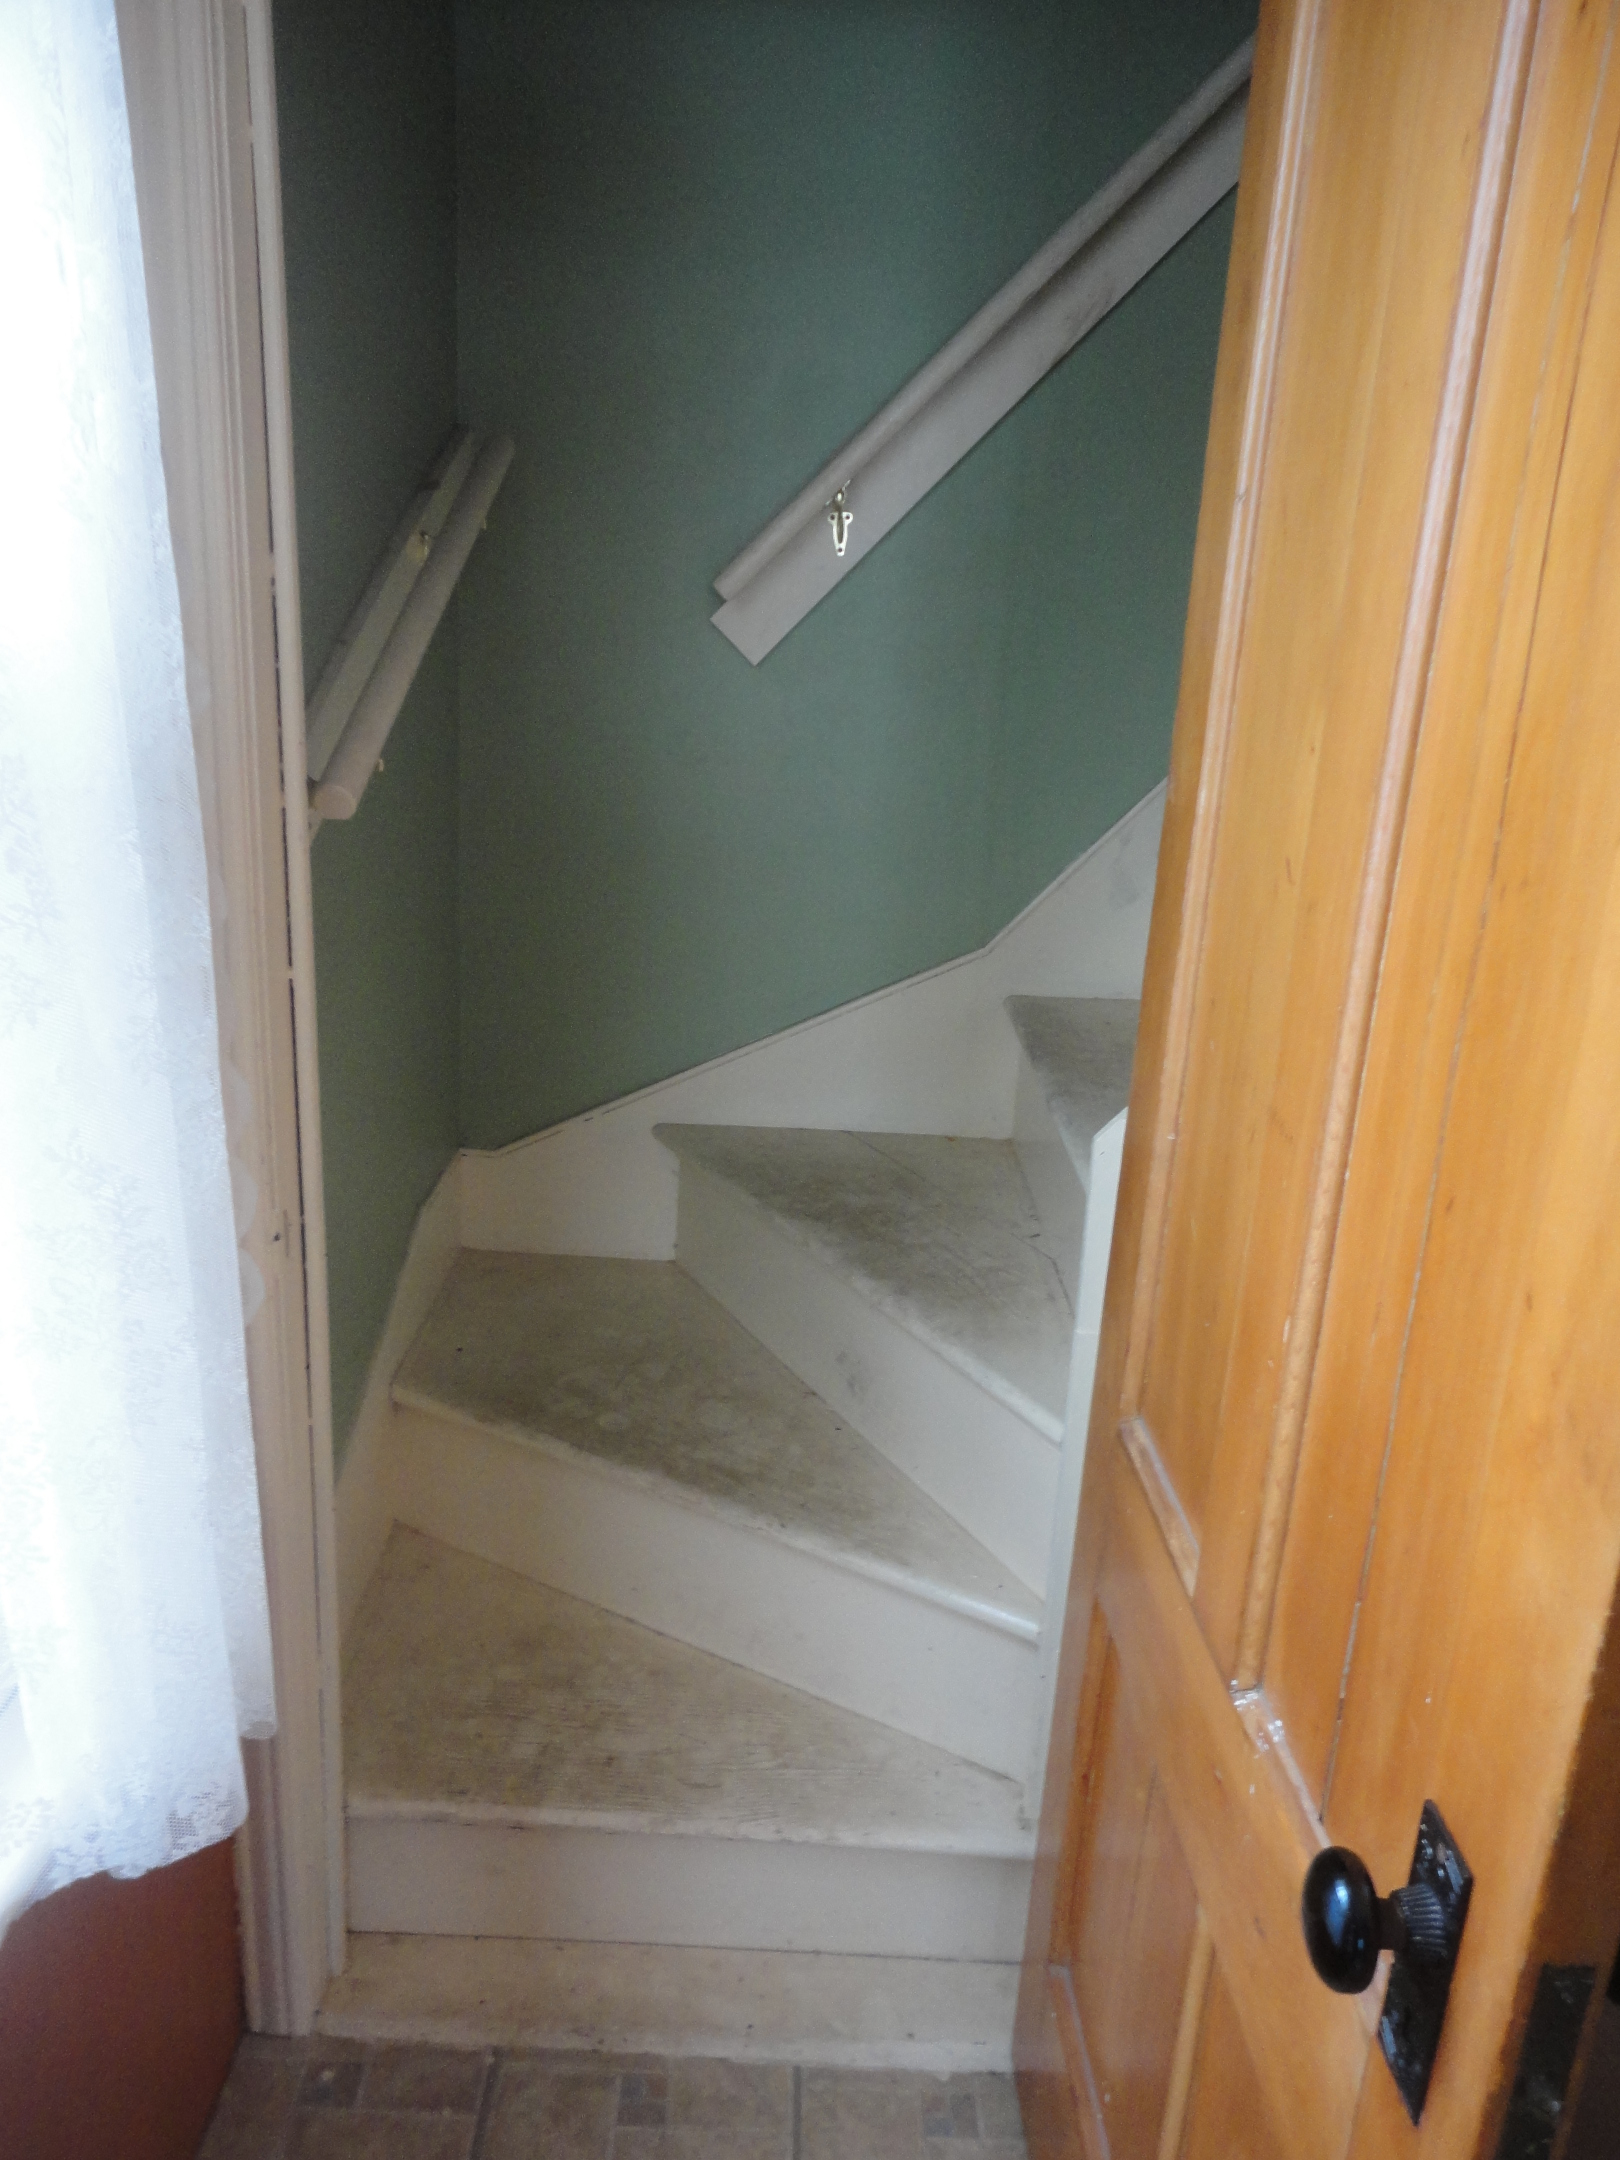
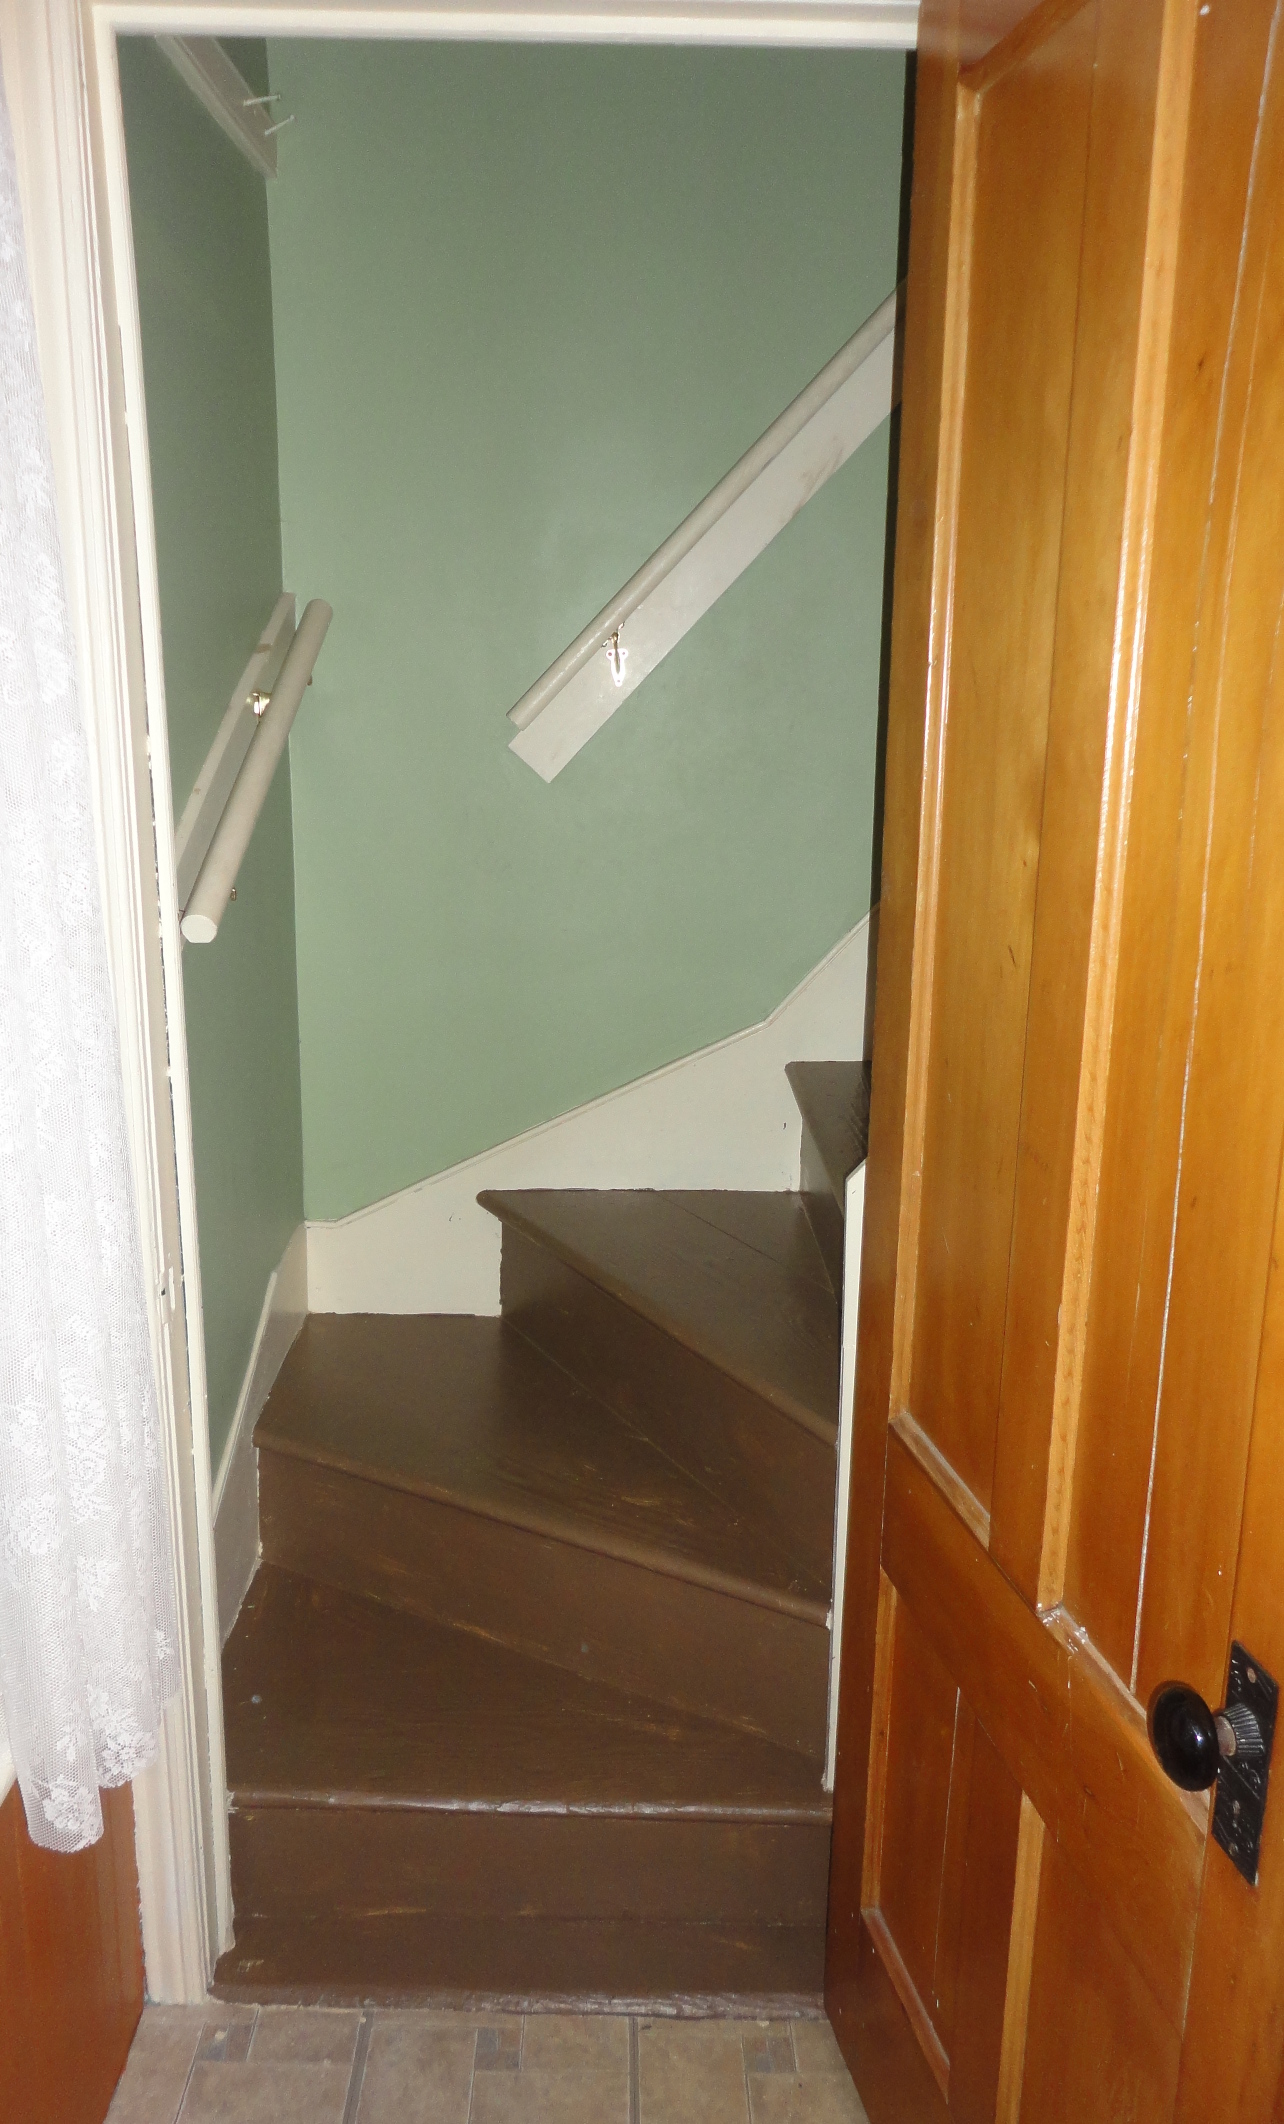
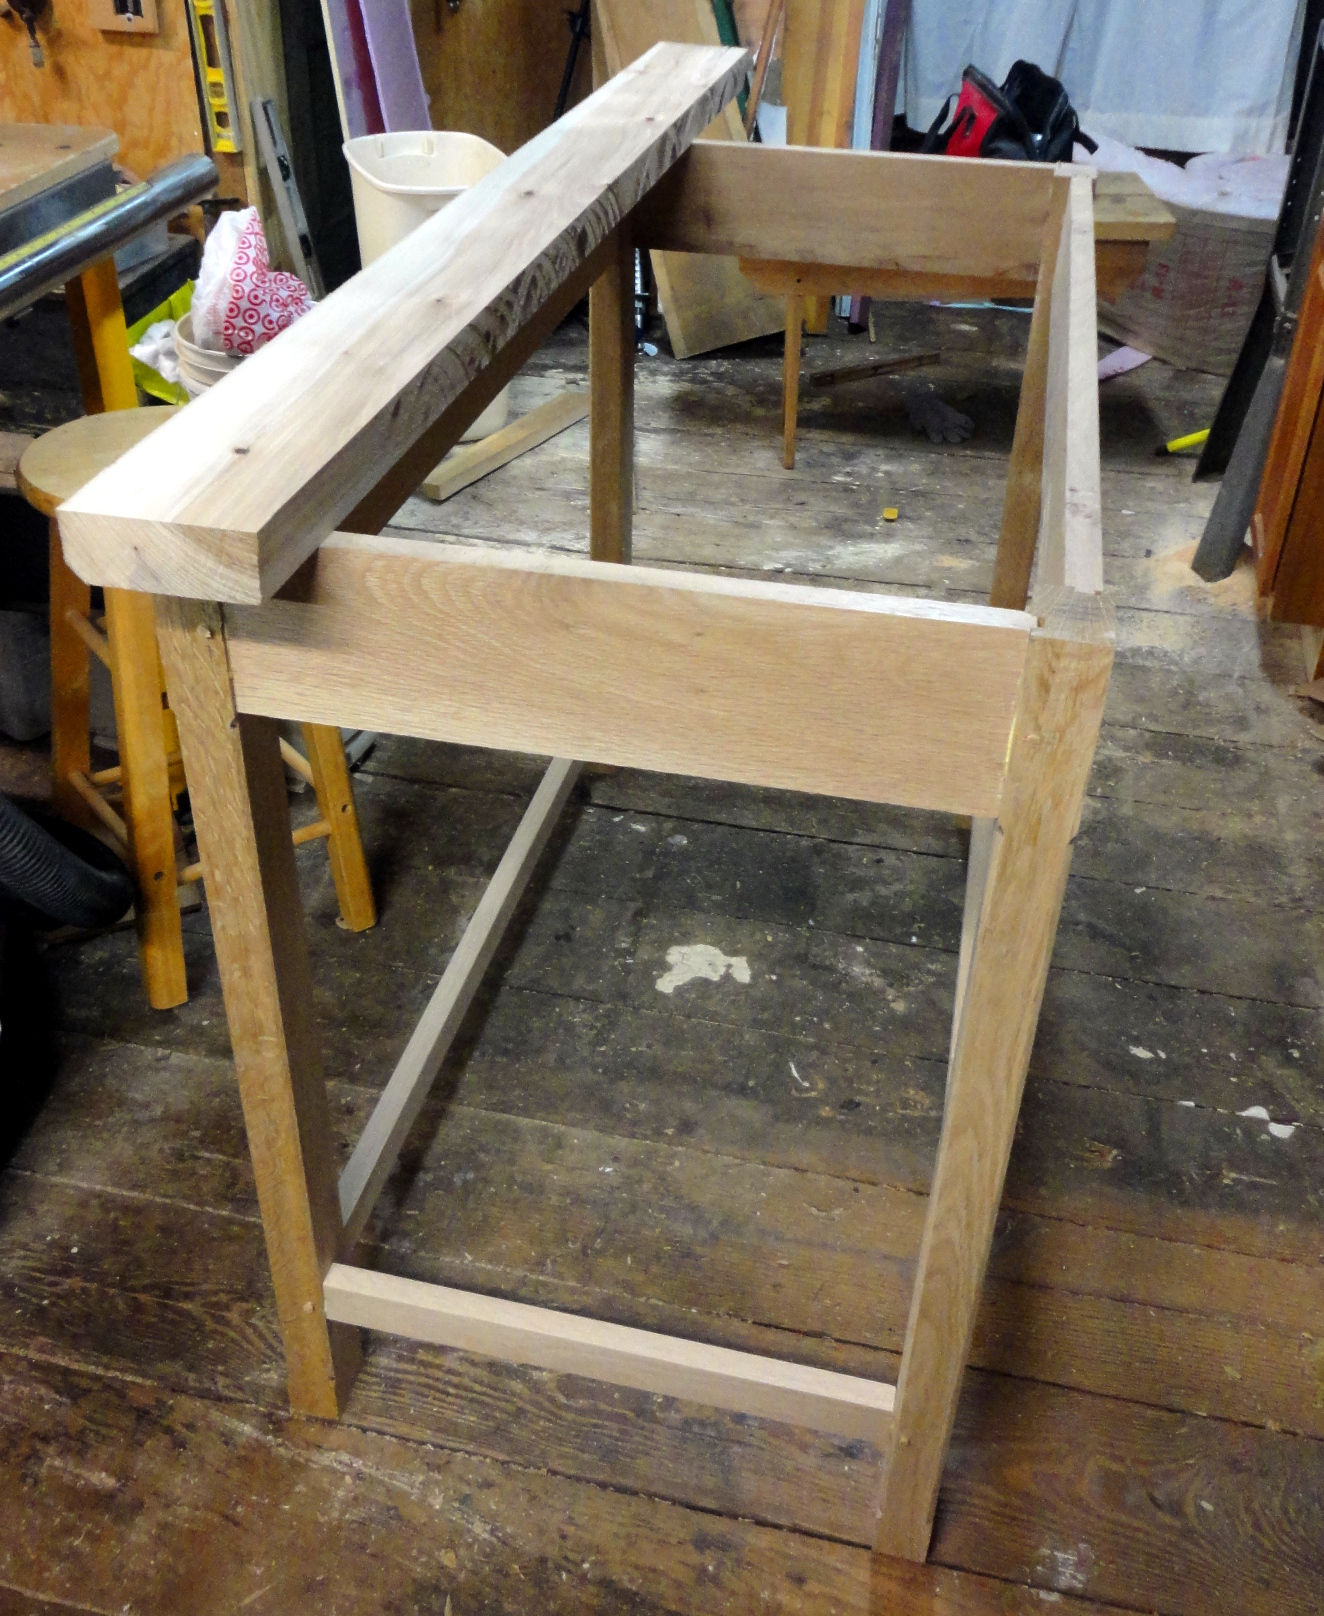
The house likes to have lots of little projects for me to start. Or maybe that is just me.  A section of the wall in Will’s room comes down when I would rather focus on other projects. It did the same trick, but with a section from the ceiling of Ben’s room several years ago. Things like a leaking steam valve in the hallway (I just turned the radiator off – one of these days I’ll get supplies and repack the valve). Or pocket doors that don’t fully function (which may be good, the doors are heavy, I”m sure the boys would have smashed themselves between the doors if they worked). All projects waiting to be started.

But I’m making progress. Or I should say, we are making progress. I’ve had lots of help from Susanna. My dad has helped me make huge steps in several of the more challenging projects. Both my parents, friends at work, and Susanna all spend lots of time talking about what to do with the house.

But like I said, it isn’t just about finishing projects. Although it kind of is. I like to start projects. New projects are fun and exciting. And this house likes to give me new projects to start. But after a while, a project isn’t new anymore. Then it gets boring, and it can be too easy to look for another new project to start. So, for me, it comes down to not starting new projects. If I get bored with a project, I can take a short break. But I can’t start a new project. That strategy is important in more than house renovations. I use it in the workshop. I don’t yet use it for the sailboat, but I should.

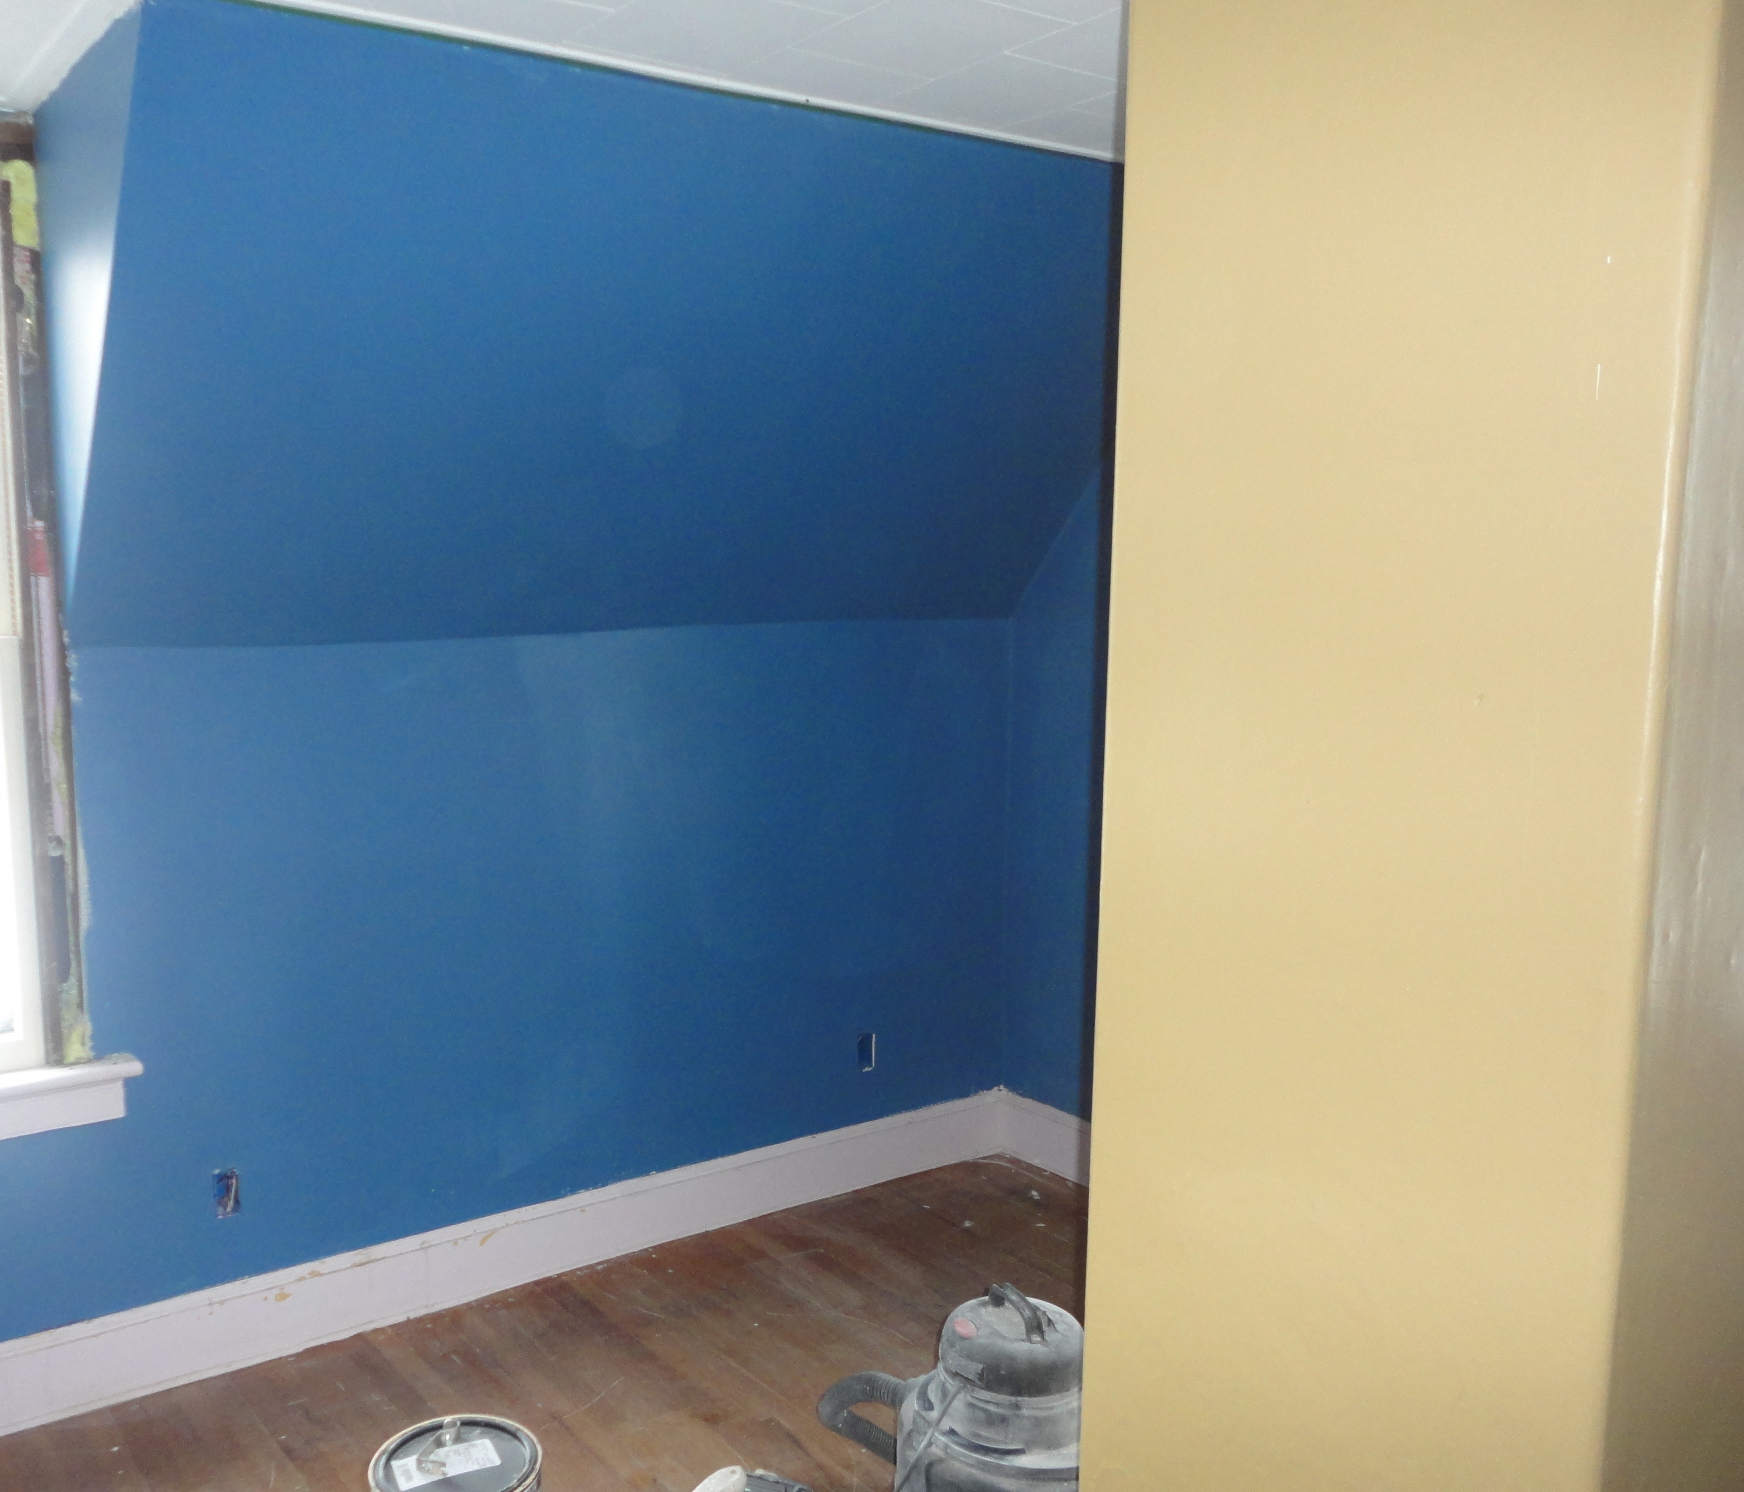
I think we are both doing better (the house and me). The outside is half-way painted (and looks fantastic), but that was Susanna’s project – and she doesn’t have the same problems finishing things that I do. I did finish Ben’s room after many years. The kitchen is finished (for now, until we do a full renovation). Will’s room is coming along. Now I should stop writing and get to work on Will’s room (speaking of getting distracted – I almost didn’t finish the previous sentence – good thing I proofread this).

For a different perspective of life here, check out Susanna’s blog at susanna.curtishome.net.

Old Family Photographs (memories from the 70s)

I am enjoying a quiet evening listening to Susanna play the piano. It is cold and windy out, perfect for looking through old pictures. Here are some from when I was (much) younger.

My grandfather (Papa) and my brother
My grandfather (Papa) and my brother Bill
Playing on the rocket ship at the park Webster Groves with Bill
My dad sledding with Bill and me
A young me
A young Chuck
A young Bill
A young Bill
My mom sliding down from  the rocket ship at the park in Webster Groves
My mom sliding down from the rocket ship at the park in Webster Groves


Drill bit upgrade

Carbide Drill Bits from Lee Valley & veritas

I had to drill a bunch of 1/4″ holes for the counterbore pins for the base of the kitchen island. The base is constructed from white oak. I drilled the first few from the 1/4-inch forstner bit I had on hand. The bit quickly heated up and dulled.

I ordered a 1/4″ carbide tipped brad-point drill bit from Lee Valley. The drill bit arrived on Friday, and yesterday I completed drilling the holes out for the counterbore pins. The 1/4″ bit was $19.70+shipping, and was worth every penny. The bit didn’t overheat, and cut amazingly clean holes.

I’ll be adding to my collection of carbide-tipped drill bits as I need them for projects. I don’t want to put out the money for a full set of the bits right now, so I’ll get them one at a time. Also, these are only designed for drilling in wood, and won’t be used for general household use.