Nightstand Update

Making wood shavings with my smoothing plane

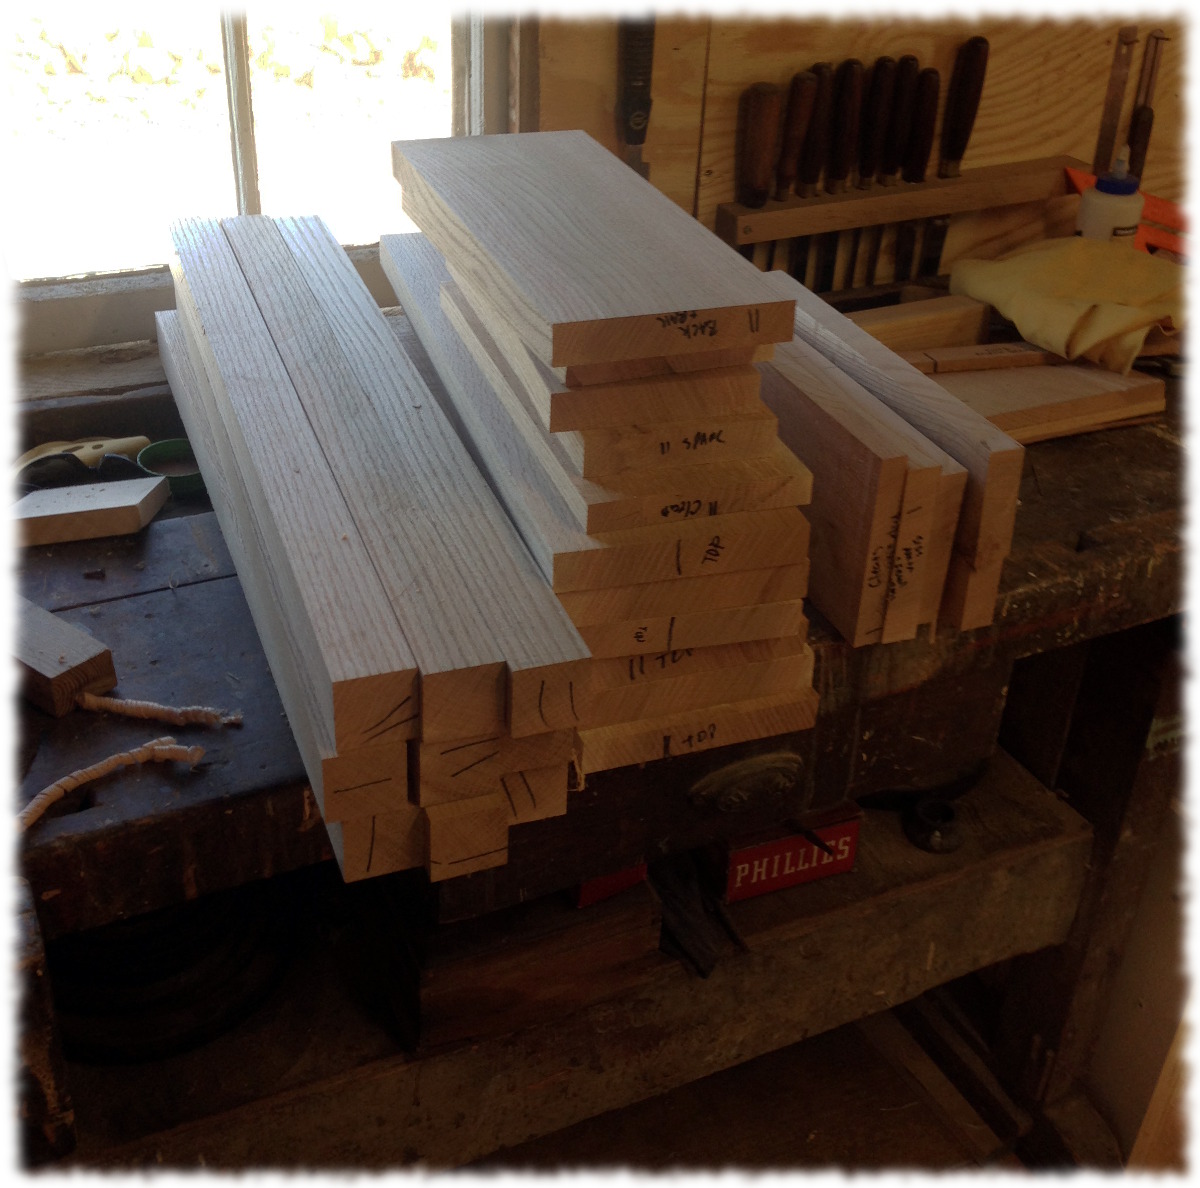
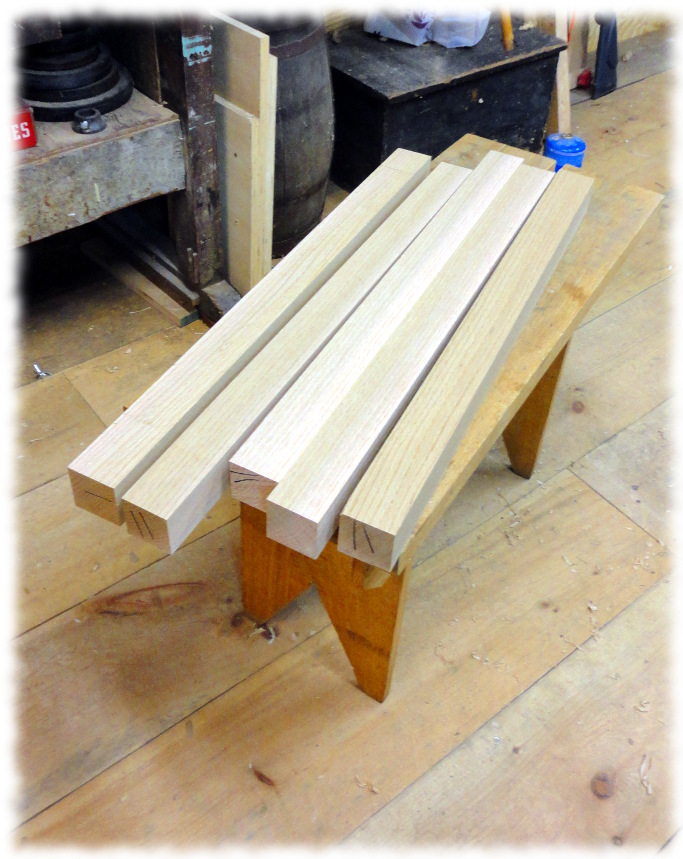
This week I found some time to work on the nightstands. I have material milled for both stands, but focused on putting together the first stand. Will came over for dinner on Tuesday night, and for the night on Wednesday, so I had a little less time than I had planned – but it is worth taking time from the workshop to spend with him. But I also did get workshop time both nights (a big thank you to Susanna for encouraging me to get out of the house and work on my projects).

I was able to get the carcase of the first table assembled. I still have to adjust one tenon and clean up two of the aprons prior to gluing up, but I should be able to glue up the carcase the next time I’m in the workshop.

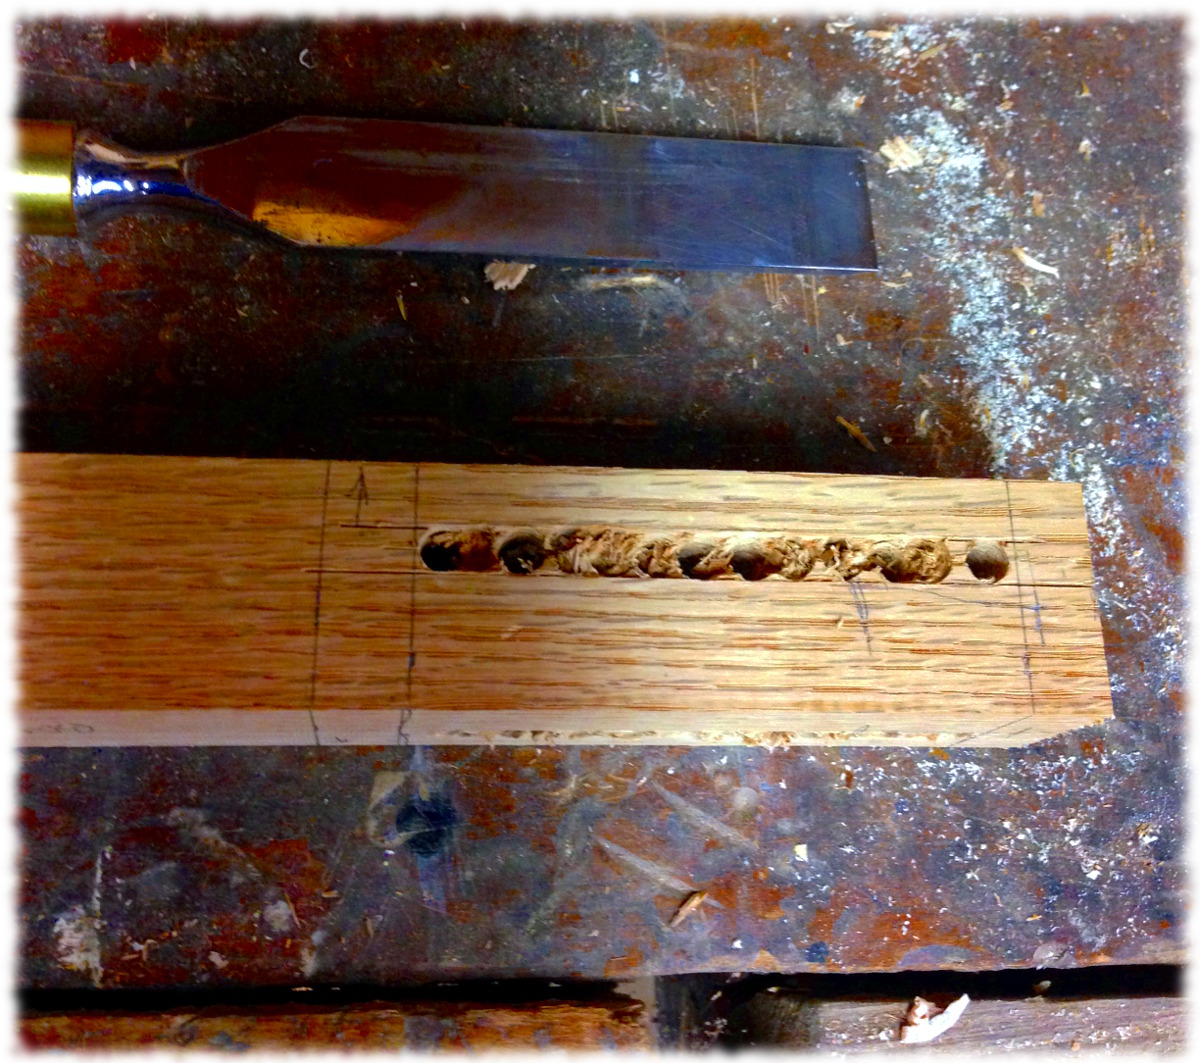
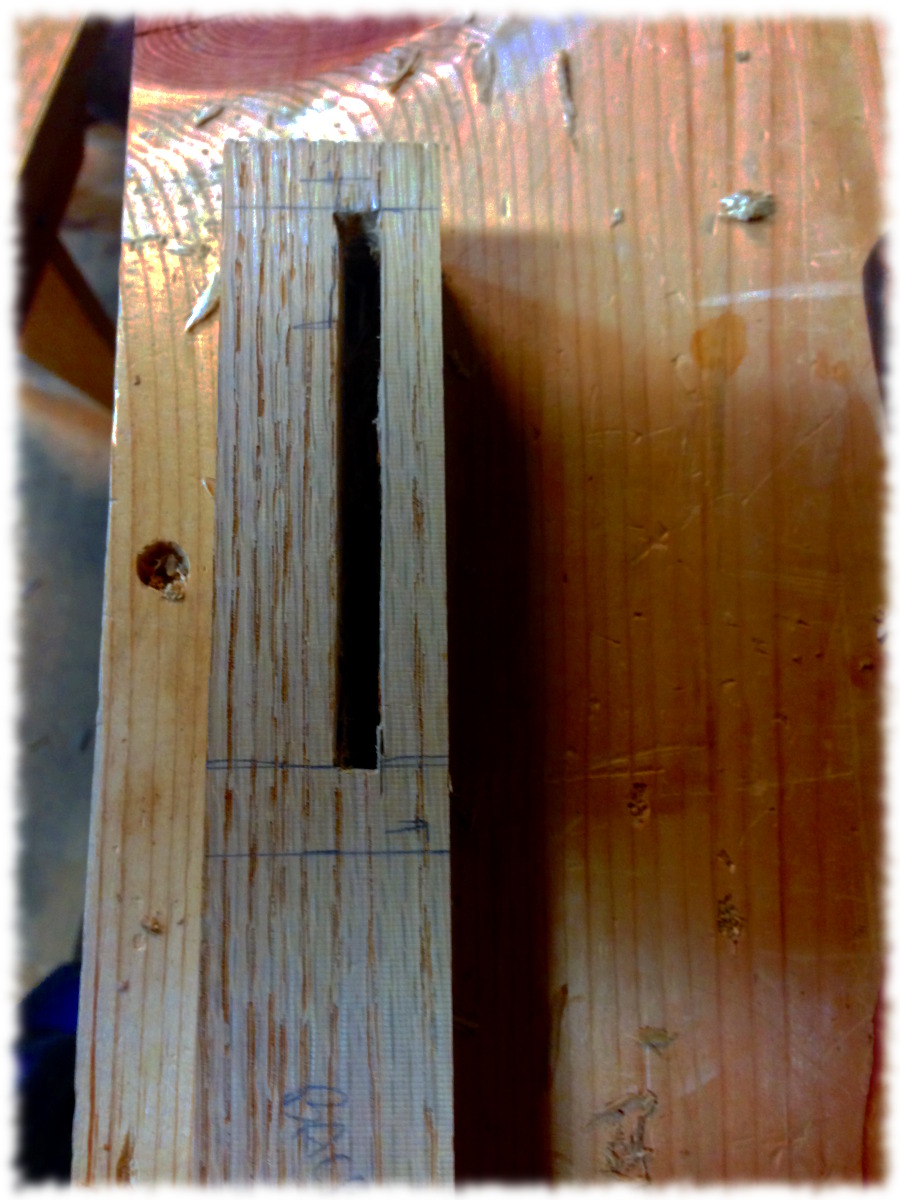
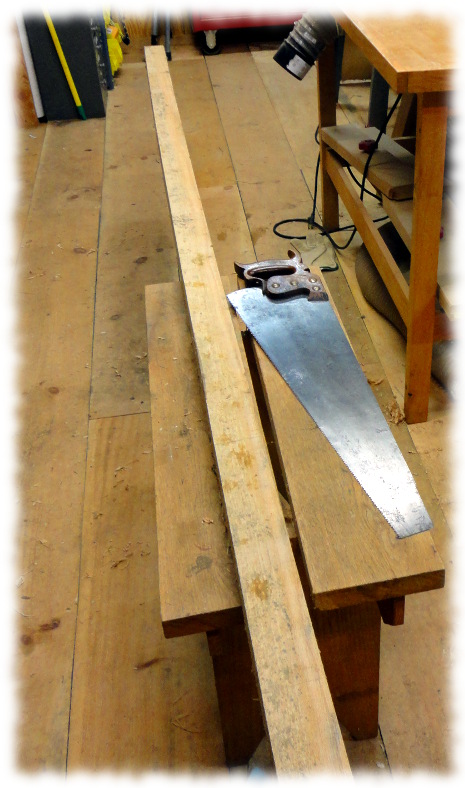
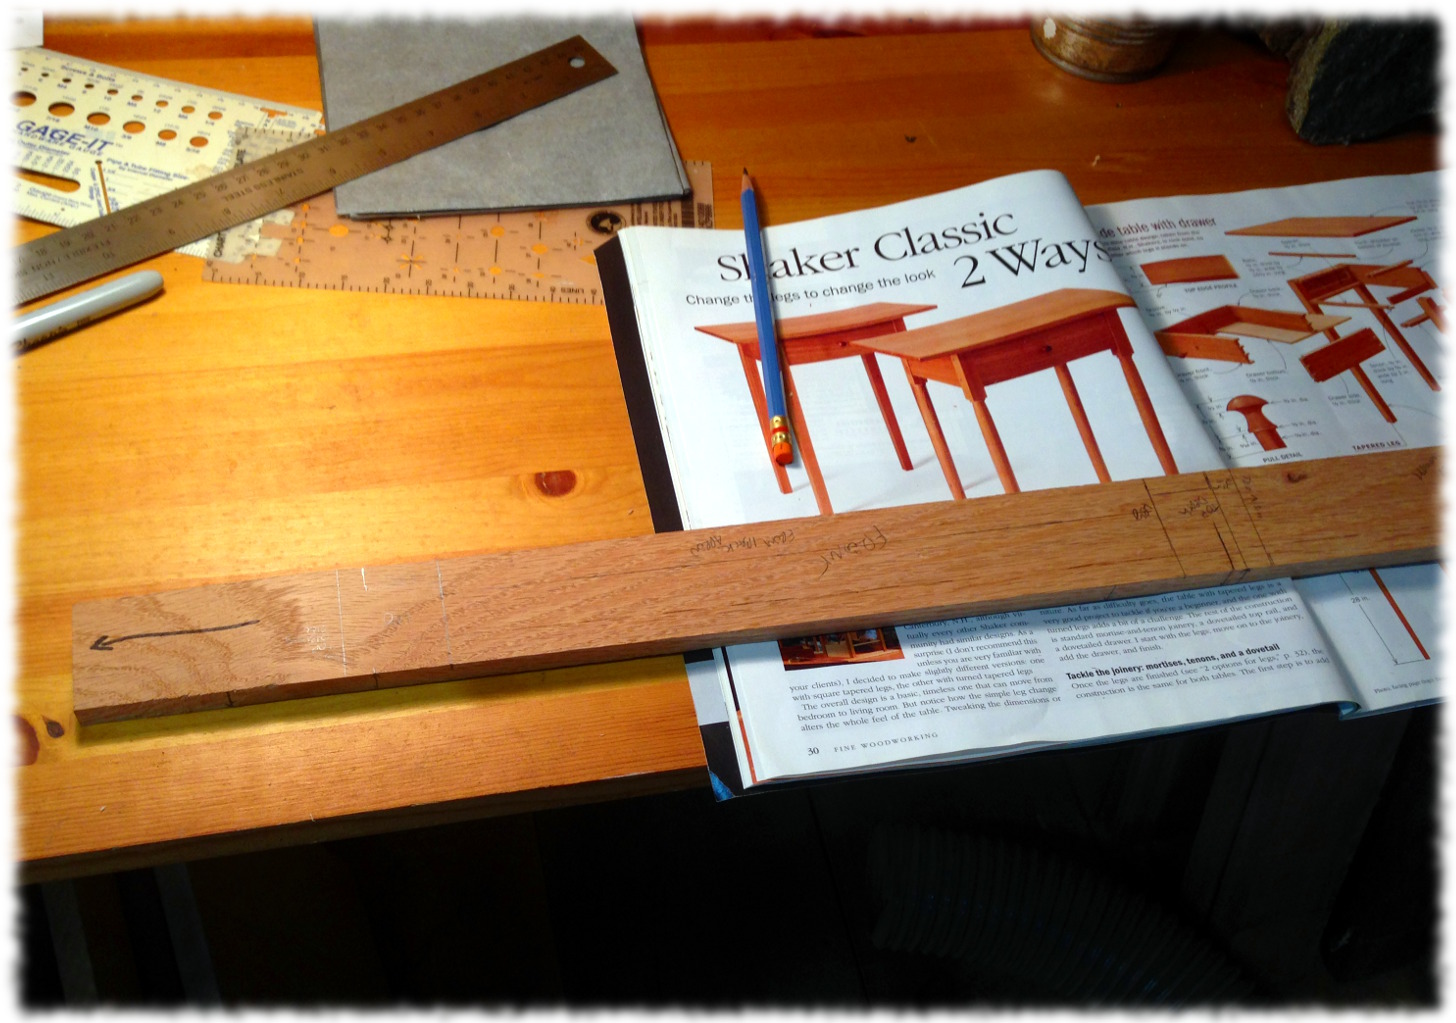
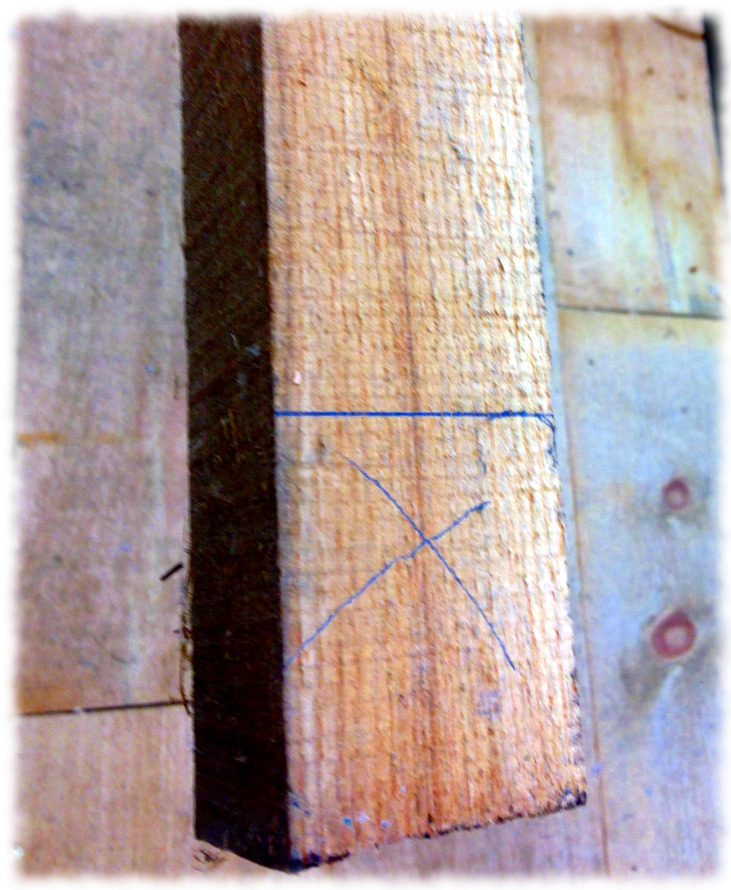
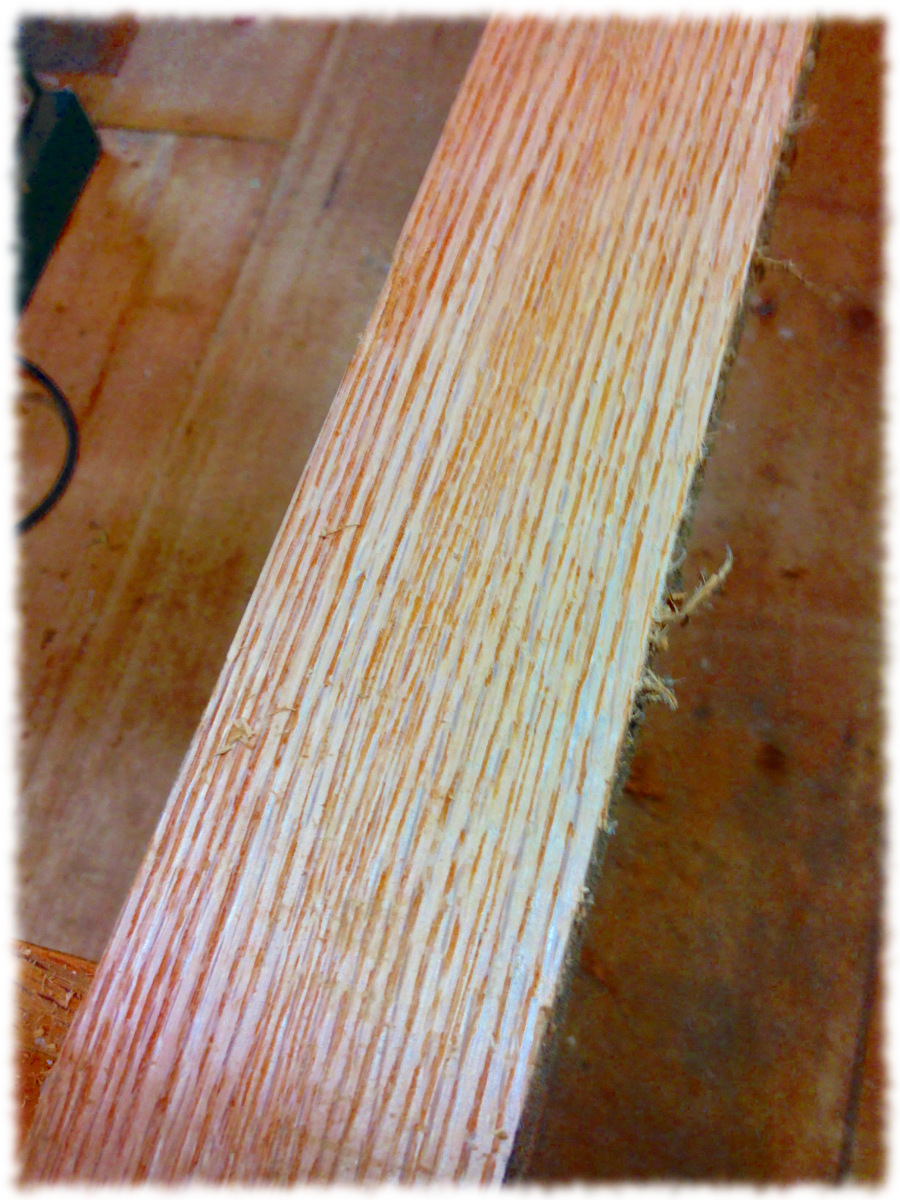
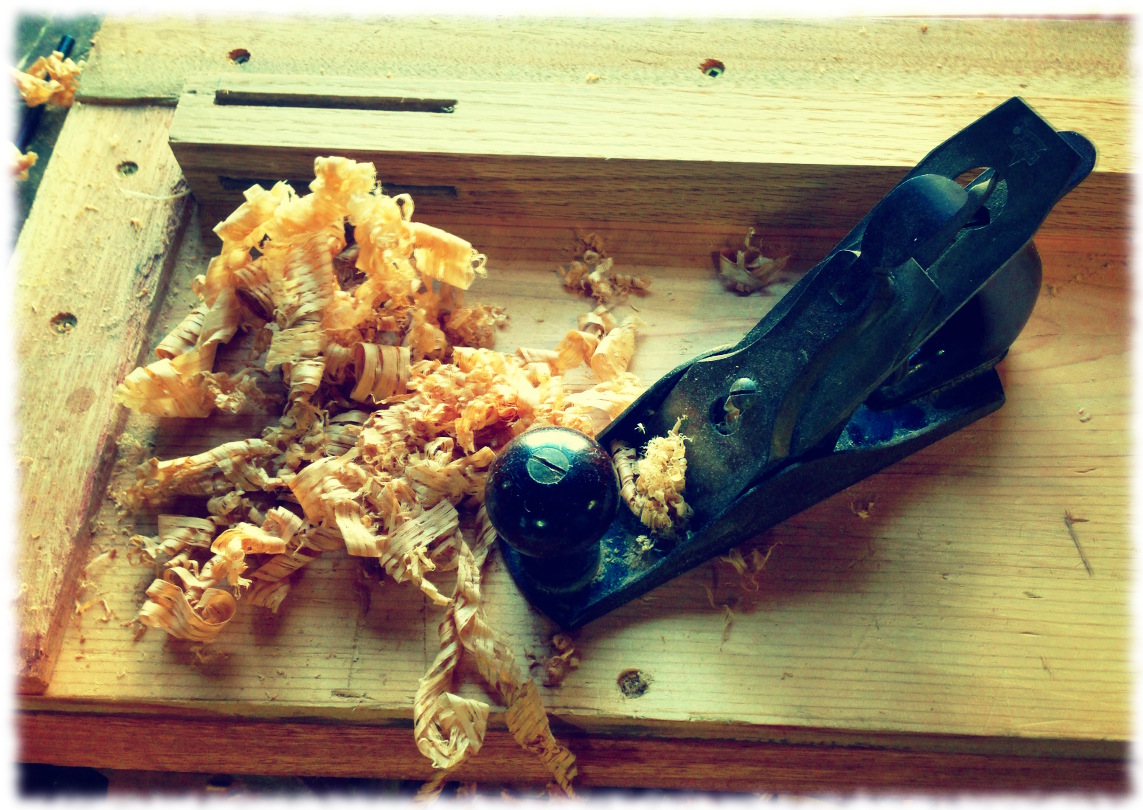
The tables are made from red oak. I cut the mortises by drilling out the waste on the drill press and using a chisel to clean them out. I could use a good 1/4″ mortise chisel – that will be on my Christmas list (I’d love a 1/4″ English Mortise Chisel by Ray Ilse from toolsforworkingwood.com). The tenons were cut by hand. I did the first several using my dovetail saw – but the saw is for detail work and took forever to cut the tenons. The last two I cut using my carcase saw (an old backsaw sharpened by Matt Cianci – “The SawWright”). If you have any old handsaws that you need sharpened, I would highly recommend him. He is backlogged, and it takes 10-12 weeks, but a professionally sharpened handsaw is amazing to use.

Table carcase assembled

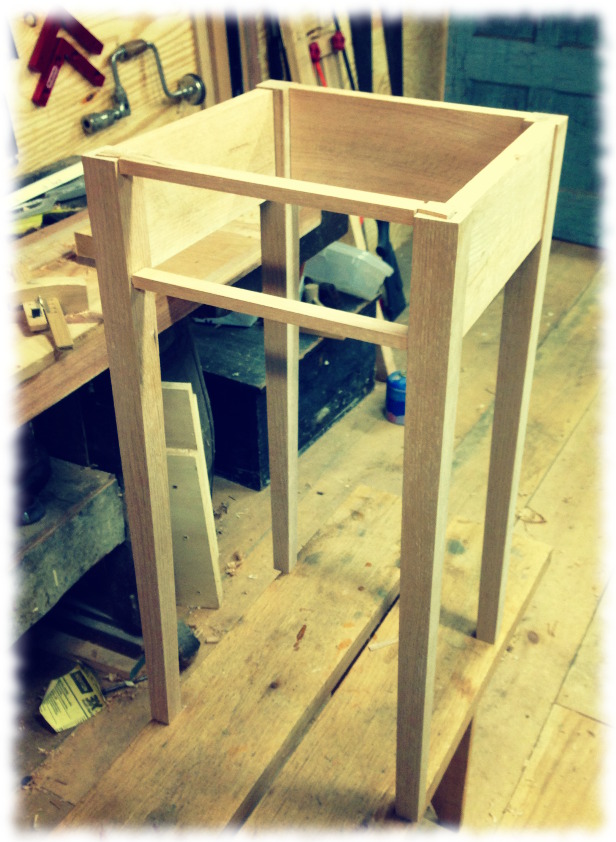
The next step is to glue up the table and add the cleats/runners. Then I have to finish milling, glue up and add the top. Finally, I will have to mill the lumber for the drawer and build the drawer. I’m still a little nervous about cutting the dovetails for the drawers.

I plan on trying to route out the mortises on the next table using a 1/4″ upcut spiral router bit I just purchased. I’ll let you know how that works out. I am not sure I can get the full 1″ depth of mortise on the router table. I may have to clean out the tenons with a chisel – so it may not save me much time on construction.

Almost ready for Halloween

Will showing off his Halloween costume. Nice and scary.

The boys are with us this week and Susanna’s classroom is short an assistant. That means tired nights, and not much workshop time. But it is worth skipping the workshop to spend time with the family.

Friday was pizza/movie night. I made homemade pizza dough. Twice. The boys and I took a quick trip to the store to pick up cheese and left the dough in Tupperware containers on the counter. In the 30 minutes we were gone, Targa got the dough off the counter. Targa and Tucker ate most of the dough. The boys are now much closer to knowing how to curse like a sailor. I mean, it was only thirty minutes. I came home early and let them run outside for an hour or two before the boys came home. And raw pizza dough. What the f**k is wrong with the dogs?

Today was the boys’ second to last soccer game. They lost (again). But they had fun. Ben twisted his ankle during the game (okay, I think that part wasn’t so much fun), so he decided to hang out at home this afternoon. 

I took will to pick up a costume for Halloween, and then to the submarine base for a haunted house. It was much scarier than I had expected – I’m pretty glad that Ben skipped it this year. It was nice to have Will for the haunted house – he was brave enough to lead the way. However, after we left the building (and thought the scary stuff was over), an actor came out from another door with a chainsaw and Will ran as fast as he could. We both got a good laugh about it, and stopped and picked up pumpkins on the way home.

We finished the day with friends over and time playing outside. It was a beautiful New England fall day. Brisk, but not too cold, windy and sunny.

Ben working on carving his pumpkin.

Nightstands – Milling the Lumber (part 2)

Today I continued milling lumber for the nightstands. I cut out pieces for the top and aprons. All the pieces were milled down to 1″ thick – when I am ready to use the pieces, I will mill them the rest of the way.

The lumber for the nightstands. I will mill the lumber for the drawers after the tables are built.

Next I marked out the mortises on the four legs. I double checked the placement. I only have one spare leg if I mess these up. I am using the drill press to remove most of the material for the mortises. The mortises are 1/4″ wide, 1″ deep, and 3 1/2″ long.

The leg after the the drill press. The remainder of the wood in the mortise will be removed by chisel.
The leg after the drill press. The remainder of the wood in the mortise will be removed by chisel.

I was able to complete half of the large mortises on the legs tonight (for one of the tables). After cutting out the mortises, I will taper the legs on the bandsaw (using a hand plane to smooth the cut).

Completed mortise. I will cut the tenons on the table saw and individually fit them to the mortises.

Also, this is my 300th post on this blog in just under 3 years of writing.

Nightstands – Milling the Lumber (part 1)

Getting ready to cut the legs to rough length

Tonight I was able to start milling the lumber for the nightstands. I marked out the rough lumber for the legs and cut them to rough length (about an inch longer than the finished size of the legs). I do the rough cuts with a hand saw on my saw bench. I think it is much easier (and more pleasant) to use the hand saw to cut them to length.

After cutting the boards to length I began the milling process on the legs. The first step to milling the boards is to take a face of the board and make it flat. The boards don’t dry perfectly flat, but these boards are pretty close.

After getting the first face flat, I will turn the boards on the side and get one edge square (90-degrees) to the flat face. Flattening a face and squaring an edge is done on the jointer. If the boards were wider than the jointer, I would have to flatten a face using a hand plane – but I’m not sure I’m ready for that (and luckily I didn’t pull out any lumber for this project that is wider than the jointer (8-inches).

The second step is to mill the boards to thickness. However, the rough boards are almost 3-inches square, and the final dimensions will be under 2-inches thick. I am concerned that the boards may cup slightly when I remove that much lumber. So, tonight I just milled the boards to 2-inches square. I will let the boards sit for a couple of days and then re-flatten and square them before planning them to the final thickness. I use the planer to get the boards to the desired thickness. If these boards were flat (instead of square for the legs), I would then rip them to width on the table saw. I just get these square using the planer.

Tomorrow I will start milling the boards for the top and aprons. It is nice to work with clear, dry lumber. The last couple of outside projects used wet oak and maple which is terrible to mill.

A group of the lets after the initial milling. I will mill up 9 legs (4 per table, plus one spare)
My shop assistant.
My shop assistant.


A short escape to the Berkshires

Susanna and I took a short escape to the Berkshires this weekend. We spent last night in Lenox, MA and enjoyed a tour around western Massachusetts today.  Here are some pictures from the trip.

Visiting Mount Greylock, MA
Susanna enjoying the day.
A stop along the drive.
Visiting Mount Greylock.

The next project

The start of a project - making the plan.
The start of a project – making the plan.

Although the workshop reorganization isn’t totally complete – the workshop is looking pretty good. And since, I don’t want to only spend time cleaning and organizing the shop, I started the next woodworking project today. And yes, part of it is because it is more fun to start projects than finish them. But I plan on trying to keep putting away and sorting out the workshop as I build this project.

I am starting to build two nightstands for the boys (one each to start with). I started with a classic shaker side table plan from Fine Woodworking, and modified the design. The tables will be a little narrower than was in the magazine.

The fist step was to take the plan and make a story stick with the appropriate measurements. That way I don’t have to use a tape measure and risk cutting things to the wrong size. I just have to take the story stick and mark out each part. The story stick was a scrap piece of oak I had in the workshop.

Marking out the boards - making sure to remove an inch or two at the ends of each rough board. This is some 2" square boards for the legs
Marking out the boards – making sure to remove an inch or two at the ends of each rough board. This is some 2″ square boards for the legs

The two tables will be made from red oak. If they turn out nice, I will make another pair out of cherry for our bedroom.  After marking out the dimensions, I made an estimate of how much wood I would need and headed out to the barn to pick out wood. I am using a tree that I had cut into boards a couple of years ago. The lumber is beautiful. It is clear and the boards are thick (probably 1 1/4″ thick each for the thin boards) – so it should be no problem getting nice wood for the project. There is enough lumber from that tree to make several more matching pieces of furniture for the boys.

Of course the lumber was on the bottom of the stack in the garage. I had to unstack the pile, pull the lumber I needed out, and then re-stack the pile. I think Tucker was the only one that enjoyed that part of the project – I uncovered a mouse nest which is endless fun for a beagle to dig through.

After getting the lumber out I started marking out the boards. The next step is to cut the boards to rough size. This will allow me to easily mill the boards (it sucks to try to mill a 10-foot long board), and I can plan out the nicest looking pieces for the most visible parts.

A couple of things that will be a challenge for this project:

  • Each table will have a drawer. I haven’t built drawers before, and will plan on hand dovetailing the drawers.
  • I will attempt to resaw the sides of the drawers (they only need to be 1/2-inch thick). If I can’t do the cut on the bandsaw, I will try to resaw by hand. It is a waste to use the planer to take a 5/4 board down to 1/2-inch thick.
  • The legs will be tapered. I haven’t figured out how I will taper them yet. The magazine shows a jig for the tablesaw. I’m thinking I will either taper them on the jointer or use the bandsaw (followed by a hand plane).
A couple passes of a hand plane expose the nice straight grain in these boards.

Workshop Progress

A "getting closer to clean" workbench
A “getting closer to clean” workbench

Today wa a chore day. The boys had friends over and, for the most part, spent the day playing rather than fighting. I spent time organizing the garage as well as the wood pile under the workshop. The chilly morning encouraged me to install all but two of the storm windows.

After morning chores, I spent time picking up and organizing the workshop. I have most of the bigger power tools where I want them (or at least where I think I want them). I have as much of the floor put down as I have lumber for right now. Now it is time to clean up and find a home for everything. It helps me keep somewhat organized if everything has a place. Not that I always put things back in their places. Actually, it is a challenge to keep any space organized. But having a home for everything helps.

I added a small “desk” in the corner. I’m not sure I’ll use it too often, but I like the look. It is just a deep shelf at desk height, nothing complicated. But it will give me a place to plan projects. At least in theory. I’m sure I’ll mostly plan projects sitting on the couch in the living room. I’ll also now have a place to put the chair when it isn’t in use.

I am nice and tired tonight. So are the boys. And the dogs. Back to work tomorrow. At least it is a short work week.

New desk height shelf in the corner of the workshop. Under the 10,000 woodworking books/magazines I have.