The hallway was repaired and repainted several years ago. The floor was refinished a couple of years after the hall was done. The only part that wasn’t finished was the ceiling.
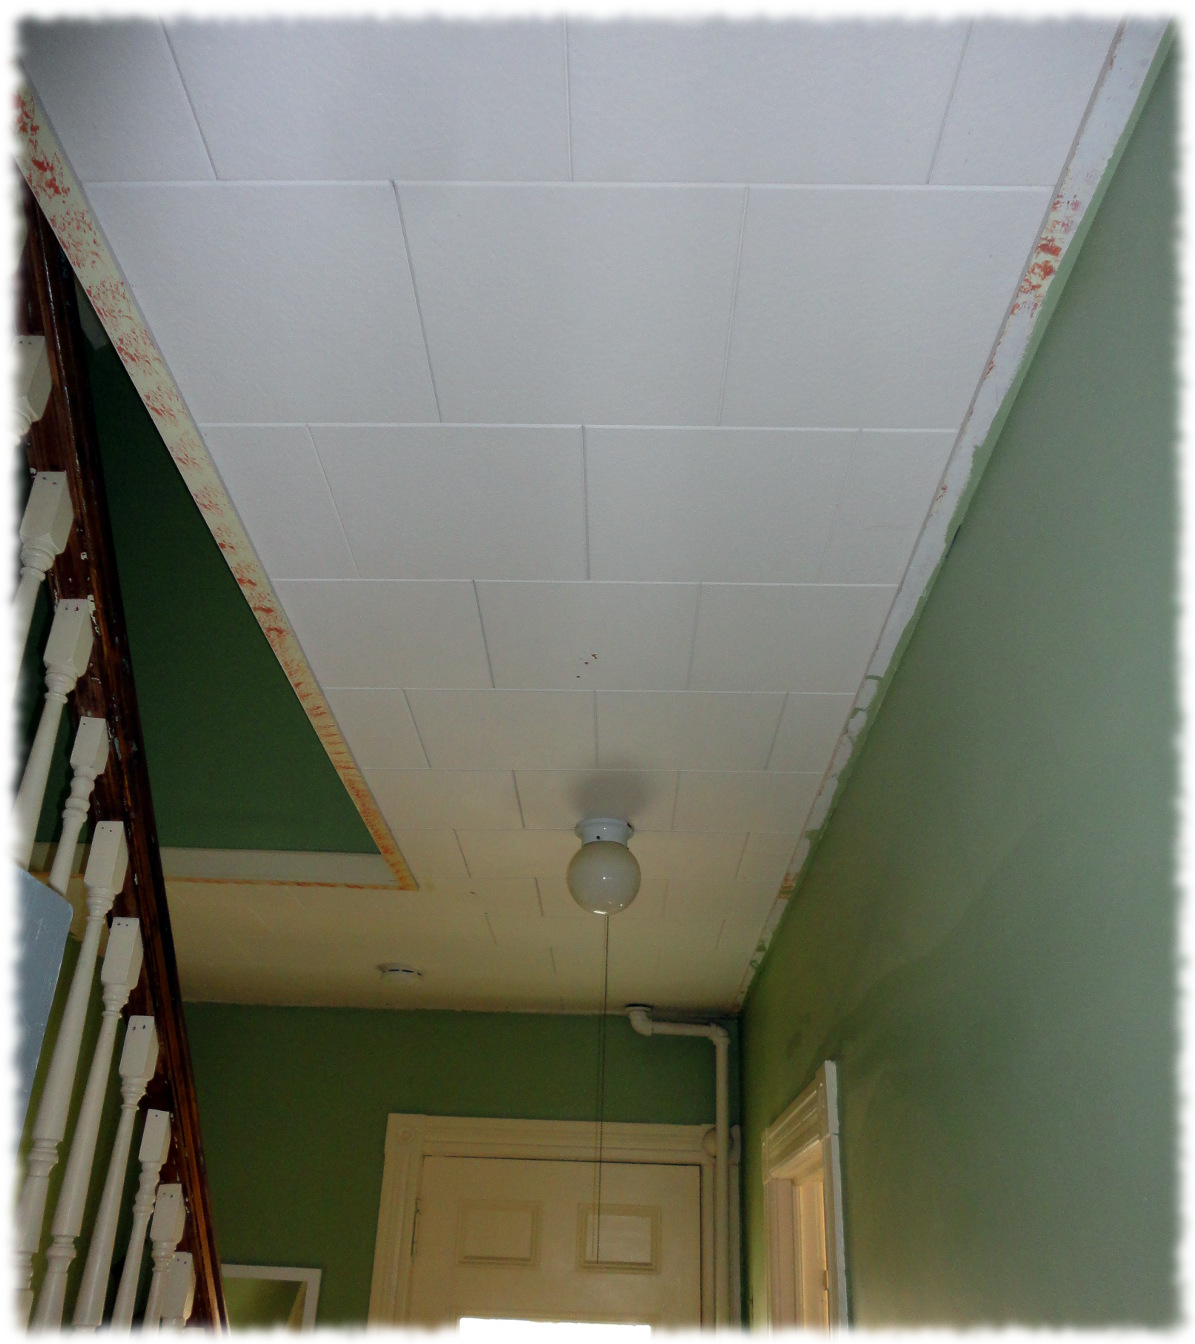
The ceiling consisted of stapled up ceiling tiles and an unswitched light (pull chain). The light is (was) one of the few still tied into an old circuit. I think the study, kitchen and pantry lights are the only remaining lights on that part of the circuit.
Late last week the pull-chain switch on the light stopped working (the light remained on all the time). Instead of just fixing the light fixture, Susanna and I decided to add a new fixture and a switch.
Of course it is not possible to run new wires and a switch without digging into the ceiling. Nothing like planning a project in a day and starting it on a Sunday morning.
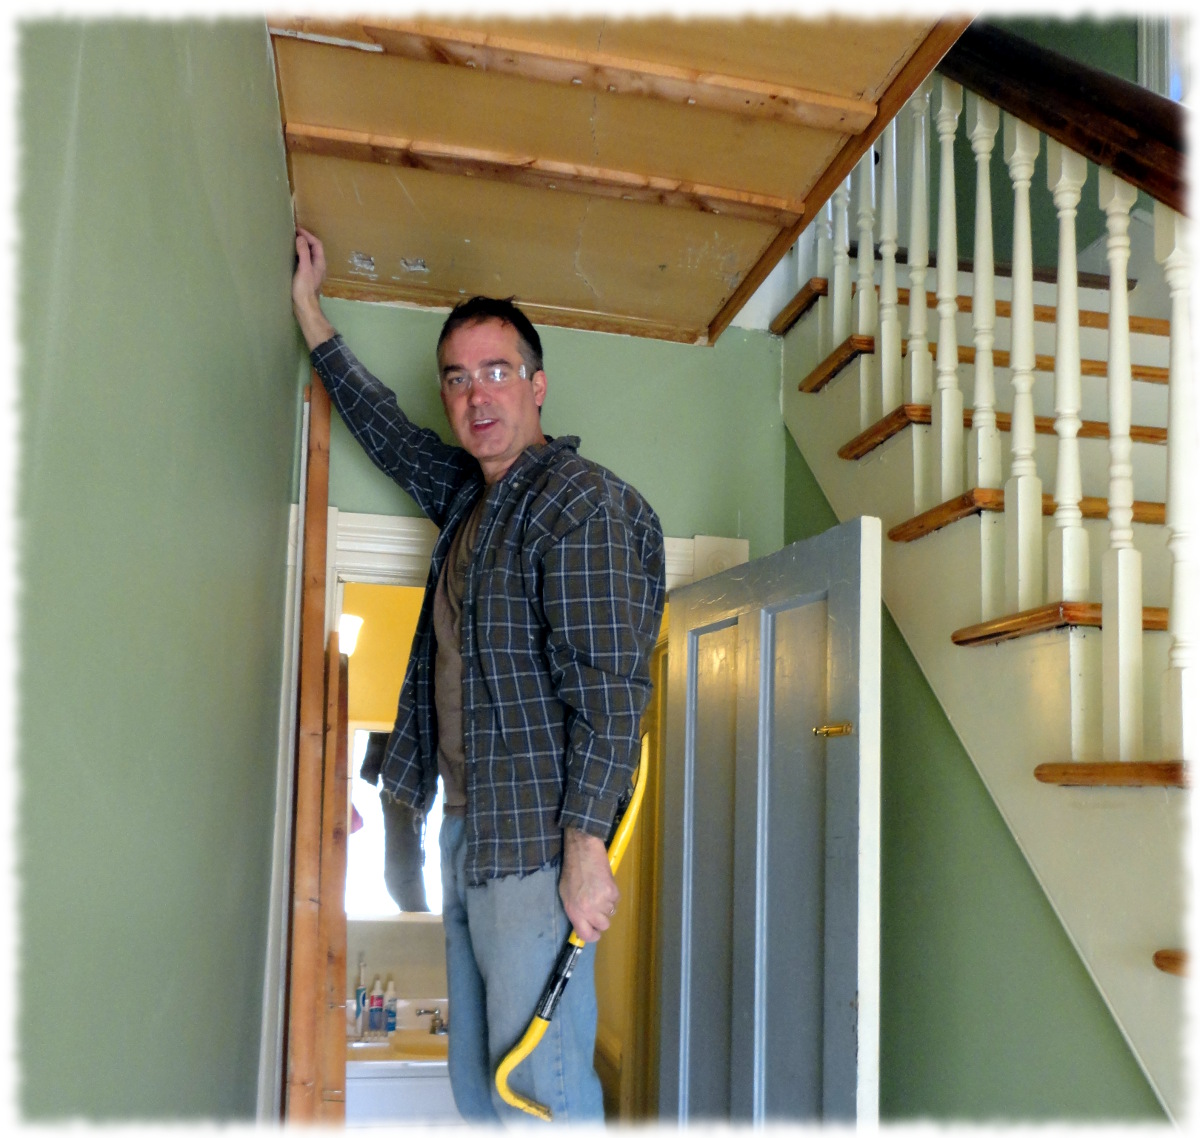
Sunday I was able to take down the ceiling tiles. Demolition is much faster (and messier) than installation. Of course with rain and snow in the forecast for most of the week, it may be a couple of days before we are able to pick up drywall to cover the ceiling.
I was also able to get a new wire run from the basement and a switch installed before we headed out to watch Ben play soccer. Of course I didn’t cap the old wiring and turn the power back on to the lights on the first floor until I returned home later that day (after dark). I figured that Susanna had a flashlight.
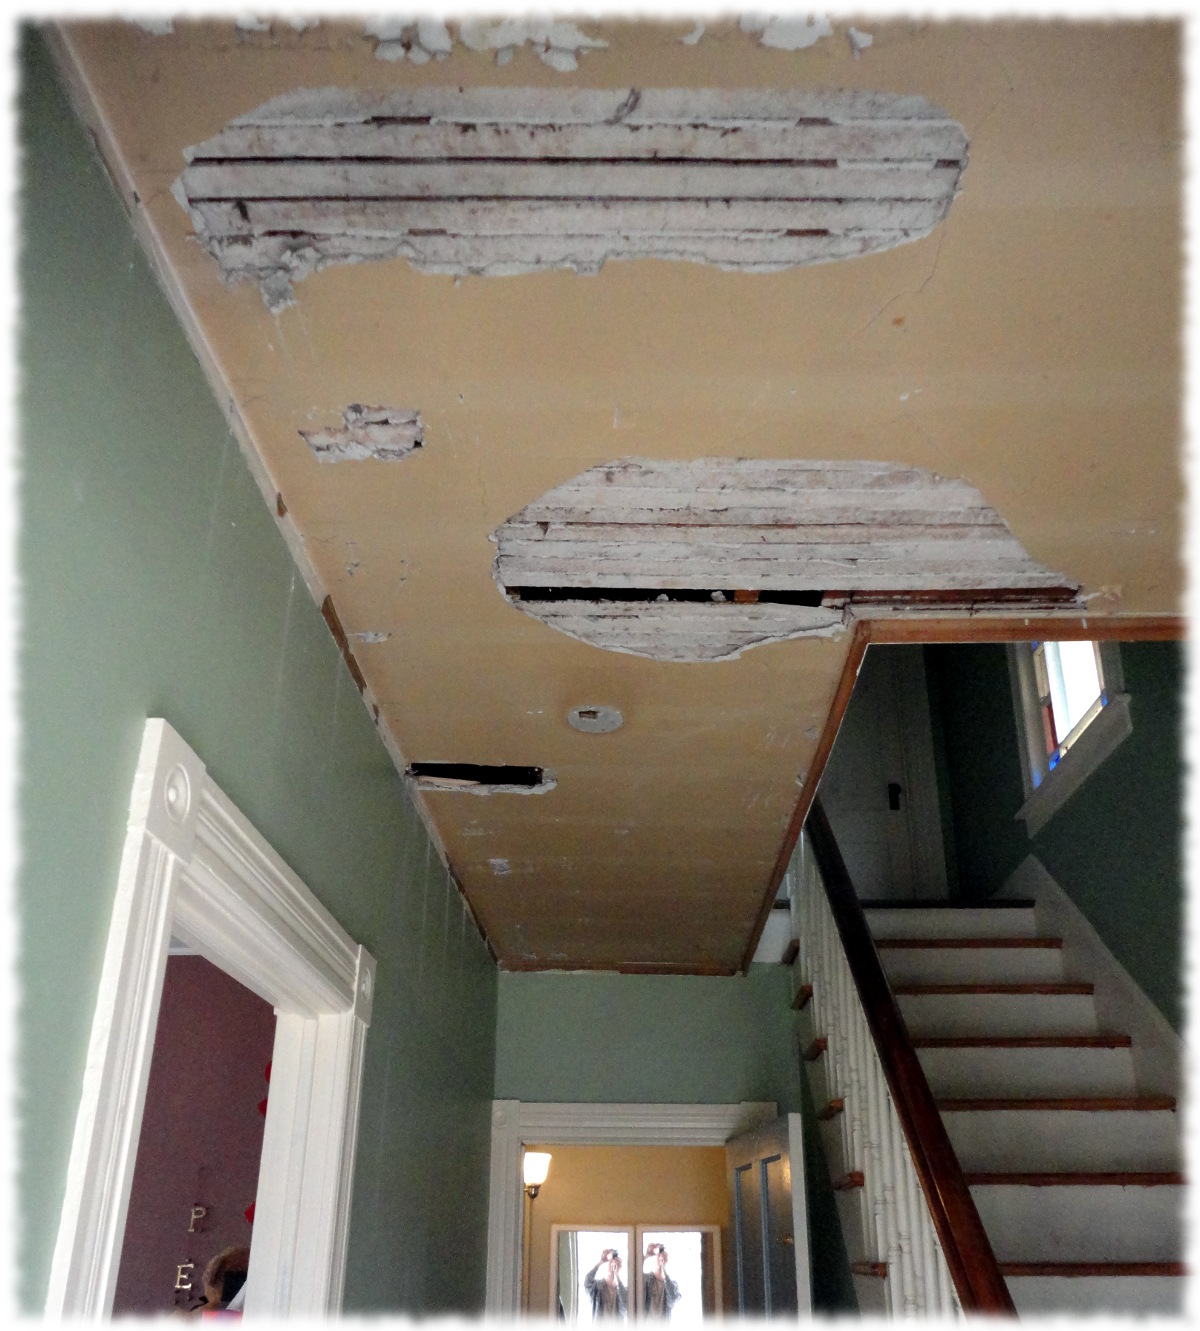
I removed all the tiles. Above the tiles is the original plaster. I didn’t remove all the plaster, however, I removed portions of the plaster and lath as needed to run the wires. I will cover the old plaster and lath with drywall.
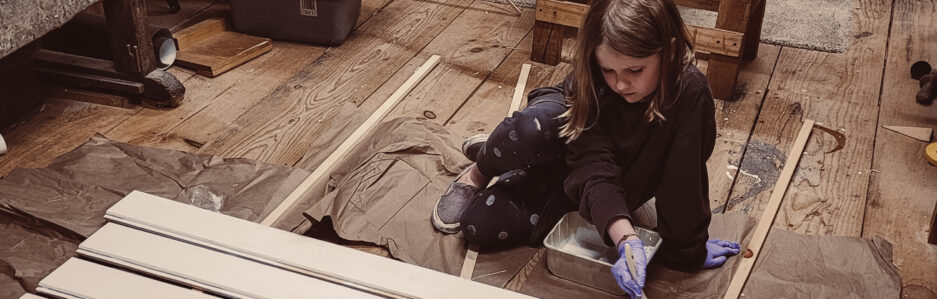
Thanks to the snow, I had an unexpected afternoon to work on the project. I finished wiring the hall light. We ordered a new fixture that will hopefully arrive this week, but probably not. The hall will remain without light until the fixture arrives. We ordered the light fixture and switch plates from House of Antique Hardware. I am putting push-button switches in the house to match the house style. The switches are a modern replica of antique switches. They are also expensive for switches (about $16/switch). Luckily I don’t need many switches, and already had some in the workshop.
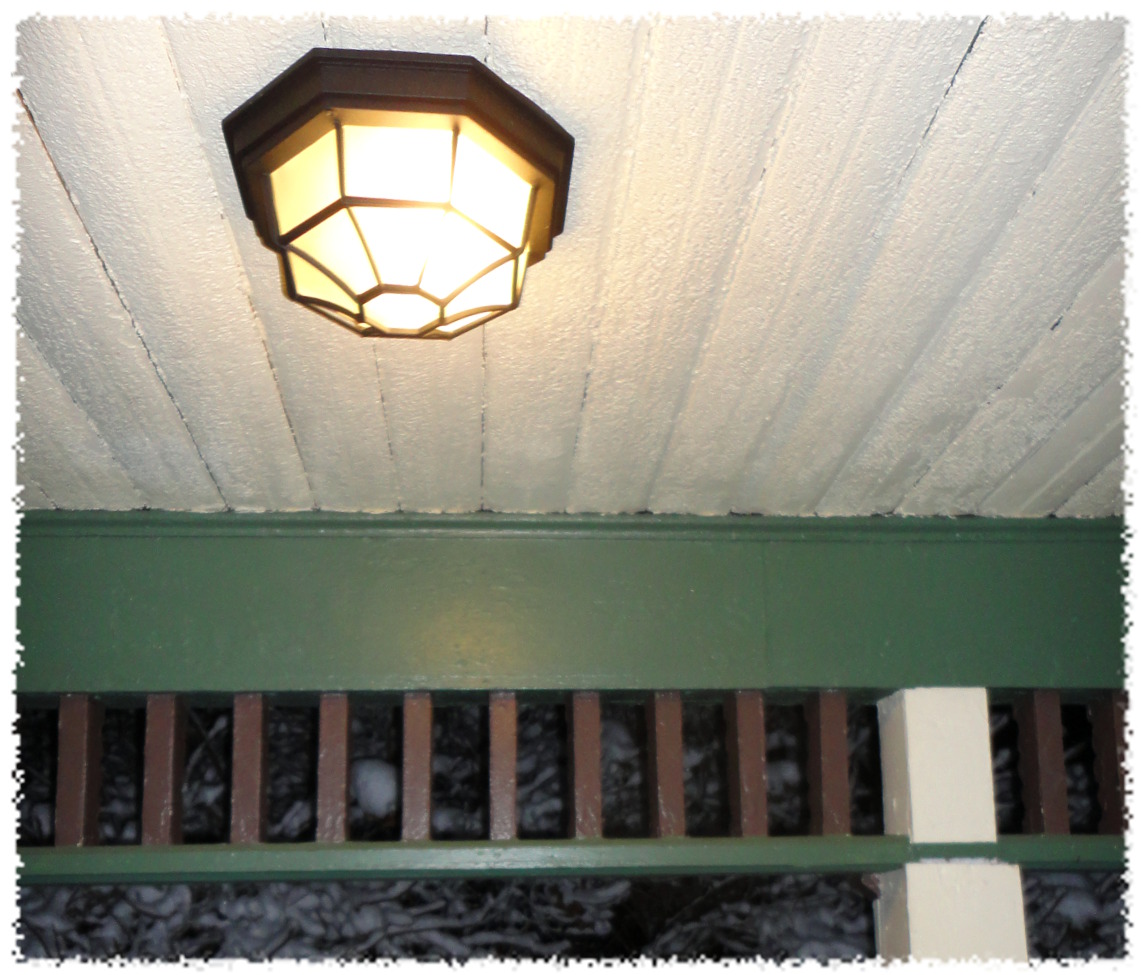
The hallway had the remnants of a switch for an old porch light. Neither the light nor the switch were working. With the ceiling opened up it was easy to run new wires to the porch light and add a new fixture (this one was purchased at Home Depot). So, after many years, we finally have light on the front porch.
Over the next week, I will need to pick up drywall and cover the ceiling. It is a pretty small area (less than 2 sheets of drywall). We are planning on adding crown molding to the part of the ceiling that meets the walls. It will be a little extra work to make the crown molding look good with the opening for the stairs. It is also a small space, so the molding will have to be reasonably small. But the advantage of a small room is that it won’t take much molding.
I don’t know if we have any hall paint to touch up mistakes, so I’ll have to be careful working. With Will’s birthday party this Saturday, we will probably not be finished until after the weekend. So our guests will have to enjoy the view of a partial ceiling in the front hallway. I never said we were good at timing our projects.
Luckily most of the guests will be 11-year old boys and don’t really care about ceilings. Or even notice them.
I am convinced you do better work than most contractors that have worked in rental properties we lived in. Looks good.