
We are having a nice lazy Sunday morning. It is brisk and overcast outside – a perfect day to do inside things. The boys are enjoying a rare morning just taking it easy playing on their electronics. Susanna is hanging out with them.
I headed out to the workshop.
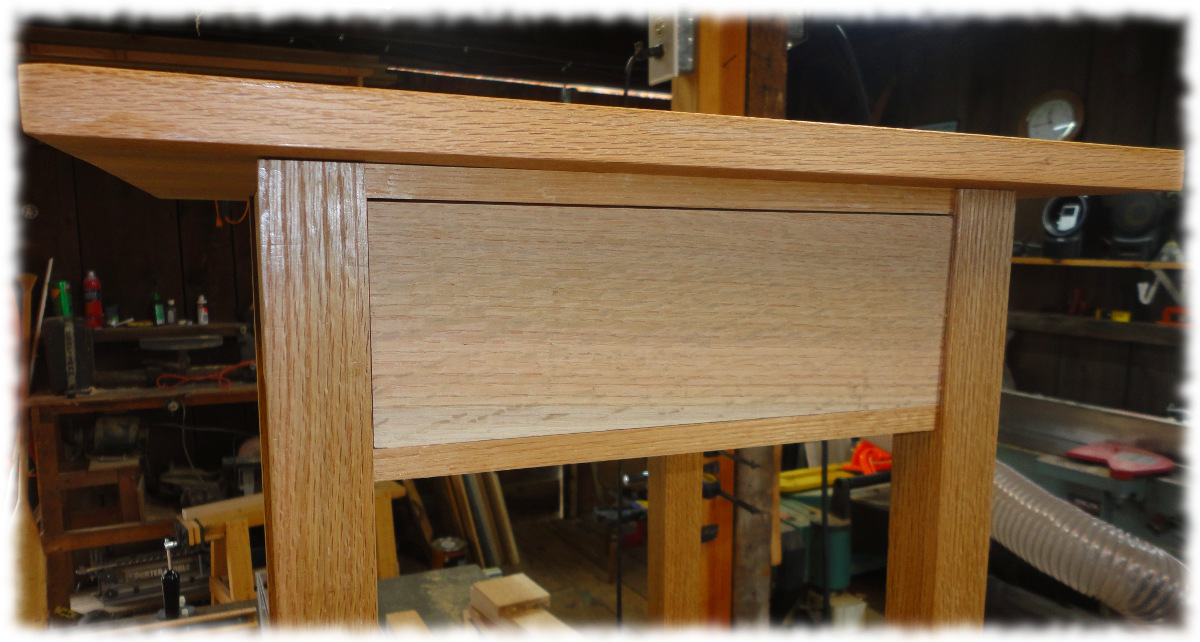
I cleaned up the drawer runners and top cleats. I then placed the nightstand top down on the router table (it is a good flat assembly surface) and centered the base on the top. I attached the top to the base with 4 screws through the cleats. I pre-drilled the holes in the cleats a little large, to give the top some room to move as the wood changes sizes as the moisture in the air changes seasonally.
Yesterday I said I would probably build the second table before building the drawer. Today I changed my mind. I started milling the lumber for the drawer. I milled a piece for the drawer front, but the wood had a crack in it, so I had to mill a second piece. I carefully fitted the drawer front to the opening, leaving about 1/32″ gap on the top to allow for wood expansion.
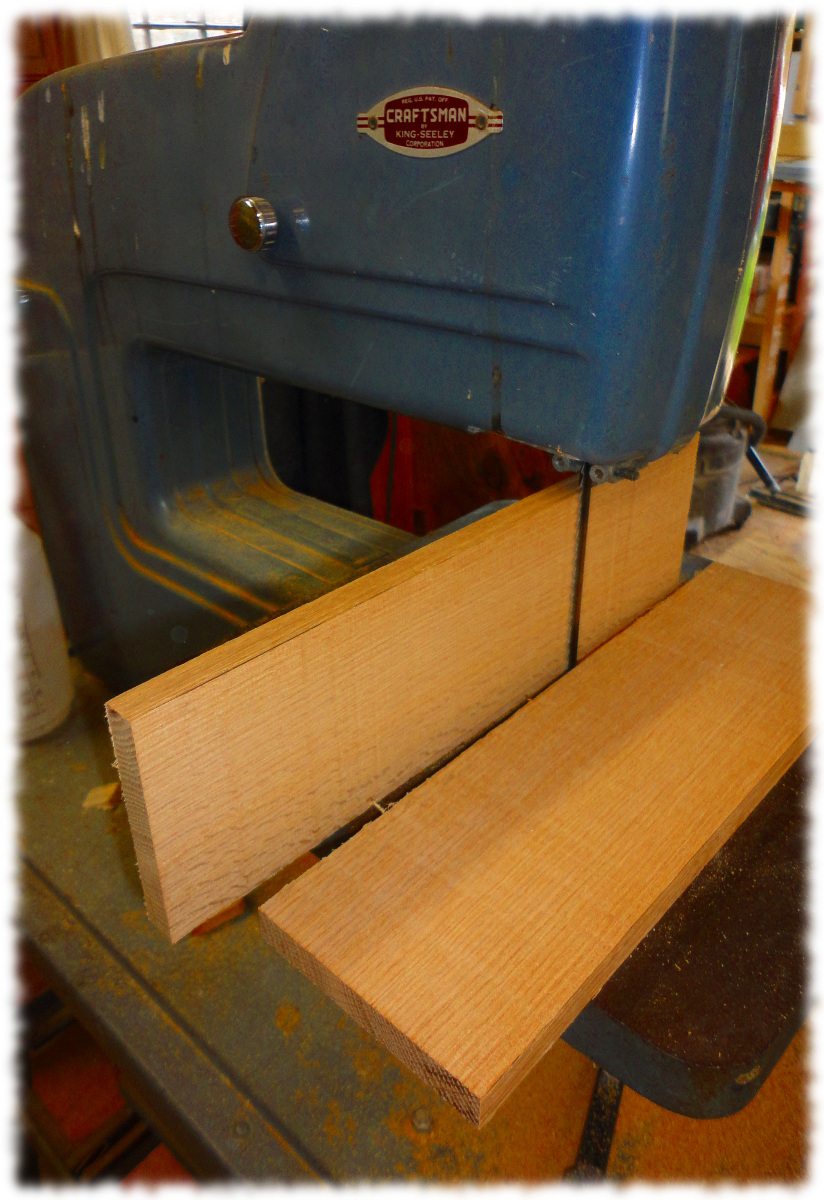
I milled stock for the drawer sides. However, the rough lumber I have is very thick (almost 1 1/2″ thick). Instead of planing down the thick lumber to thin drawer sides, I decided to try to resaw the sides from a single piece of lumber. My bandsaw isn’t the best, but the blade is sharp so I decided to give it a try. It turned out perfect. I have to resaw the wood for the drawer bottom as well, but the stock is wider than the 4″ resaw capacity on my bandsaw. I’ll try to resaw the drawer bottom by hand.