According to Izzy, “It was chaos at my house today.” At least that is what she told her Swedish teacher during class tonight. To be fair, it was.
But it was fun. Only one dish was broken, and no one seriously hurt. It has been a while since we have had a 2-year old and 3-year old running around the house. On top of the toddlers running around, we had an extra two dogs and a rainy day that kept them mostly inside. Where to start?
For Thanksgiving dinner, we had 7 adults, an 8 year old, a 3 year old, a 2 year old, 3 dogs (ours plus 2), and one person with pneumonia that stayed in their room.
I am thankful for my wife who helped me put together a Thanksgiving dinner for family and friends. When the toddlers were running around, she became her preschool teacher self and helped stem some of the chaos. Even before the chaos, she got up in the morning and drove up to Hartford to pick up Ben’s girlfriend, Nu, and bring her down for the day. And after it was all done, she stayed in the kitchen and helped me clean up debris.
I am thankful for my oldest, Will, and that he was over his pneumonia and able to join us. Despite still a bit weak, and tired from taking care of his partner, Bug, who now has picked up the pneumonia from Will, helped me get the table setup, extra chairs needed, and even cleaned the bathroom.
I am thankful for Ben. He is at Navy boot camp and still has weeks to go before becoming a sailor. I’m thankful that he is going well and has chosen to serve. Unfortunately I’ll miss his graduation in January, but plan to visit him at A-school in April during Izzy’s spring break.
I am thankful for Izzy. She is growing up way too fast. She helped watch the young ones during dinner, and even cleaned up all the toys after everyone was gone (with only a little complaining). She started the day helping set the table and bringing down age-appropriate toys to setup for the kids.
I am thankful for my two boys’ partners, Bug and Nu. Bug helped take care of Will when he was sick over the past few weeks, and now is paying the price for that with getting pneumonia himself. Nu is holding down the fort at home so Ben can focus on his job of becoming a sailor.
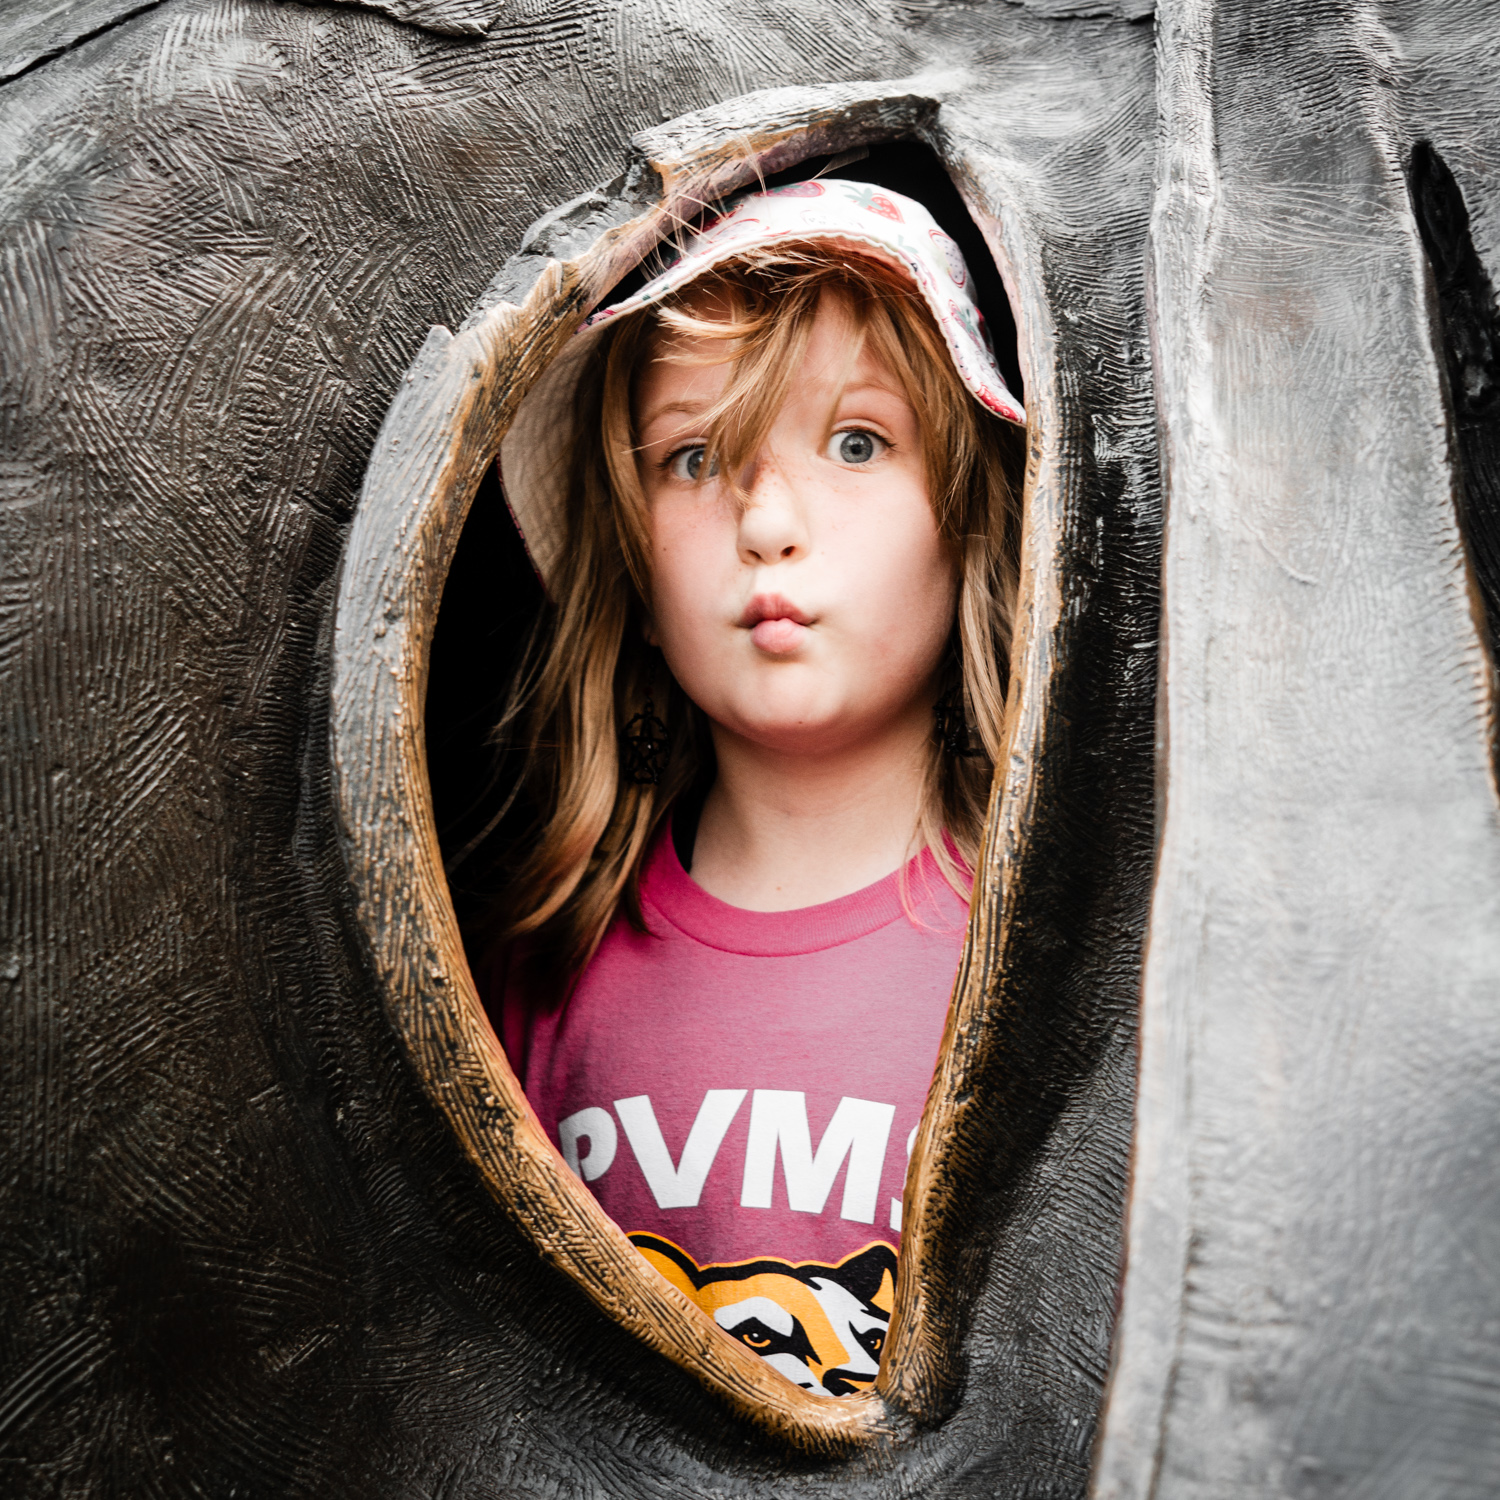
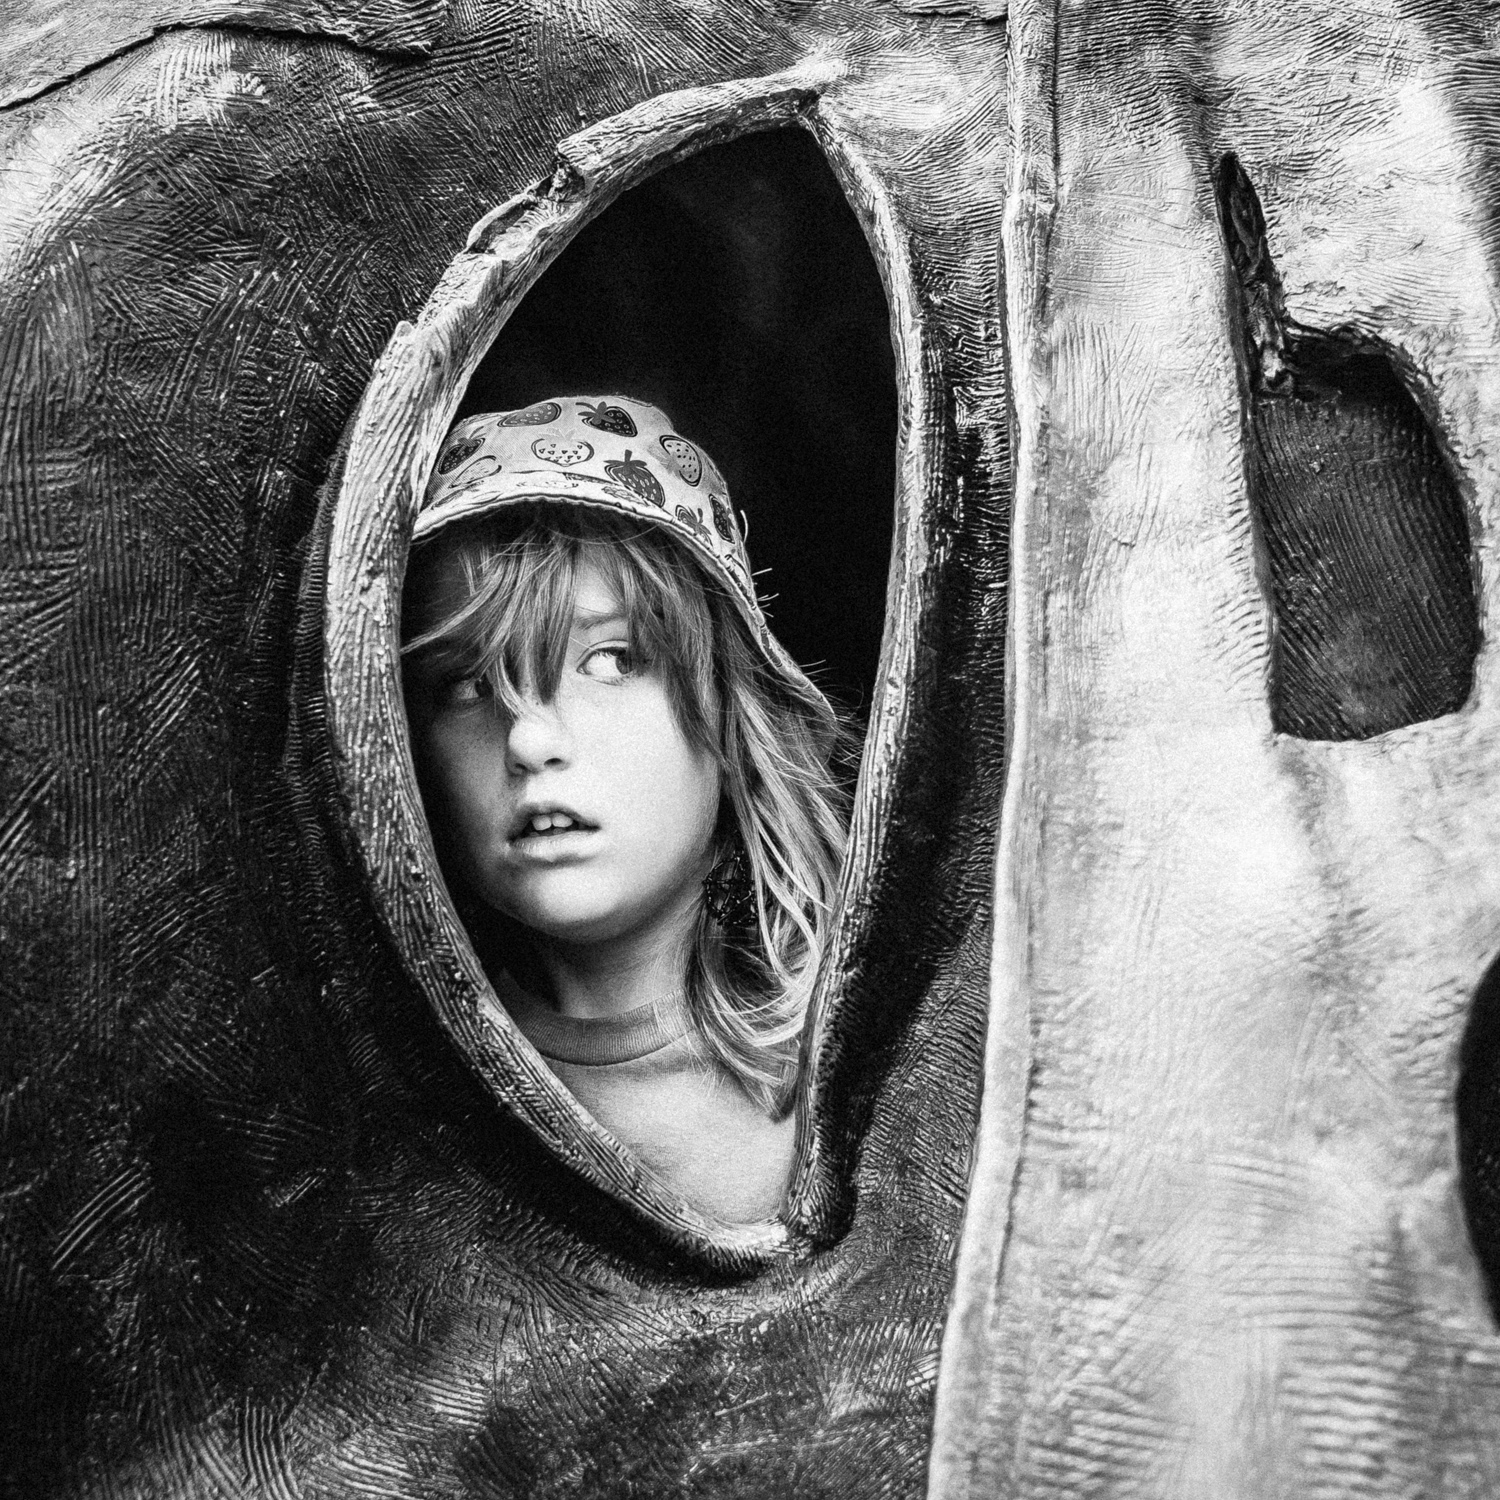
I’m thankful for the friends that were here today. First, my neighbors who left their dog at home today (but thankfully bring her over a few times a week so Hoagie can have a play date). Somehow they remained unfazed with the running around. Next, an old Navy friend who is brave (or crazy) enough to bring his young daughter and son to visit us on one of the few days he gets to spend with them.
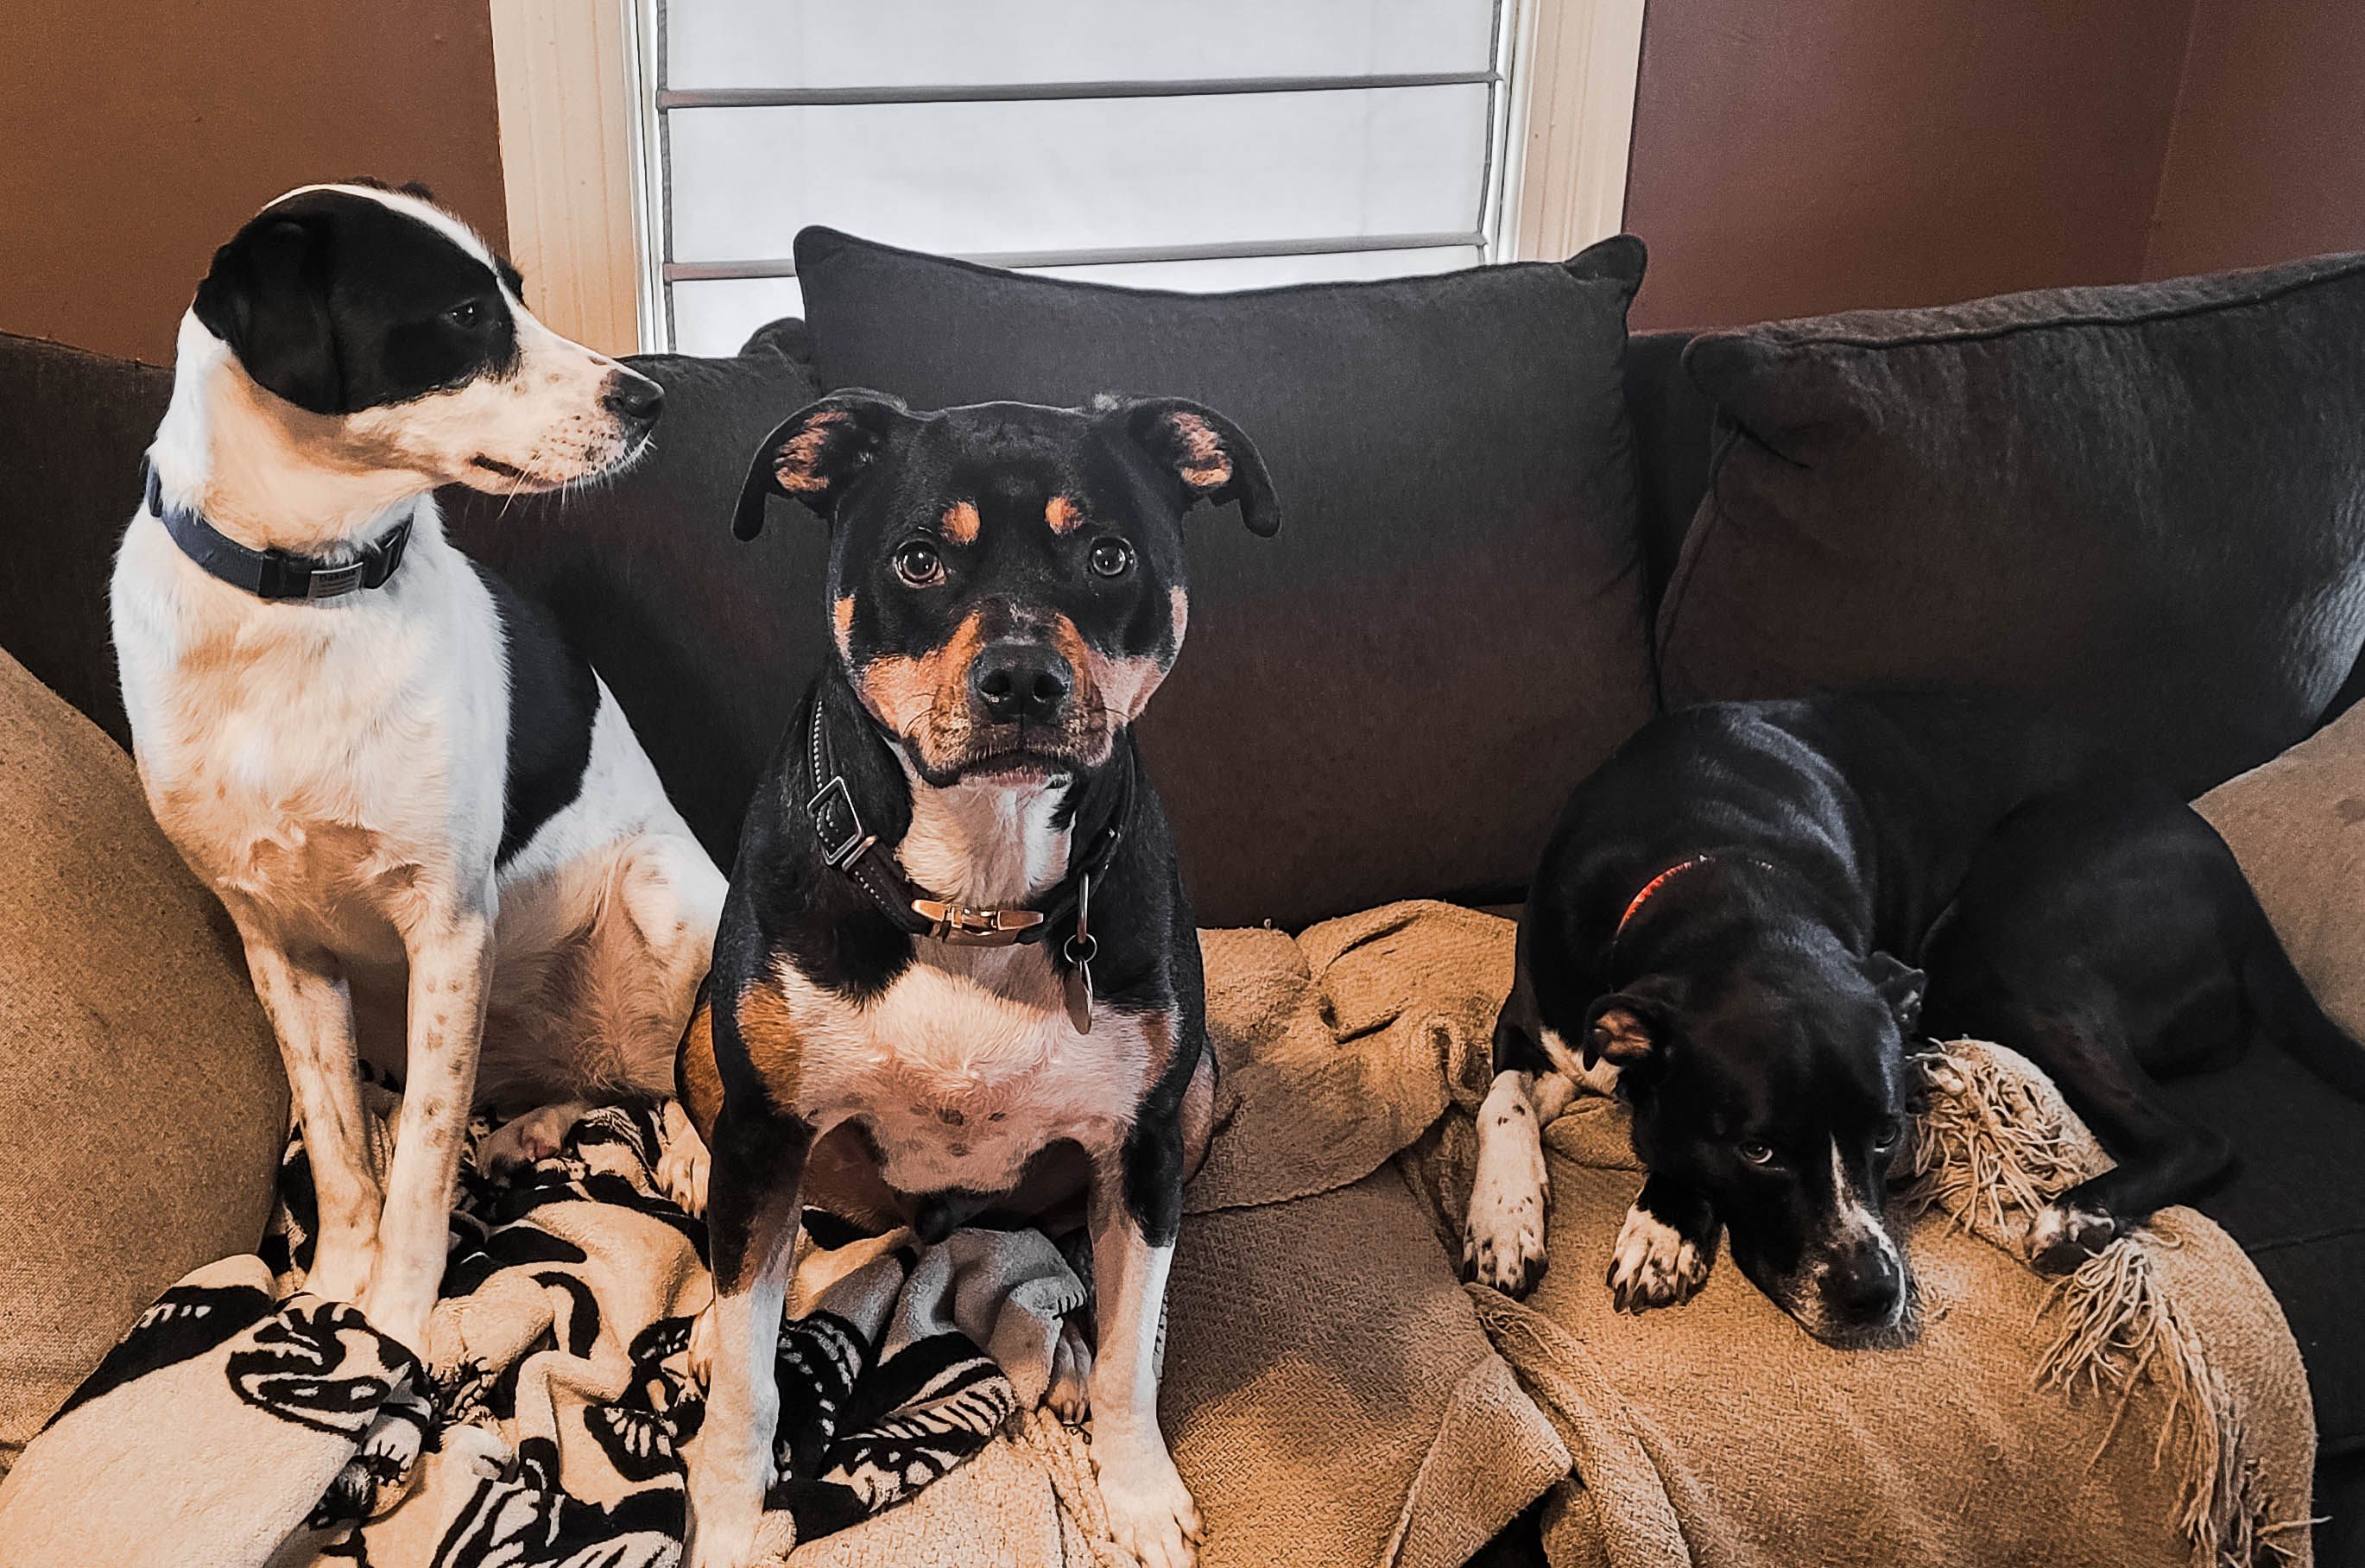
I’m even thankful for the three dogs that are currently sleeping next to me after they spend an entire day adding to the chaos. They certainly made sure no food was left on the floor, and provided endless entertainment for the kids (when they were let out from behind the baby gate. Of course I’m thankful for Hoagie, who helps make sure I get out and go walking more than I would otherwise (though less than I should). But I’m also thankful for Oreo and Dakota; them being here means that my friend, Mark, gets to spend Thanksgiving with his family who is in Washington, DC visiting him.
And finally, I’m thankful for the family and friends that I didn’t get to see today.
Happy Thanksgiving everyone!