I used to write a long post at around this time each year to reflect on the past year and think about what I wanted to do in the upcoming year, but haven’t in several years. I’ve also stopped writing regularly in this blog over the past few years. I’m not 100% sure why, but I think it is probably in large part due to my ADHD (I get bored with things). But I figured I should give it a try today.
What do I think I want to accomplish this year? I started ended last year with a new job at work and I think that will take a lot of my focus. But I also have some personal goals:
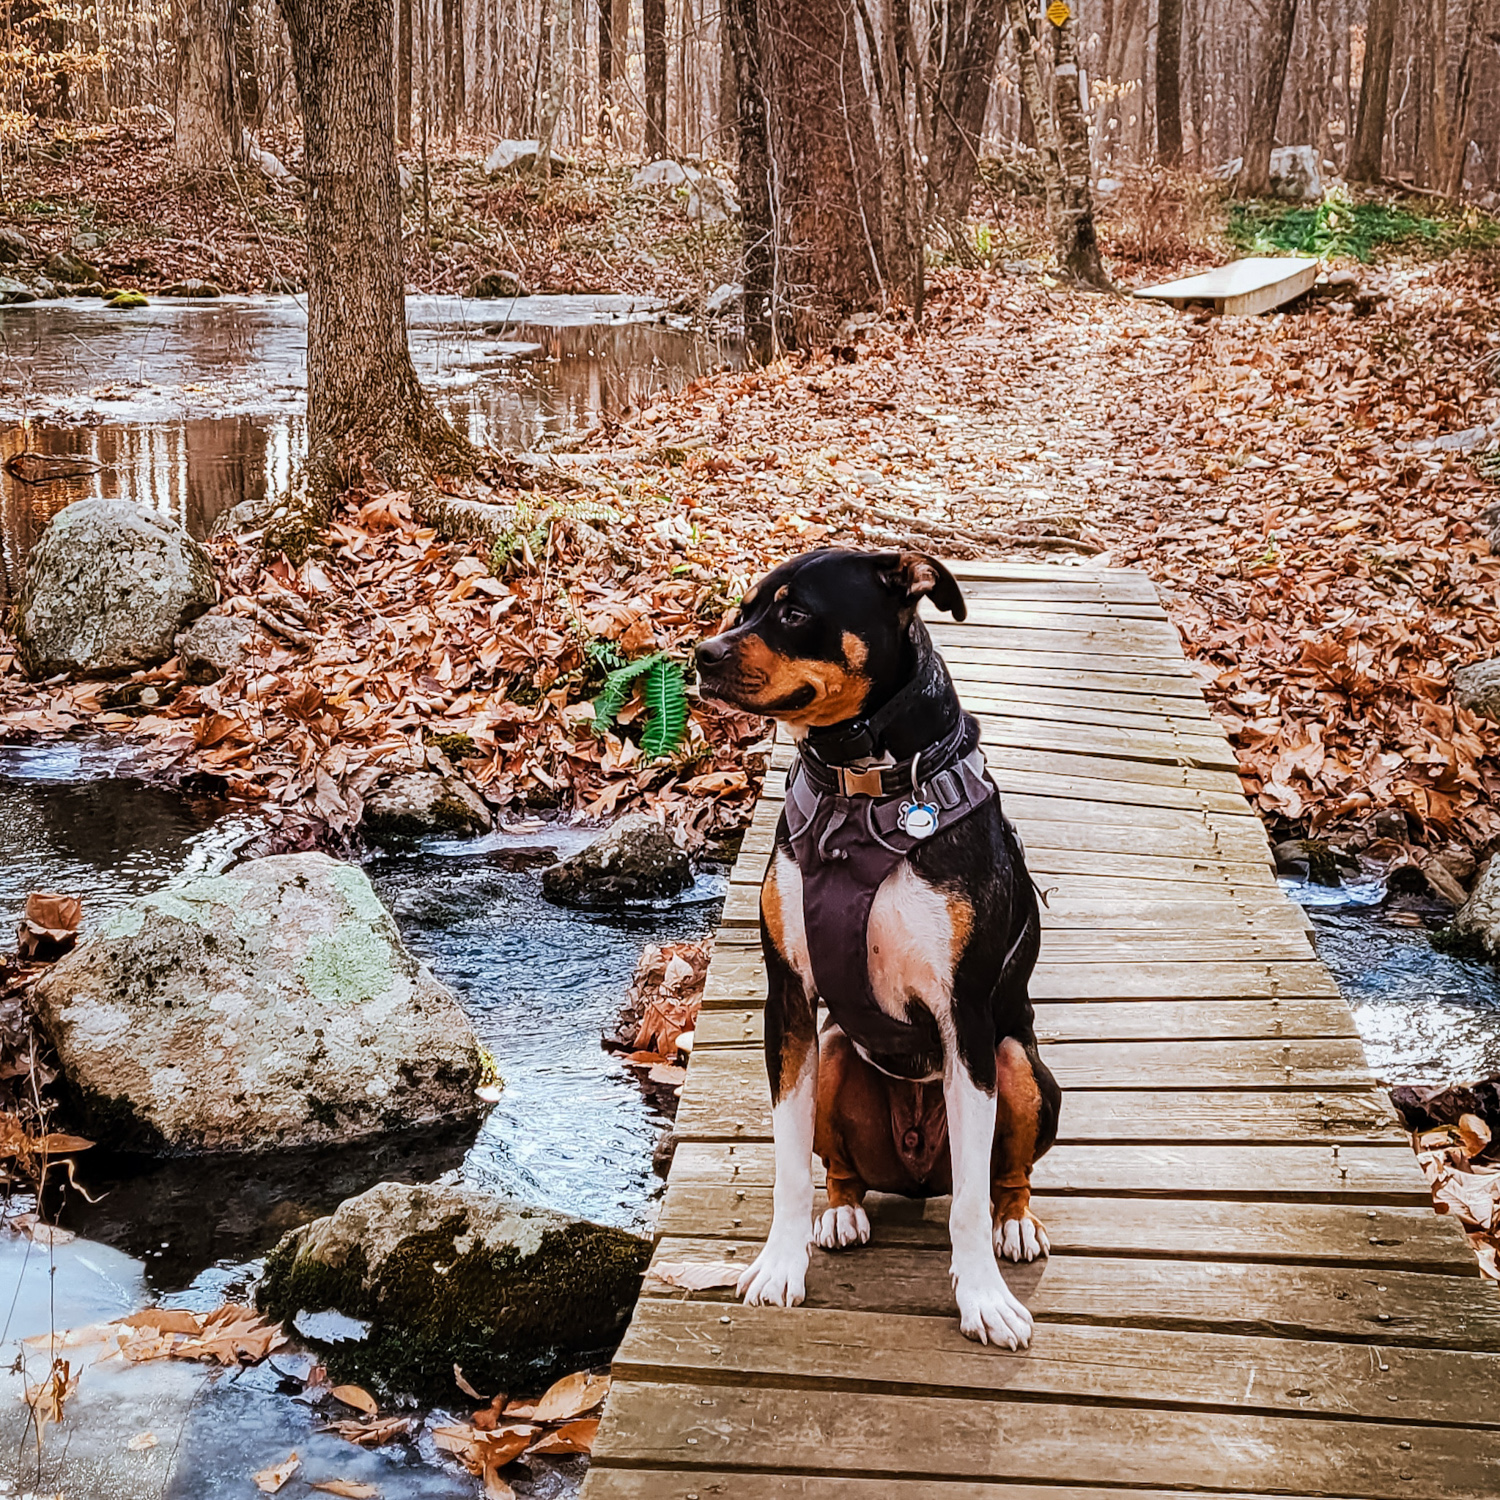
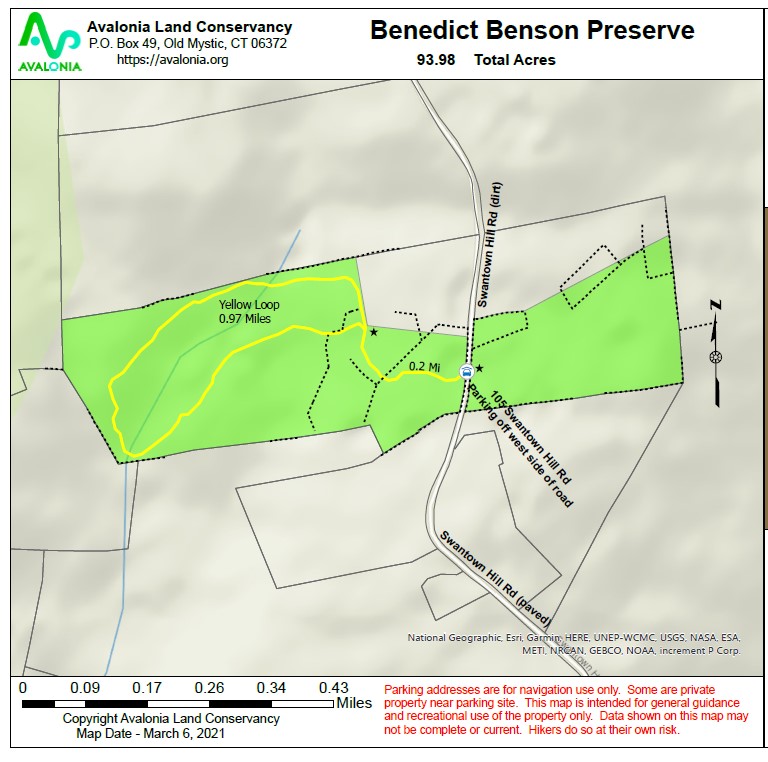
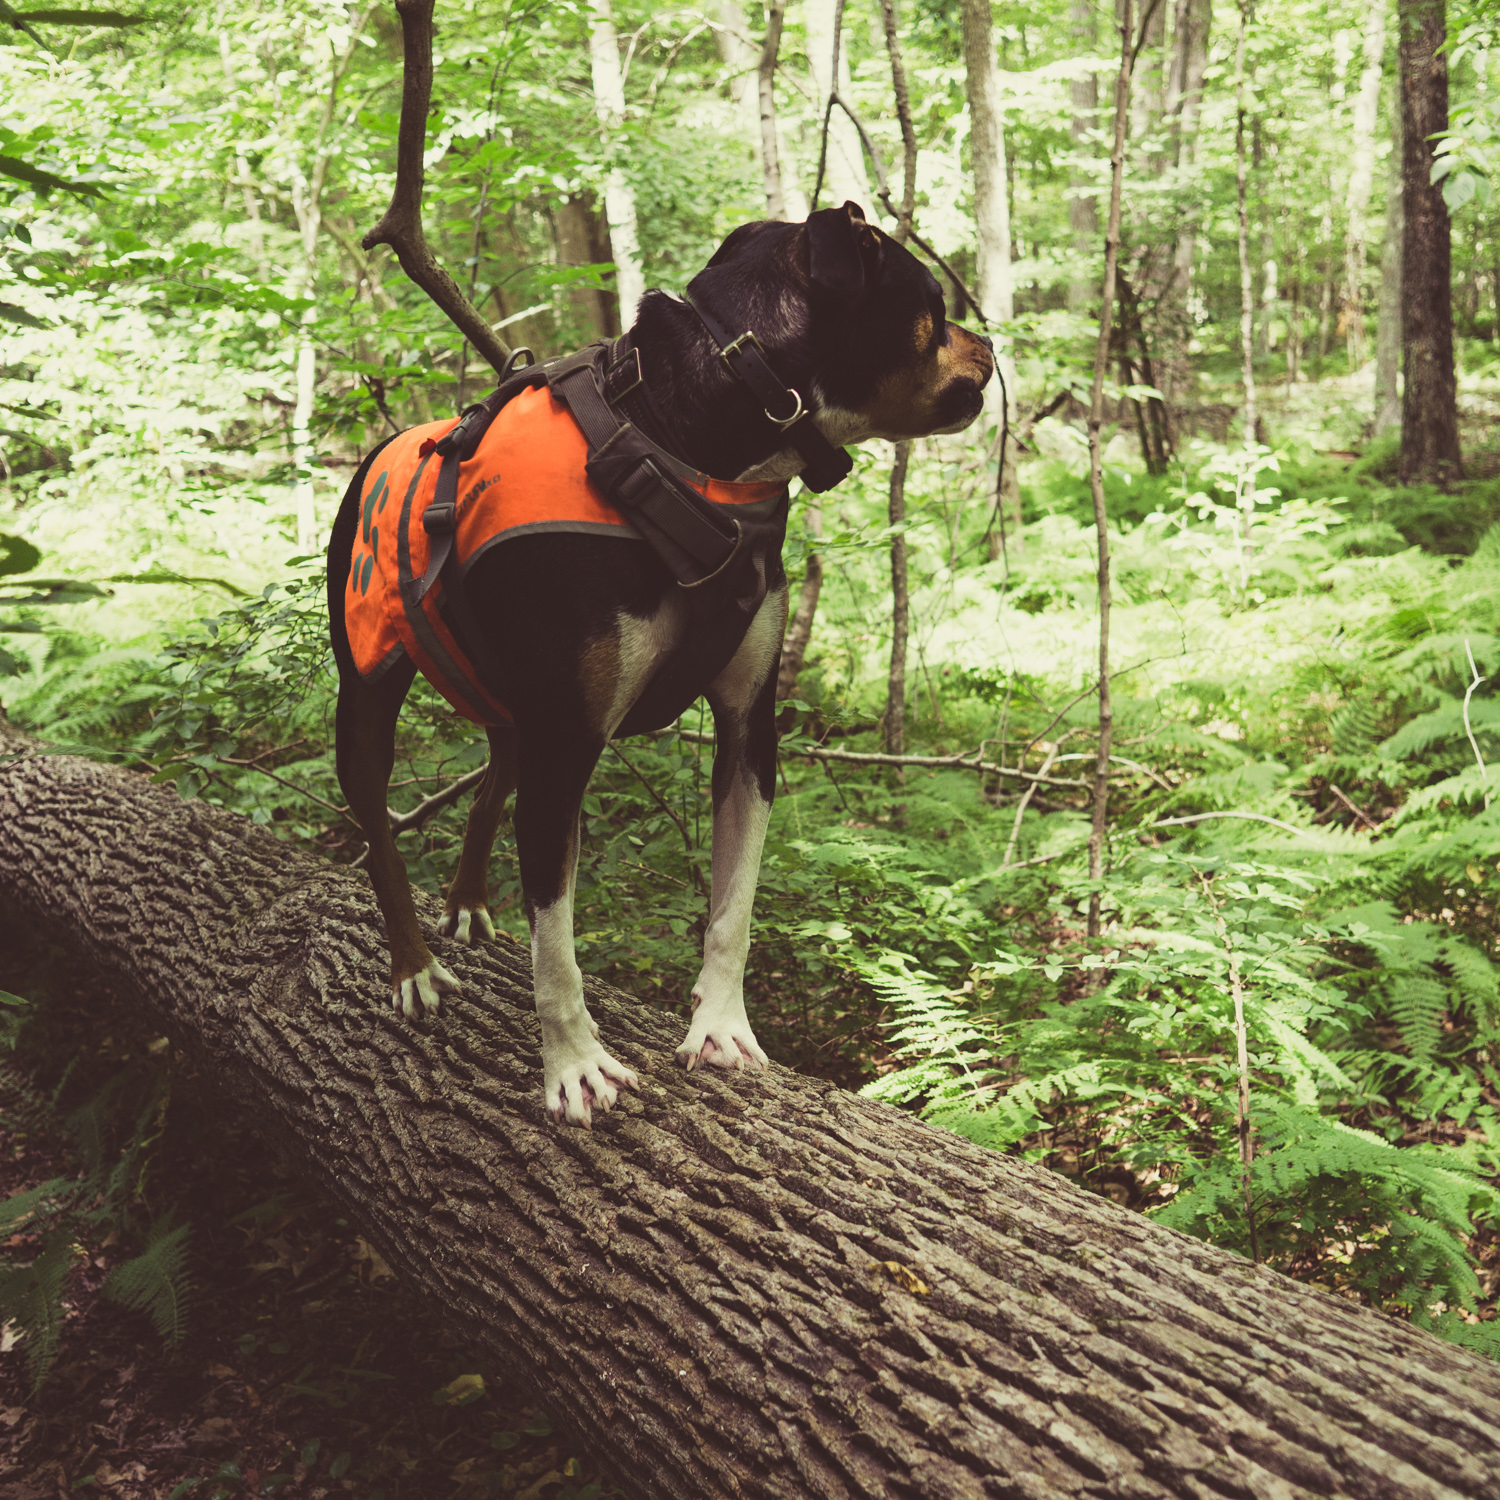
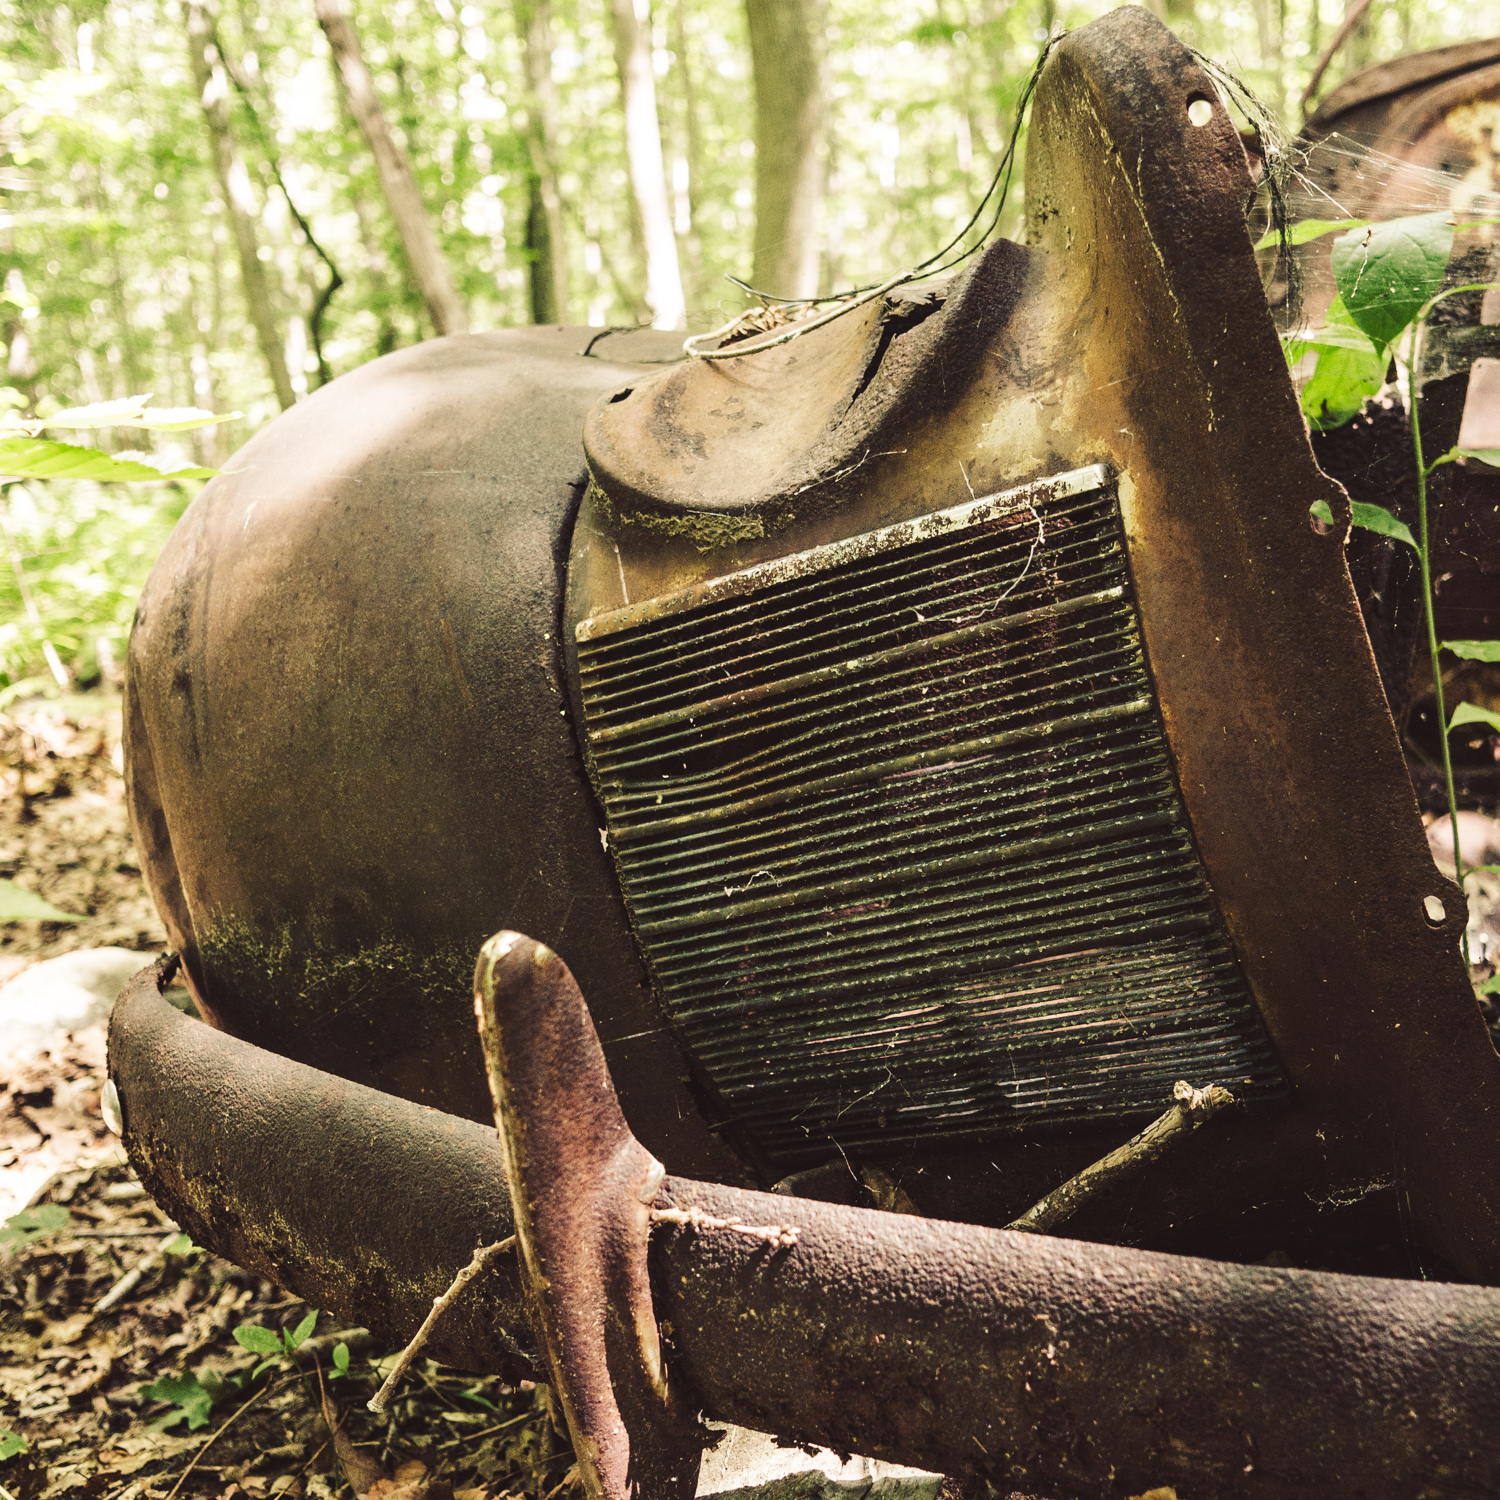
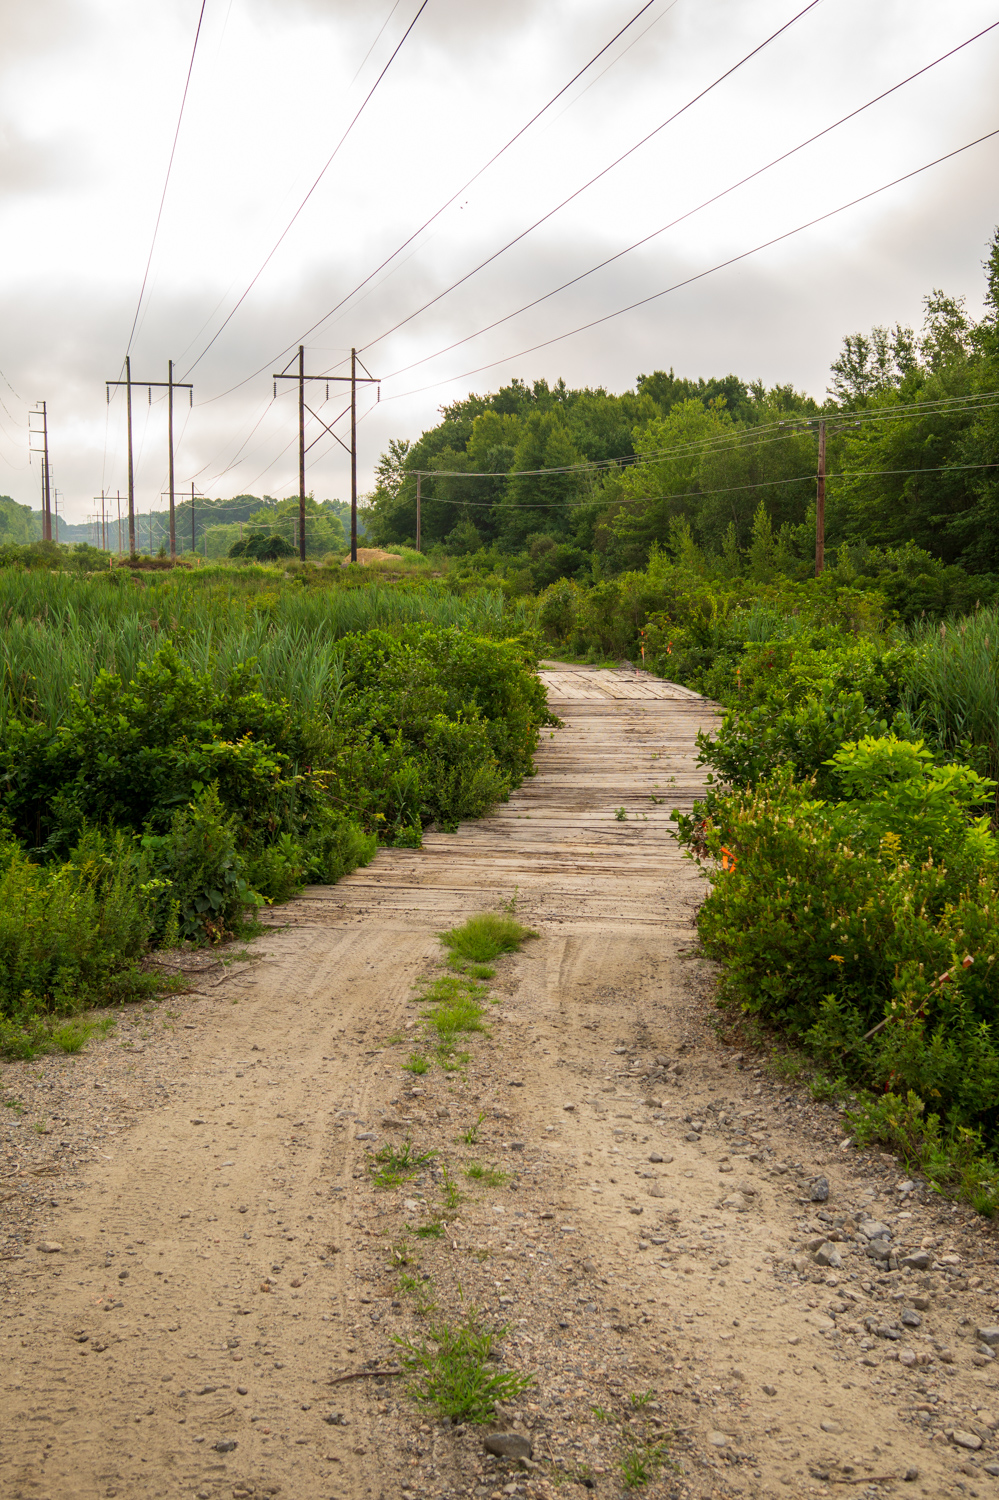
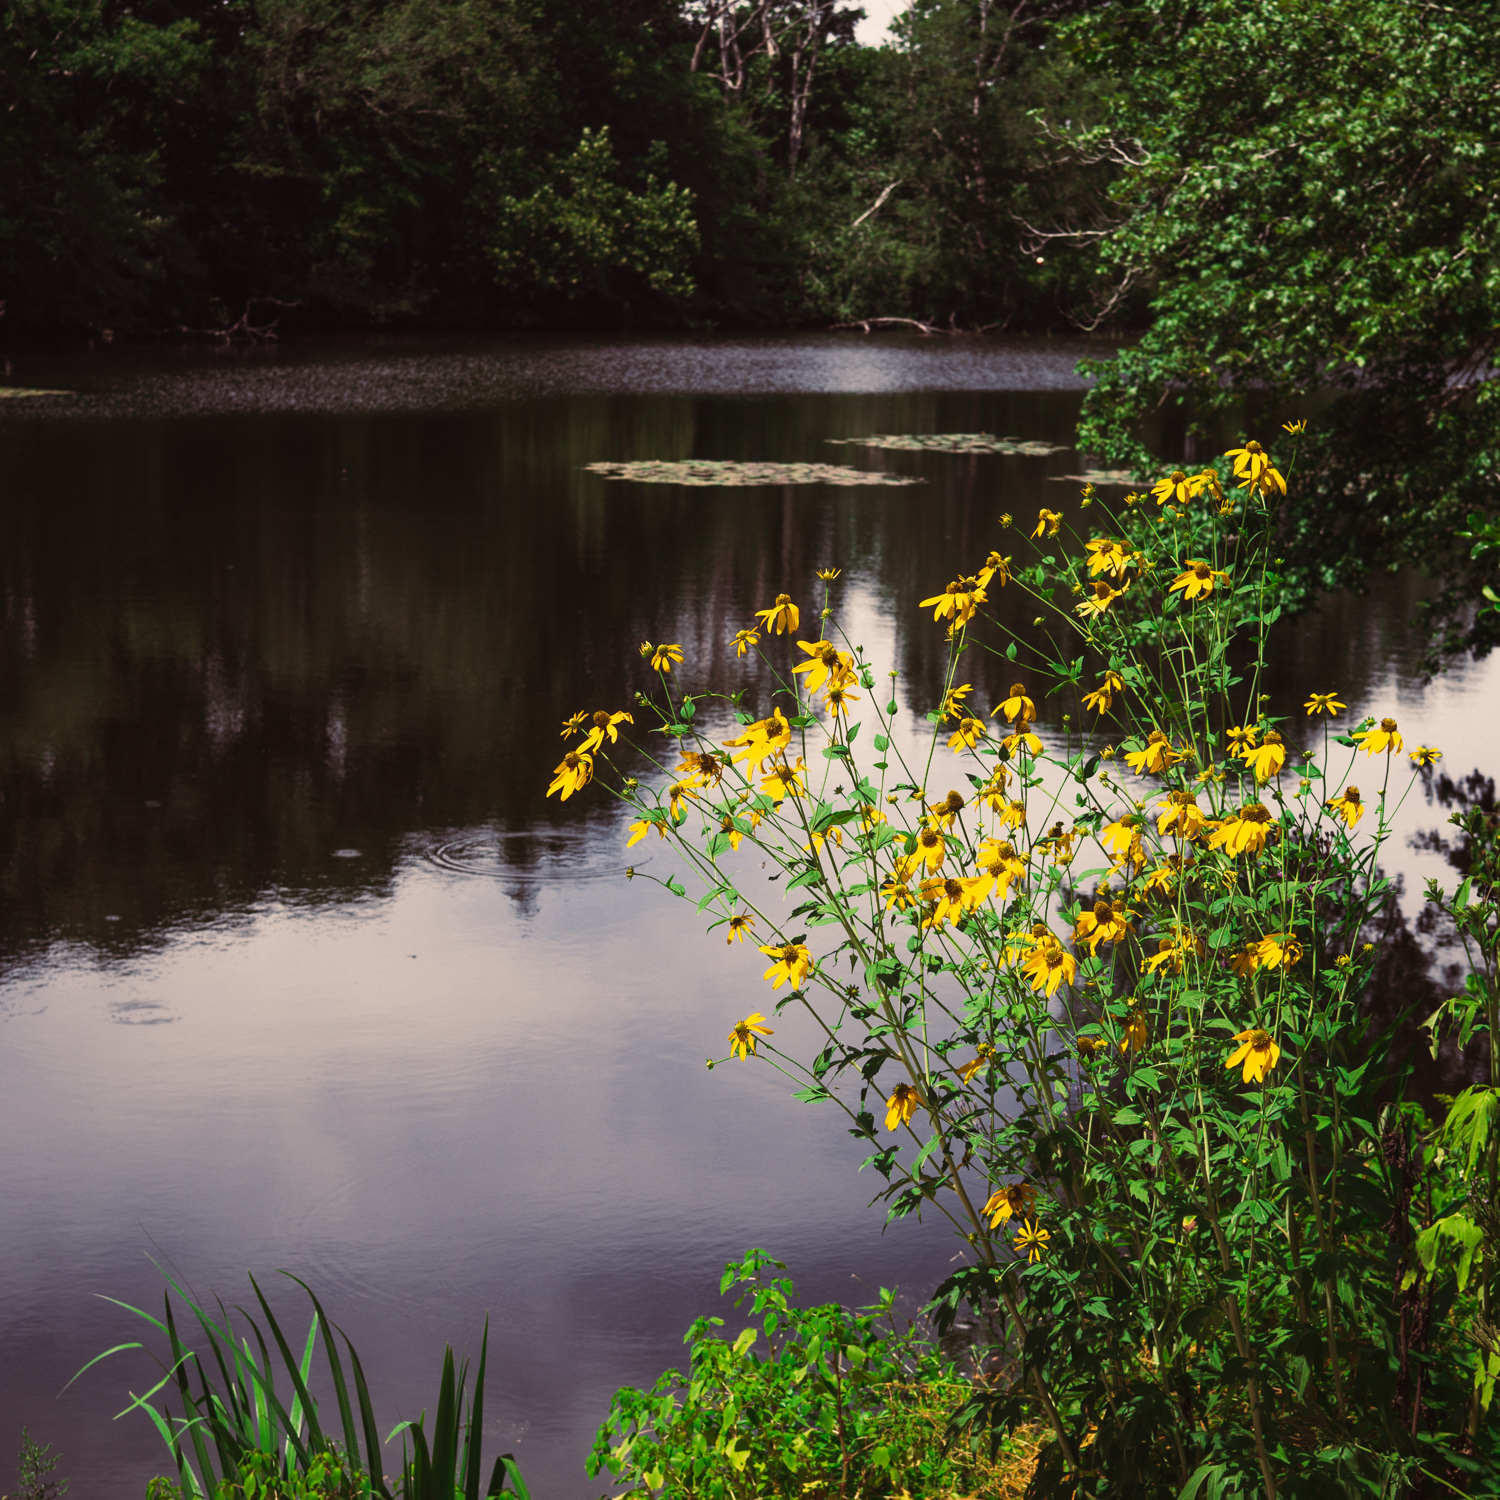
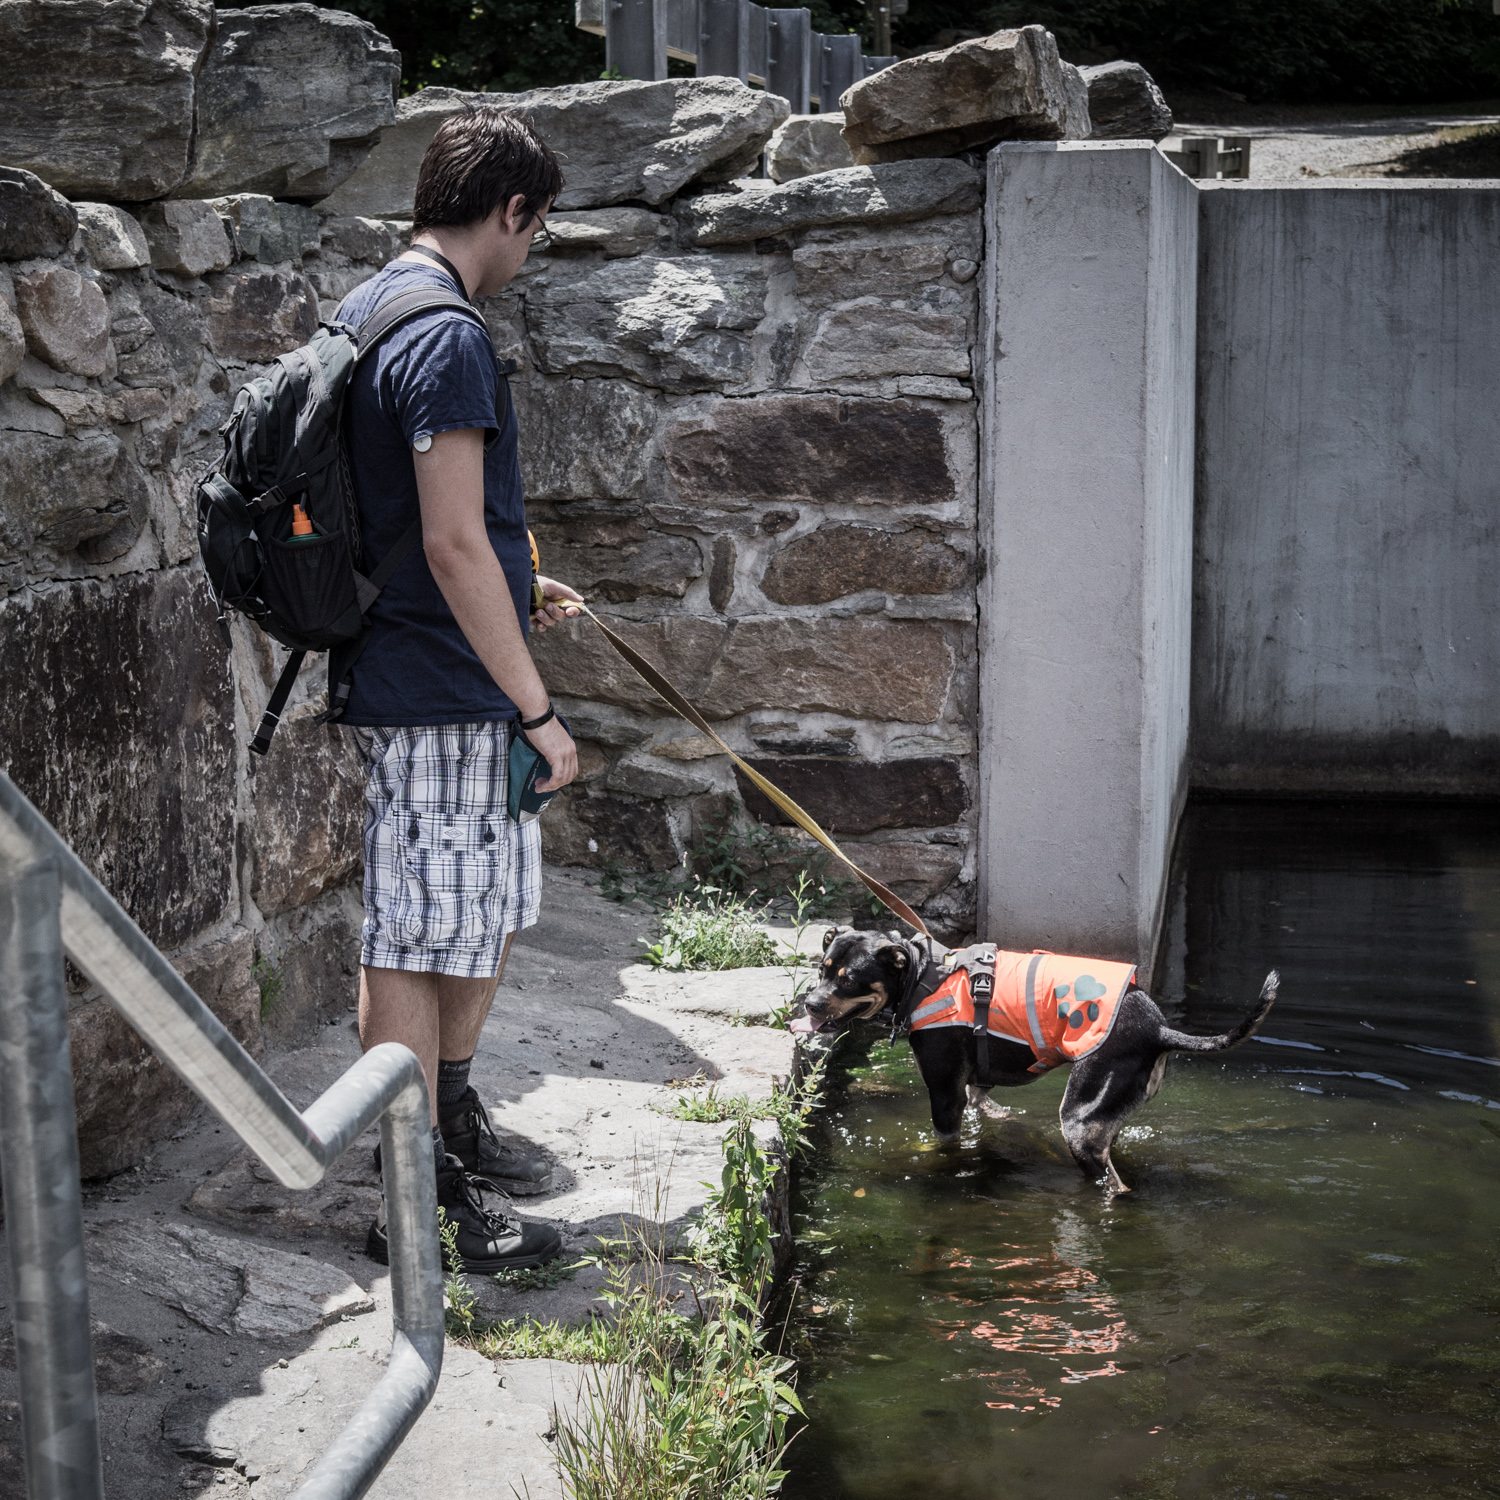
- I want to get outside more often and do more hiking and exercise. I started the year off right with hikes yesterday and today.
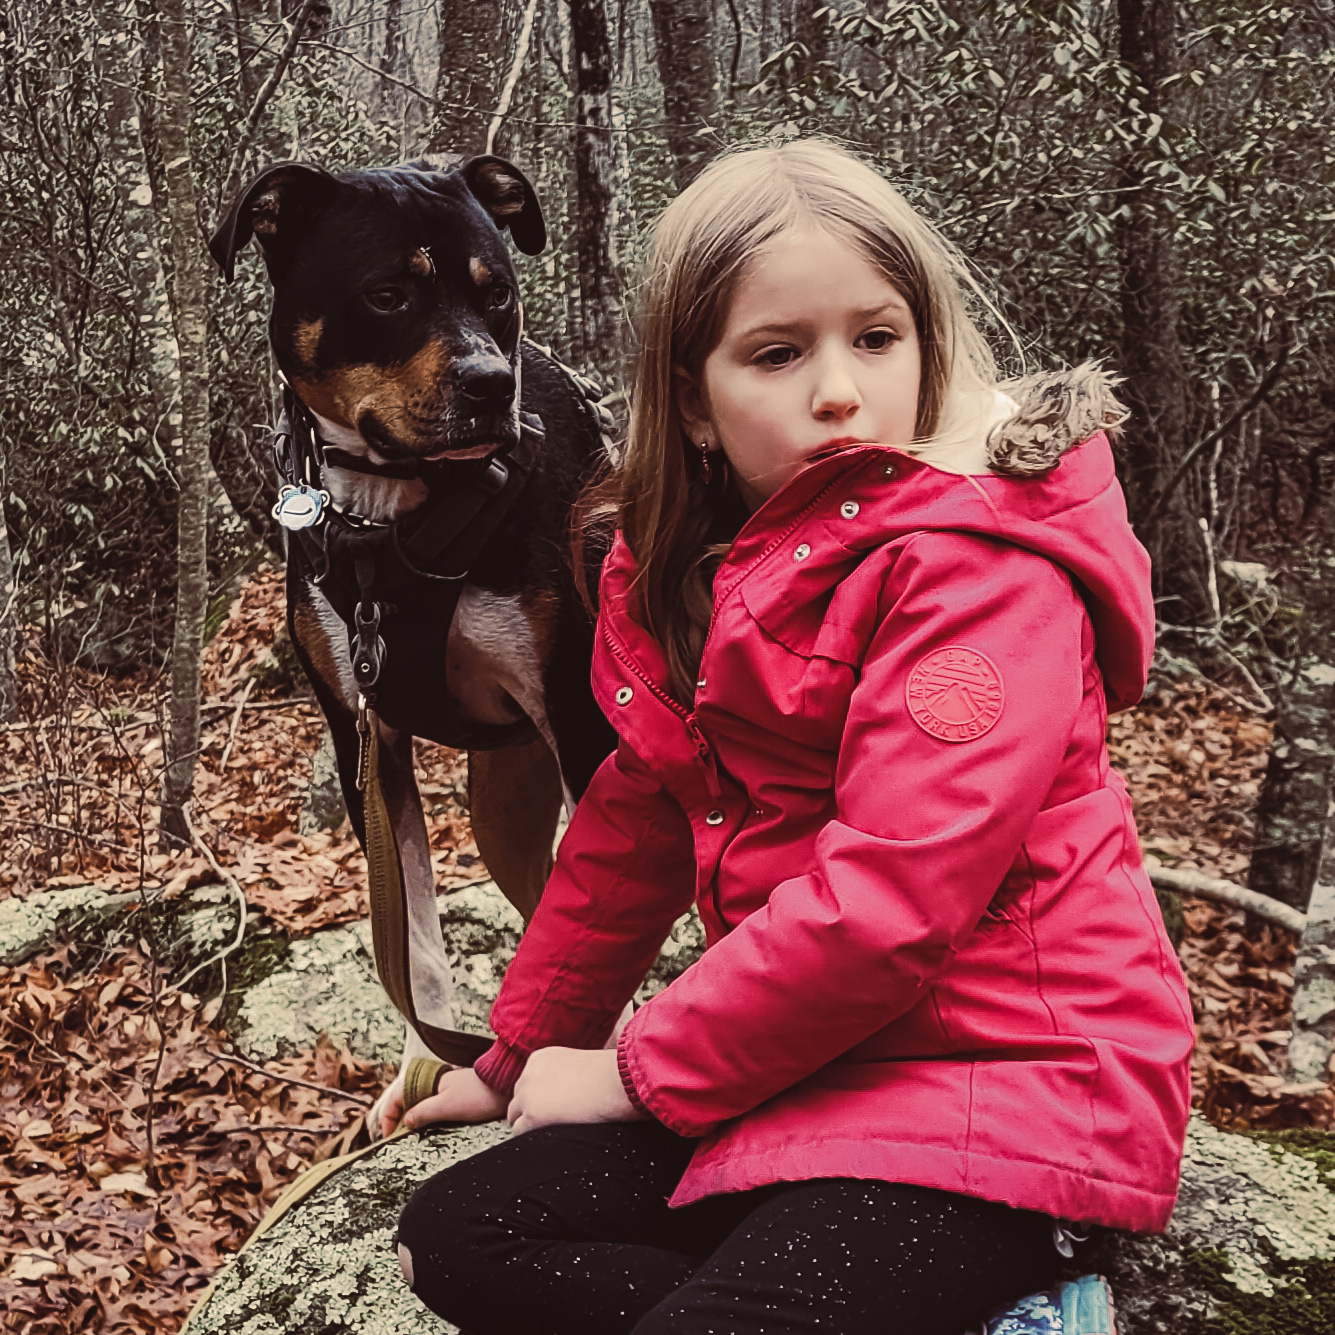
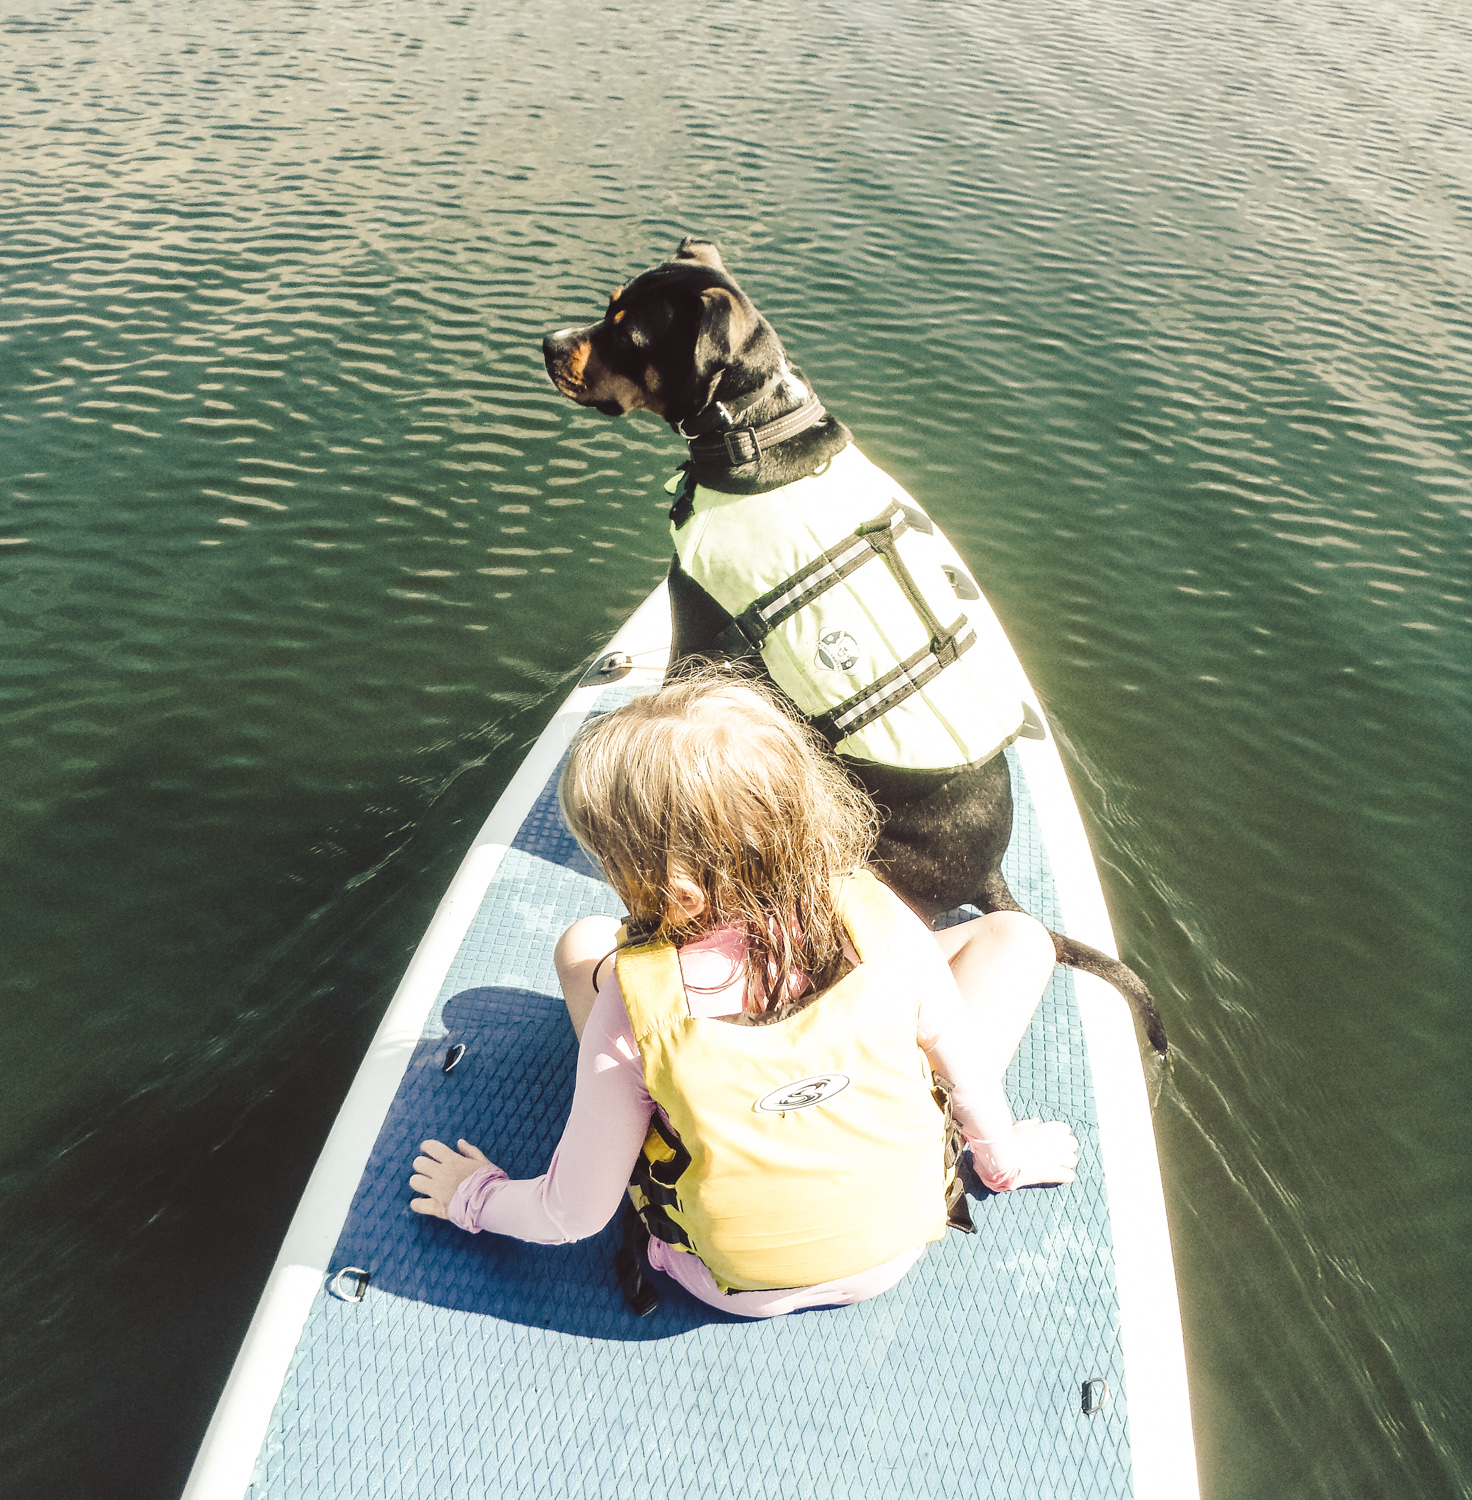
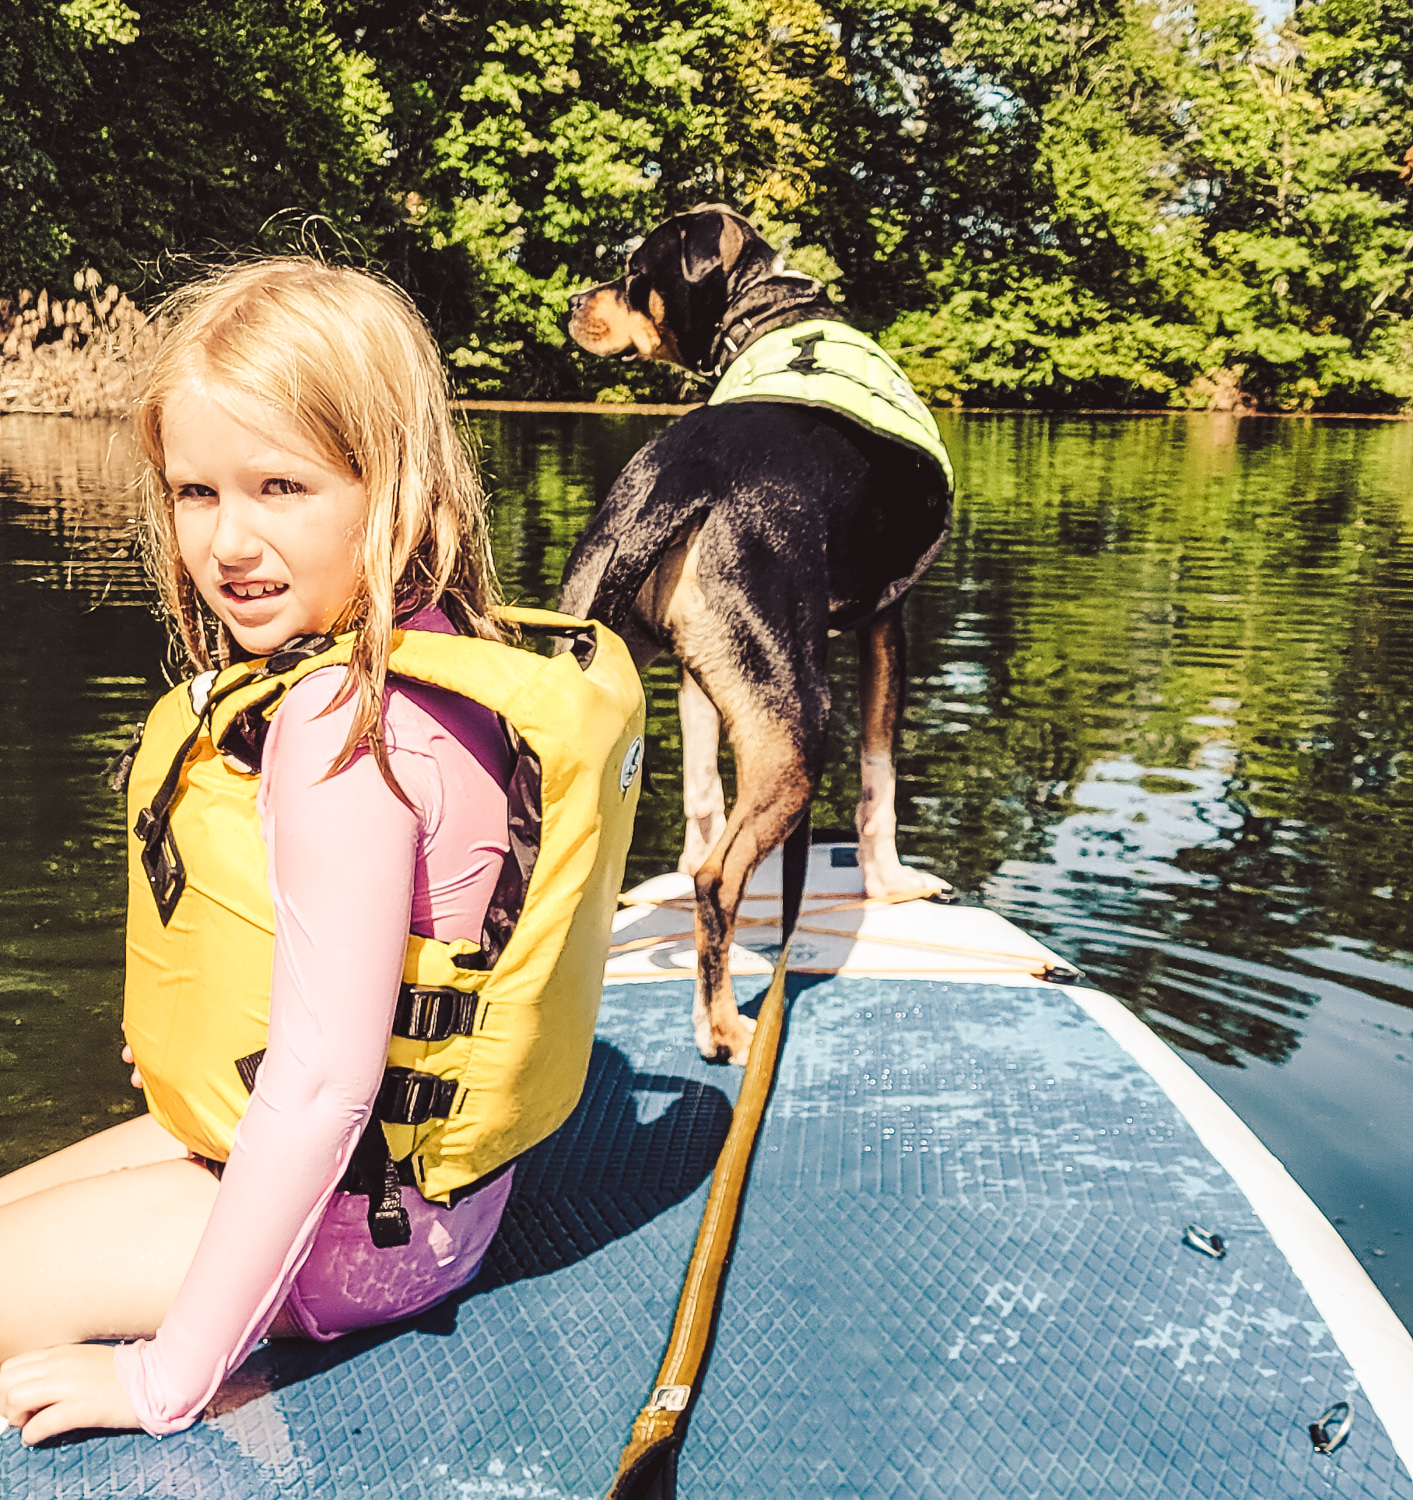
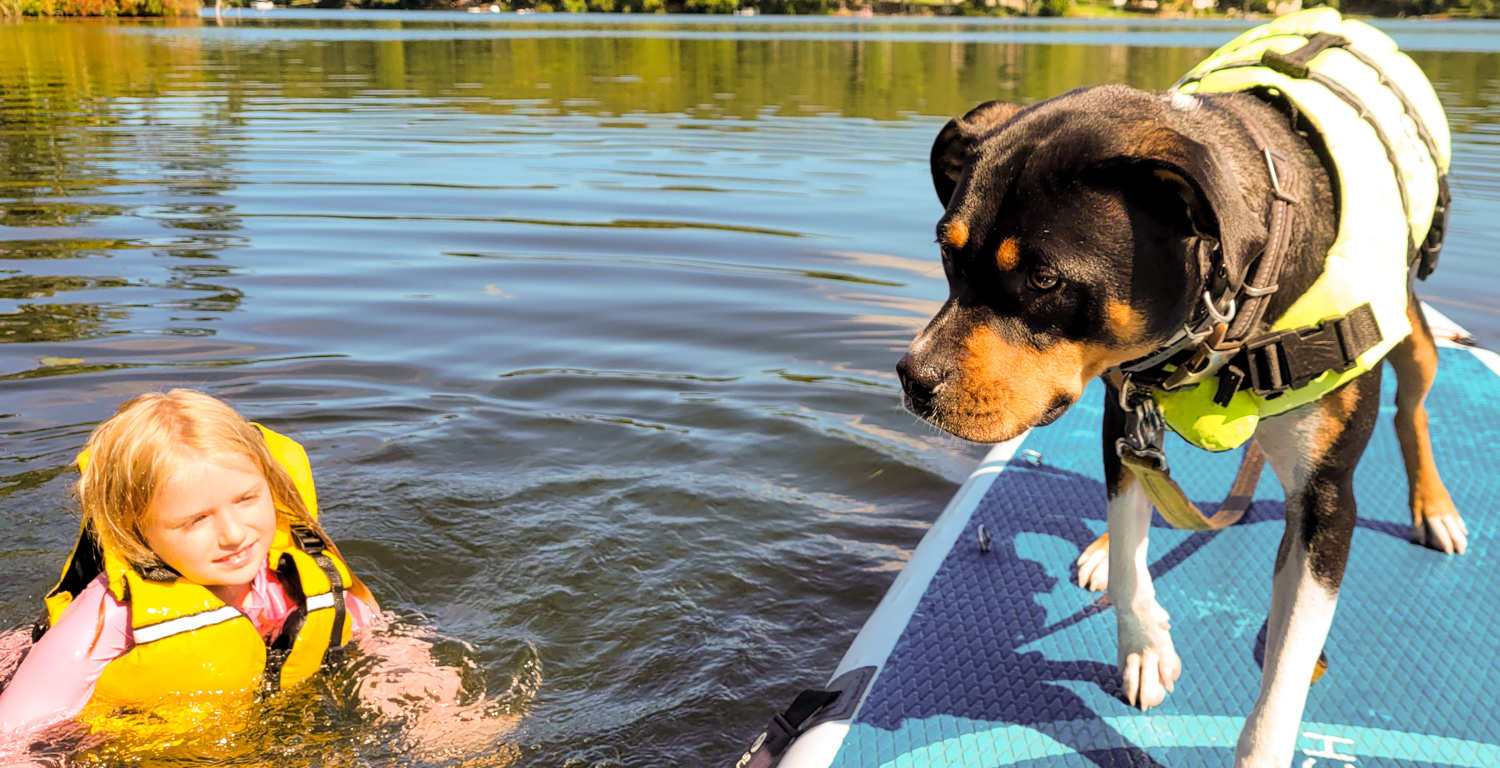
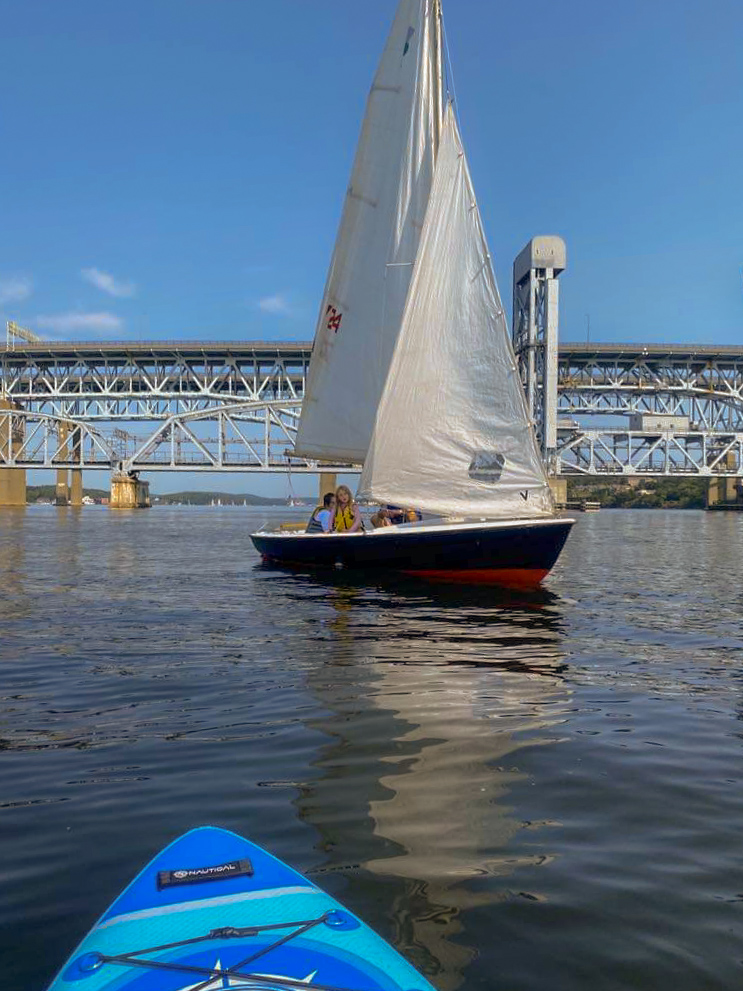
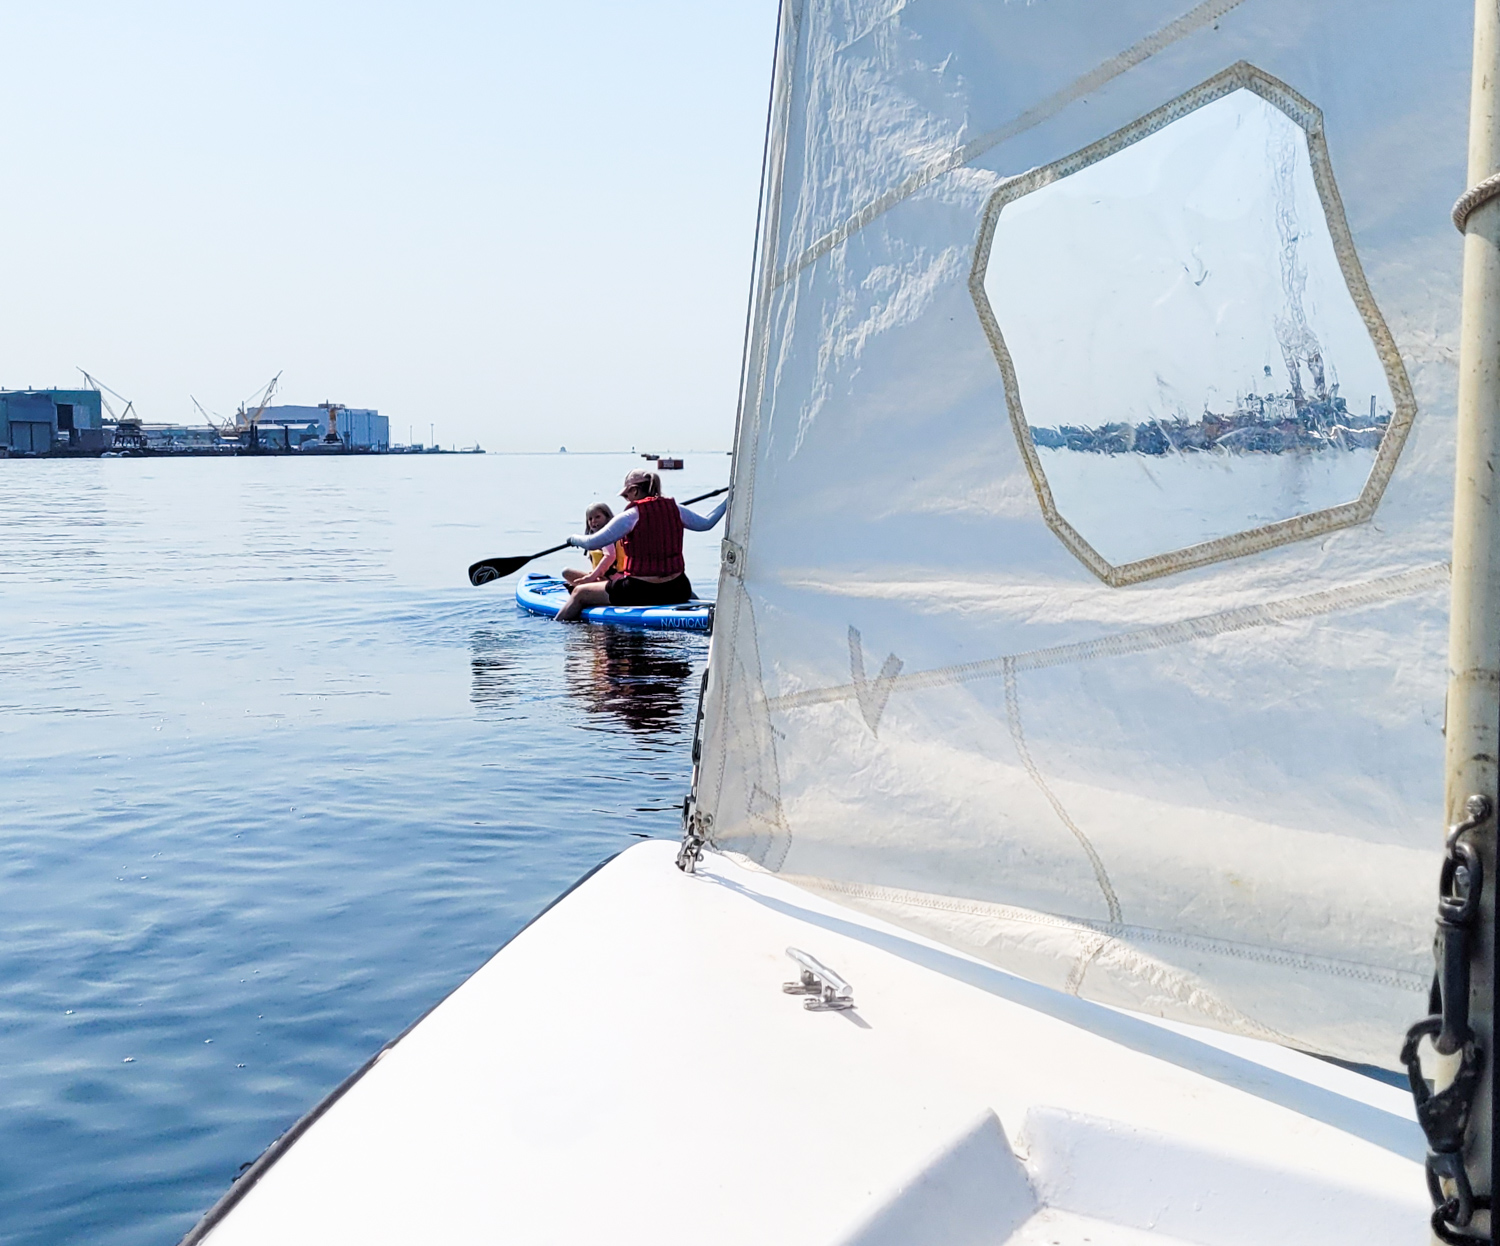
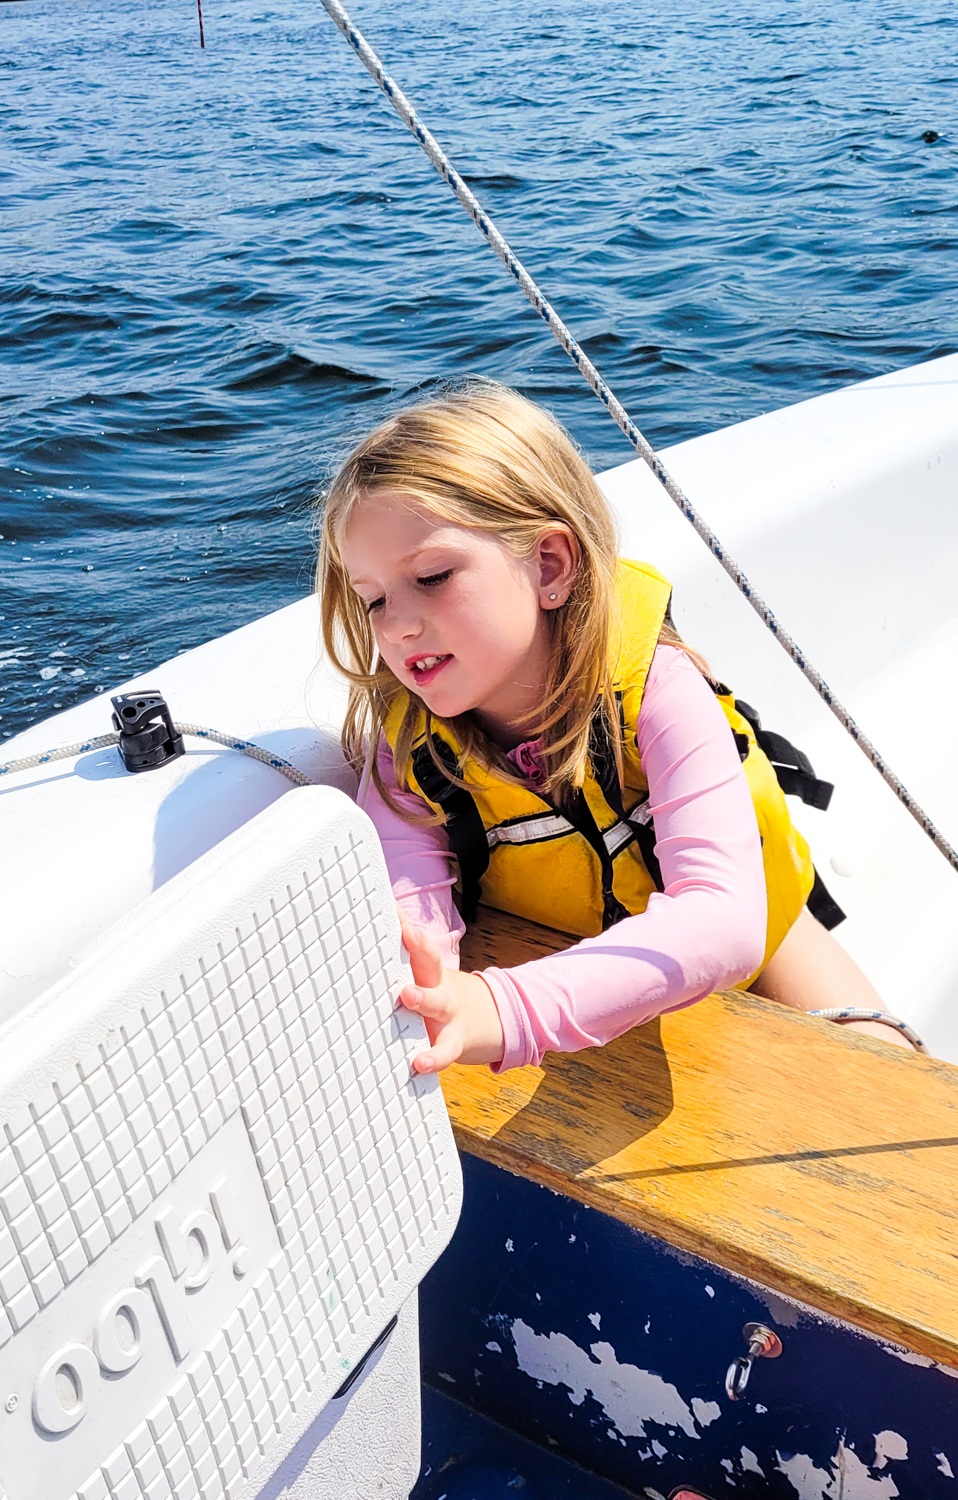
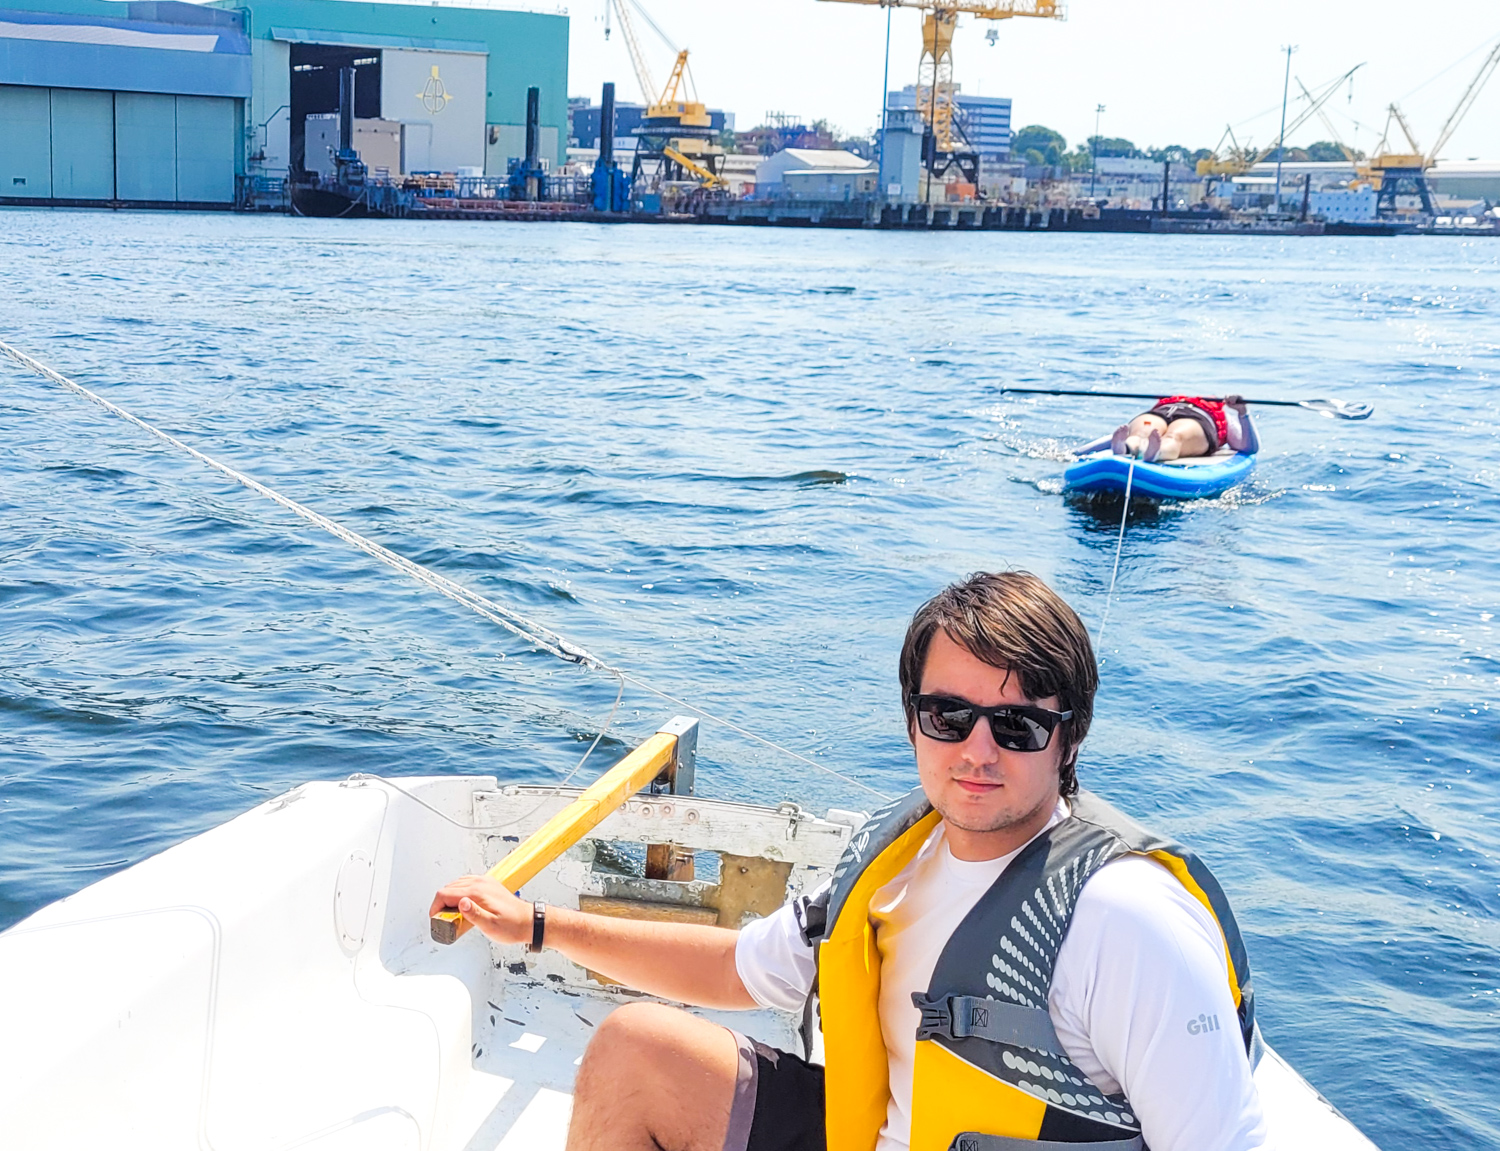
- We picked up paddle boards at the end of last summer and are looking to get on the water more as the weather warms up in the spring. I have been trying to explore more local trails; getting Hoagie out has certainly helped encourage me to get out more.
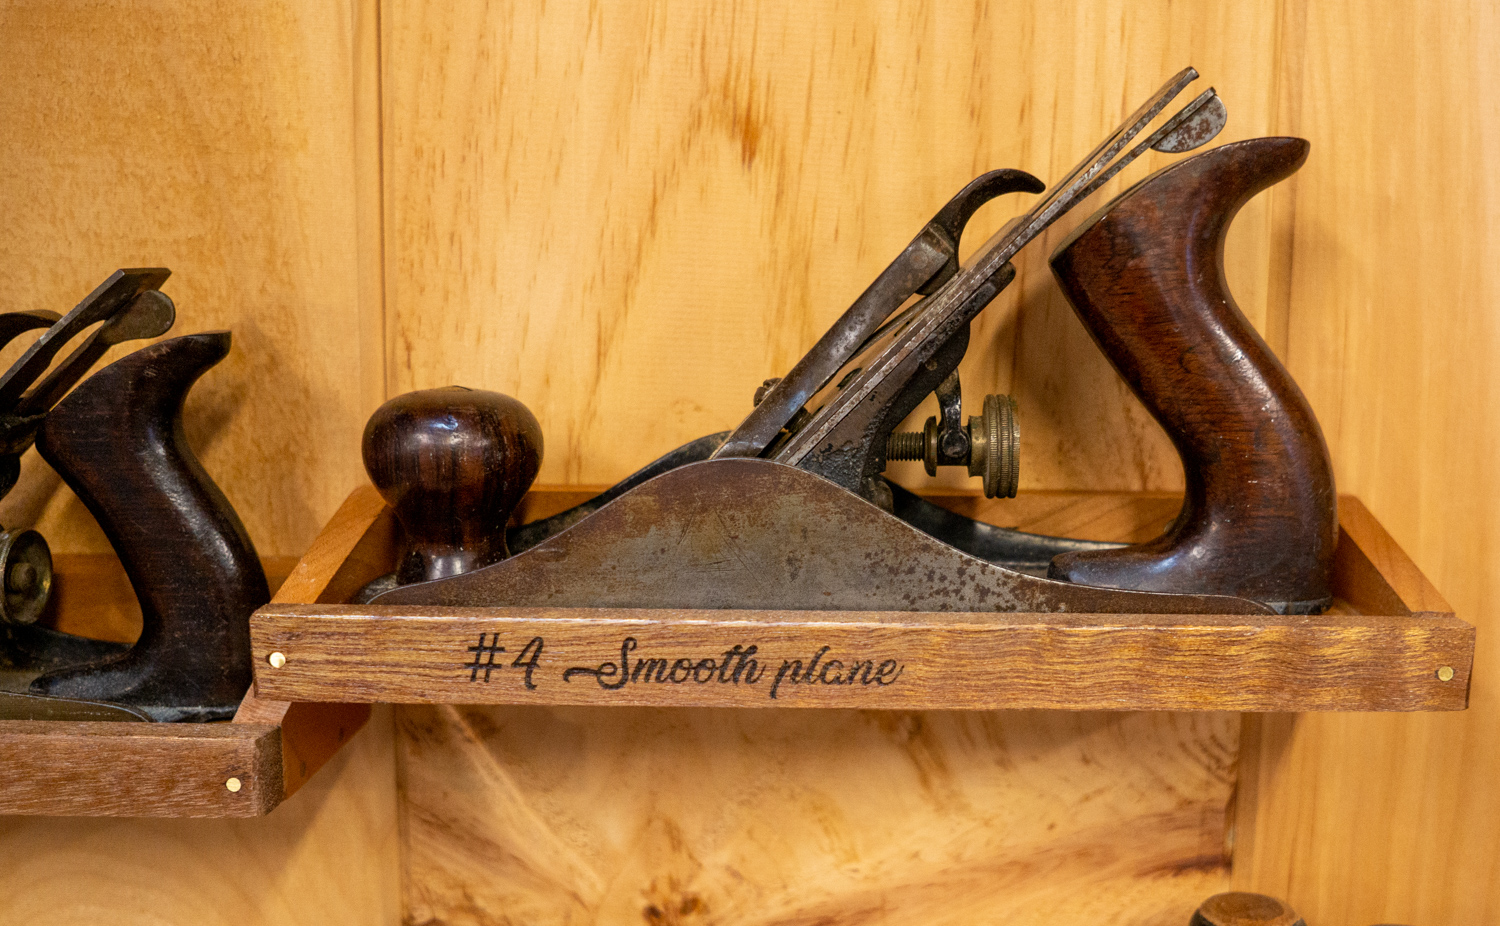
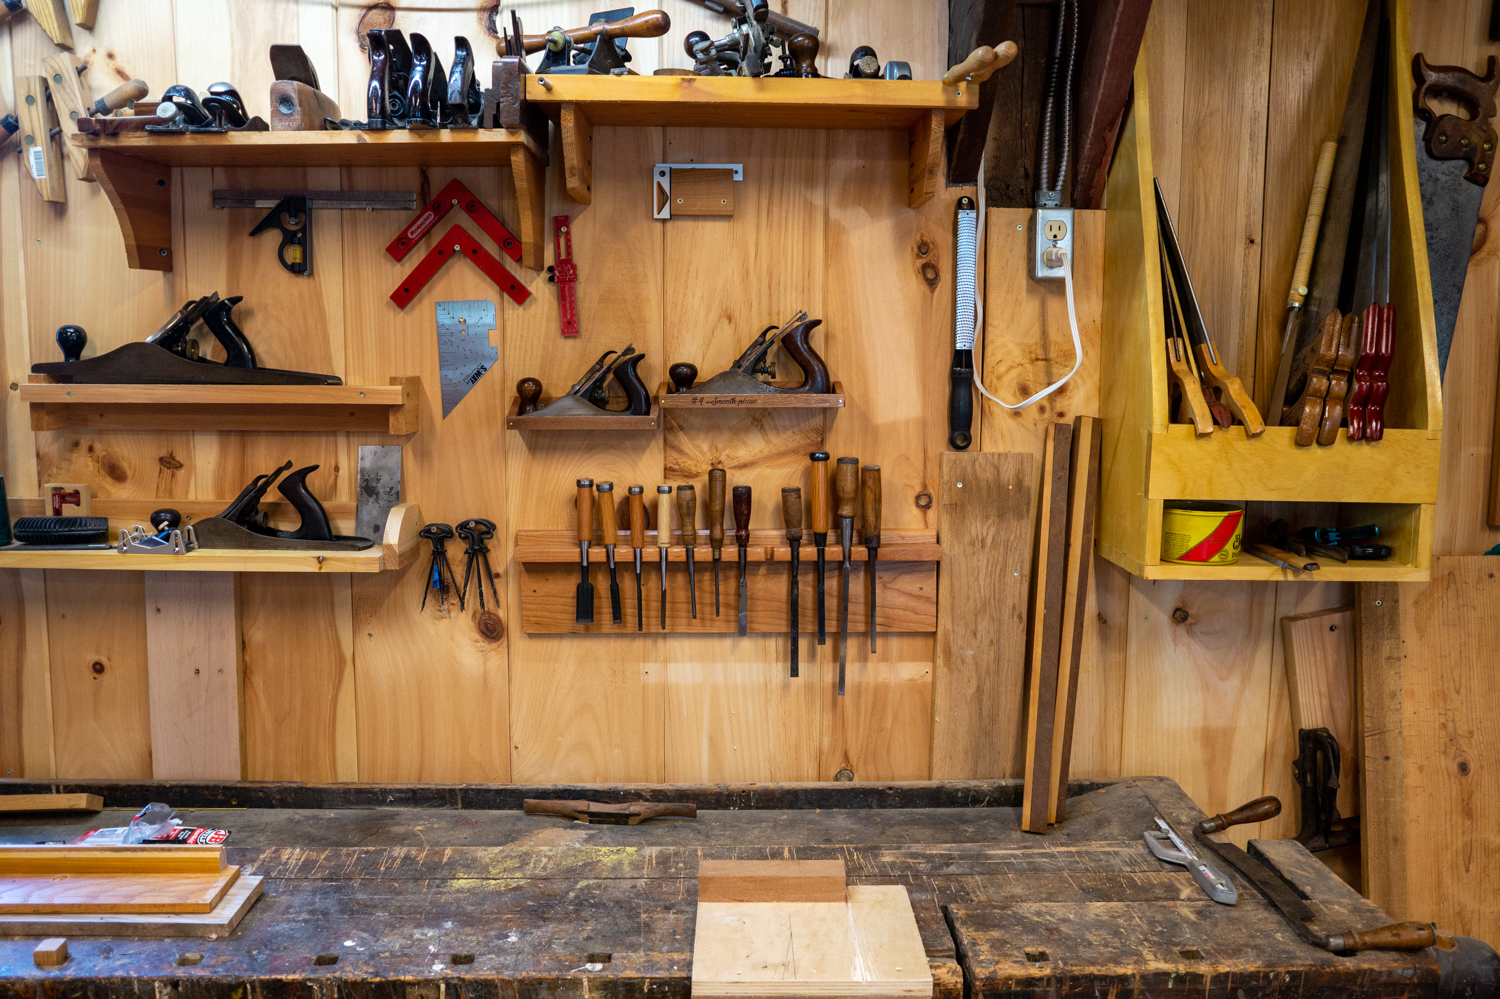
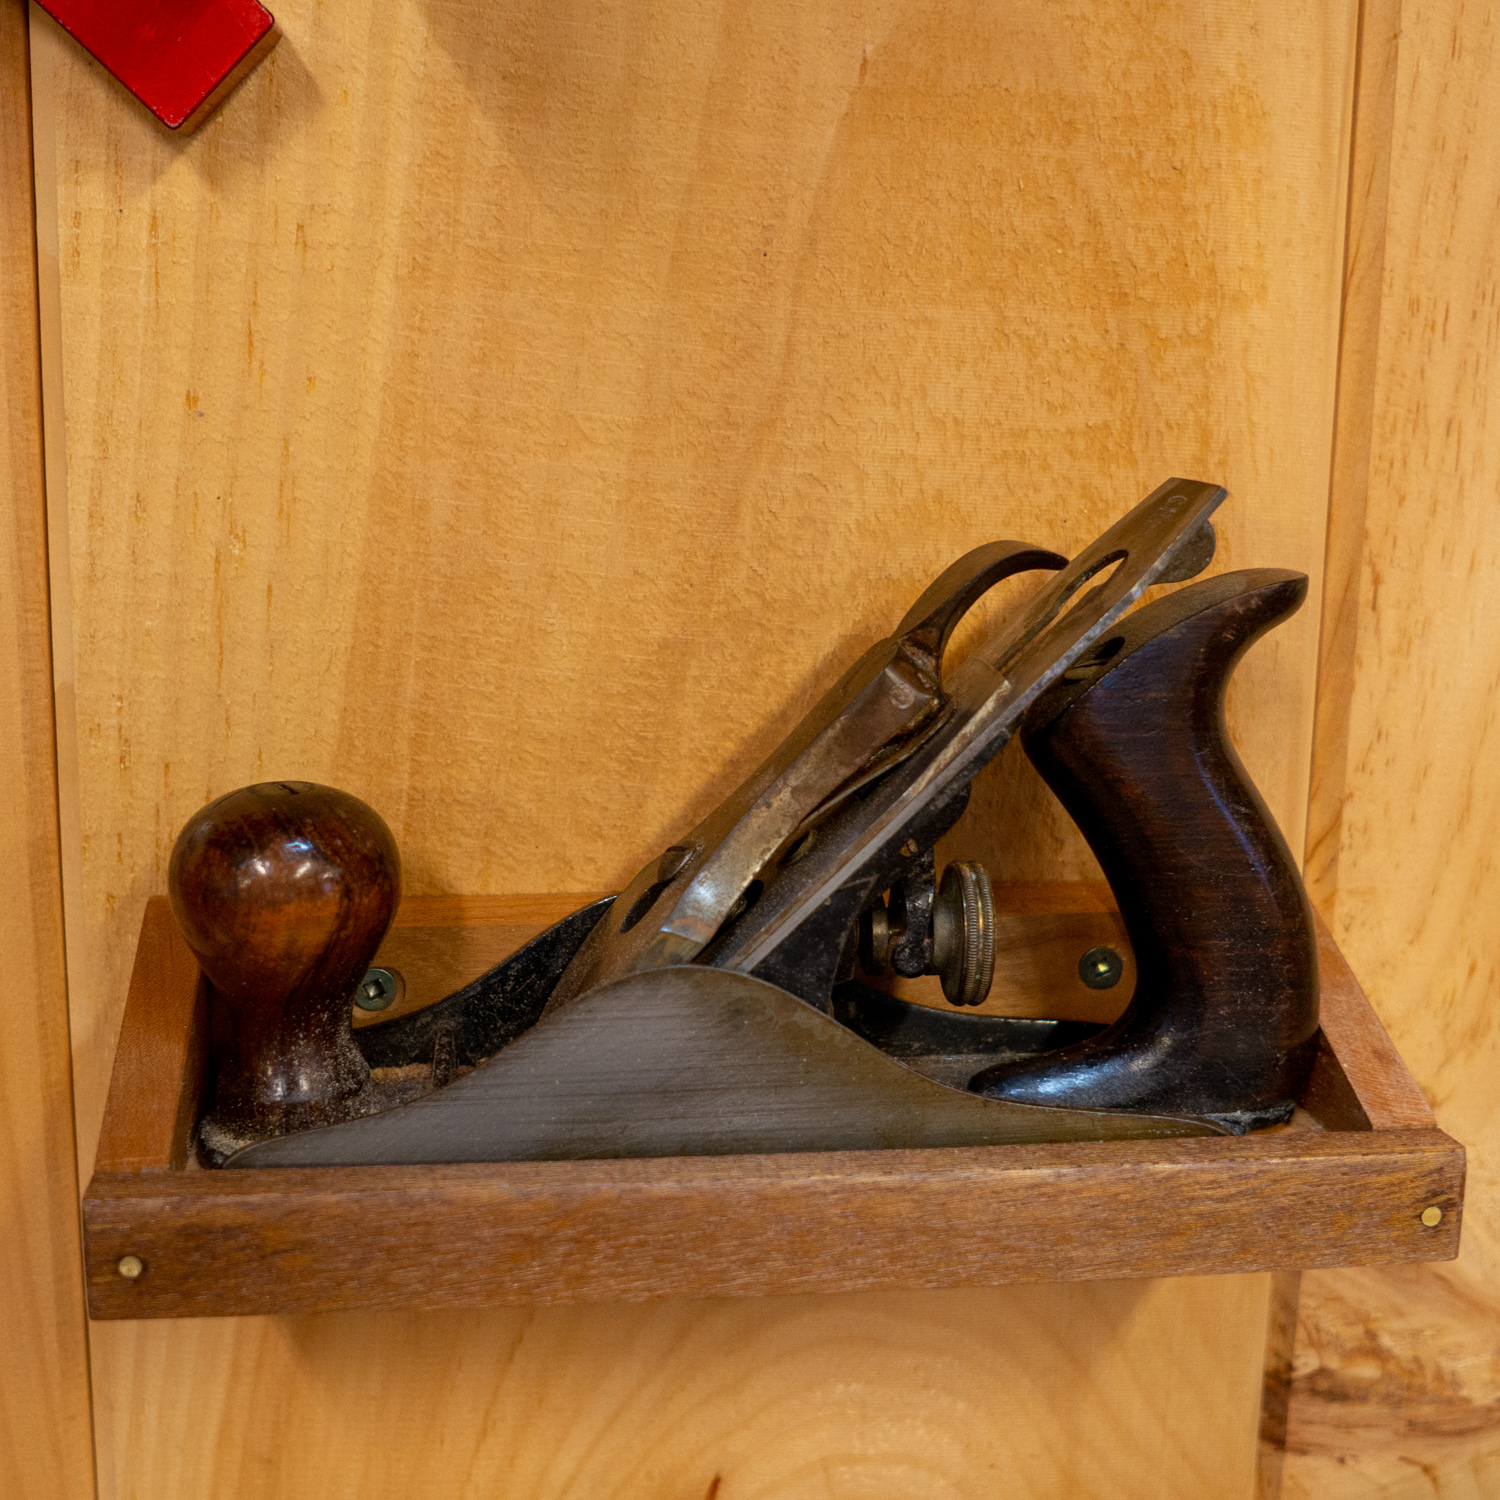
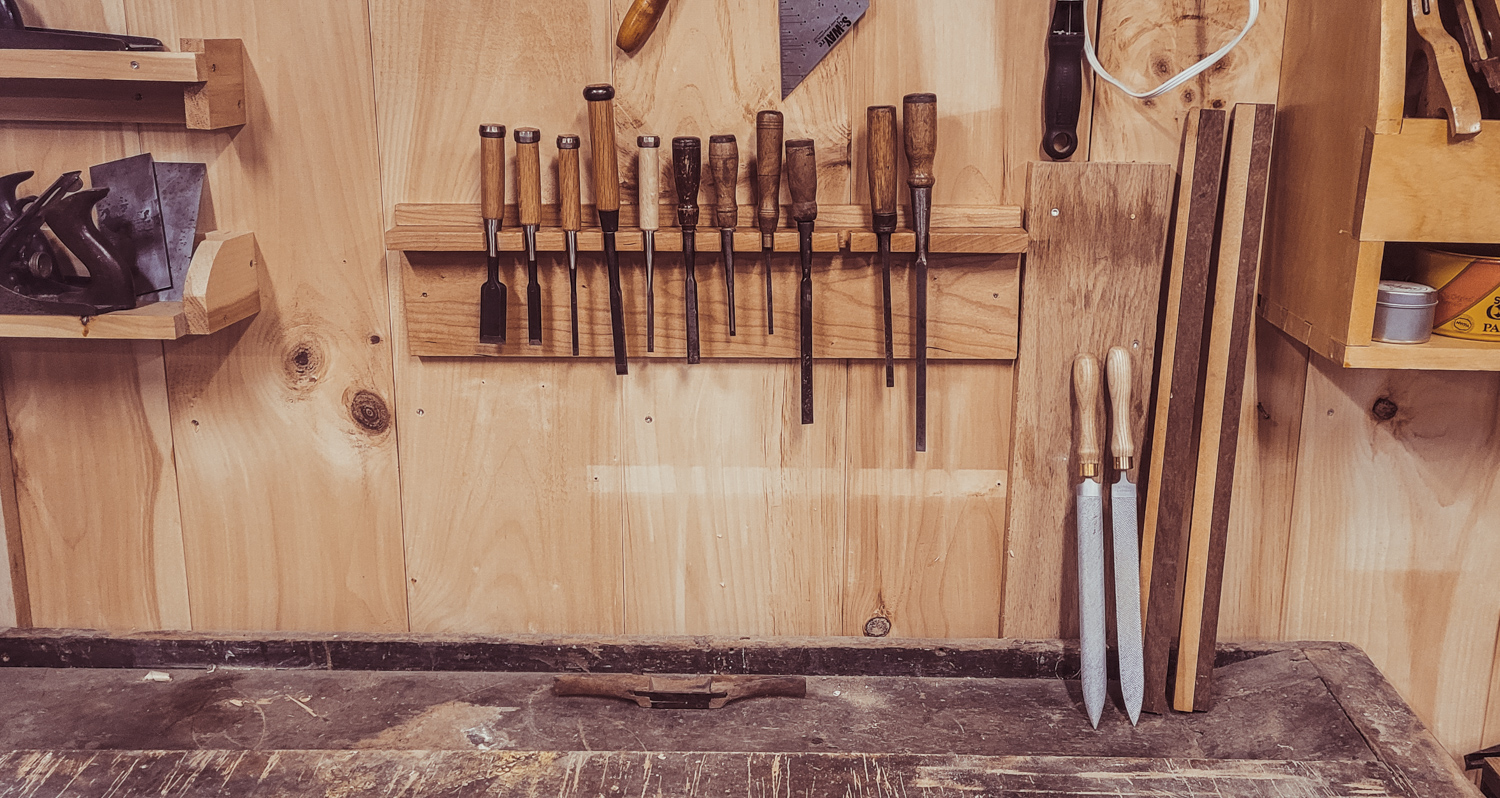
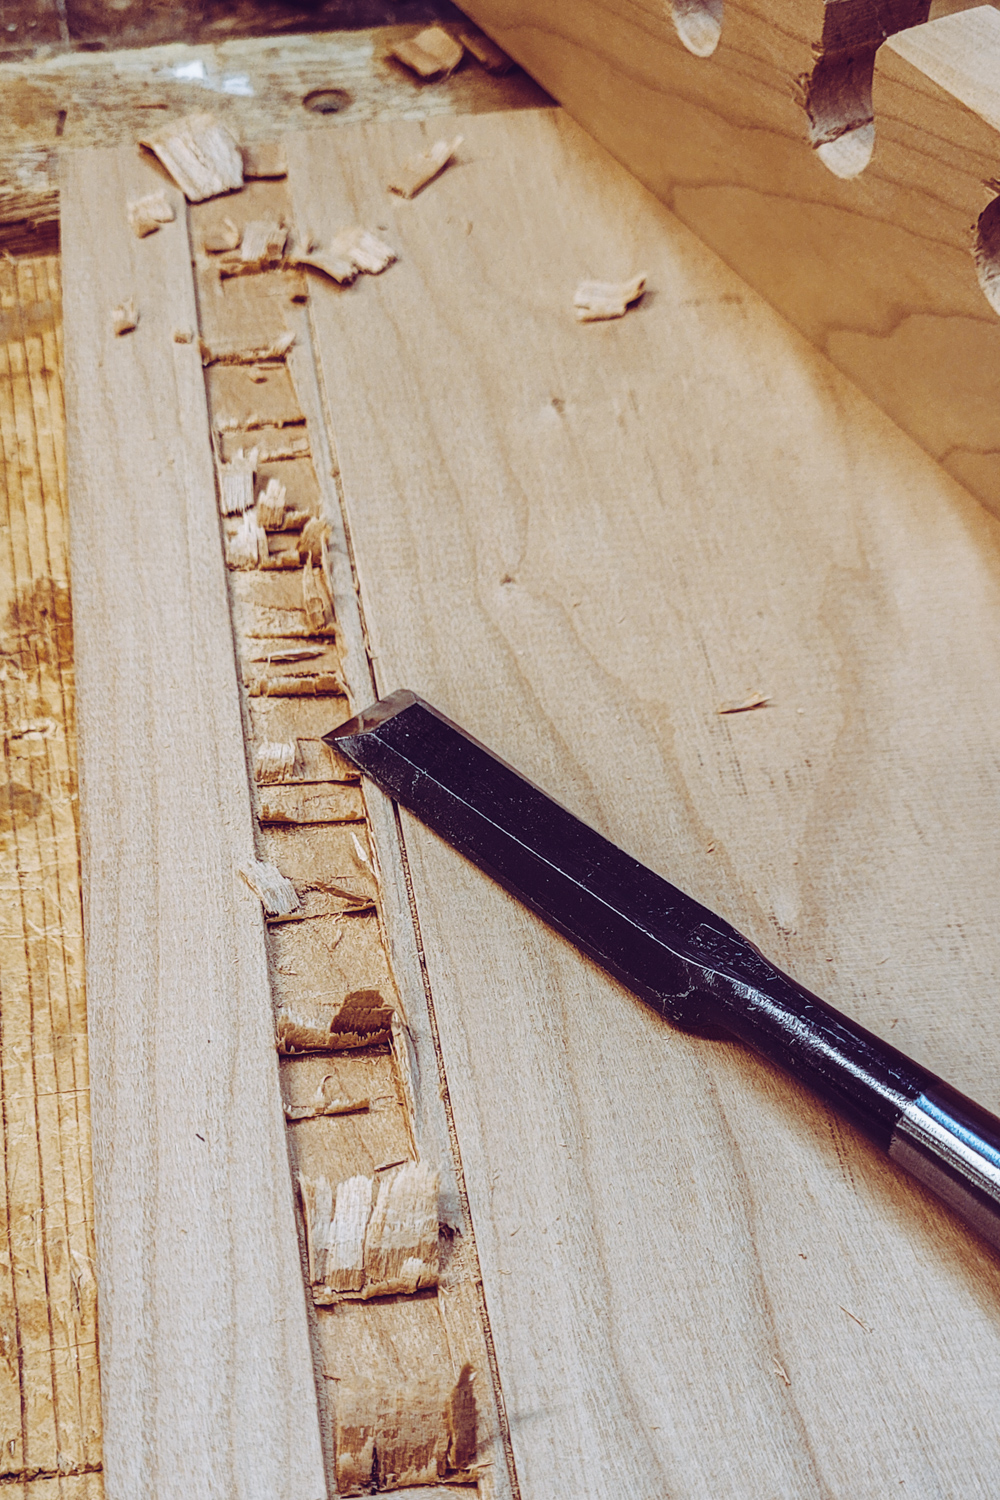
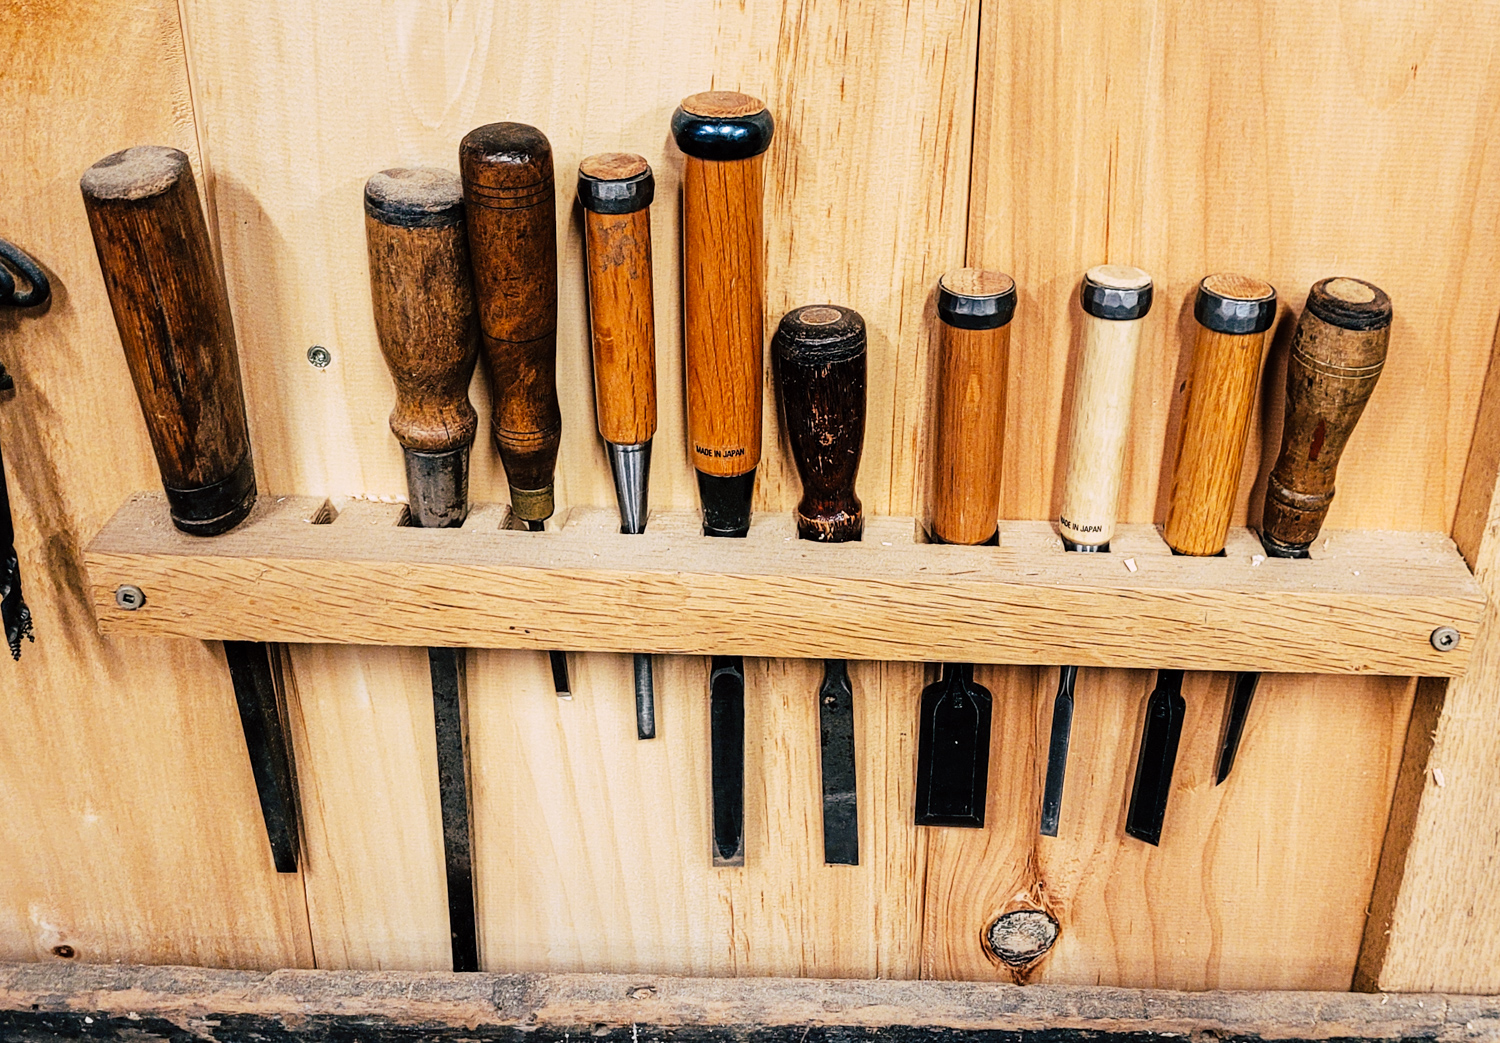
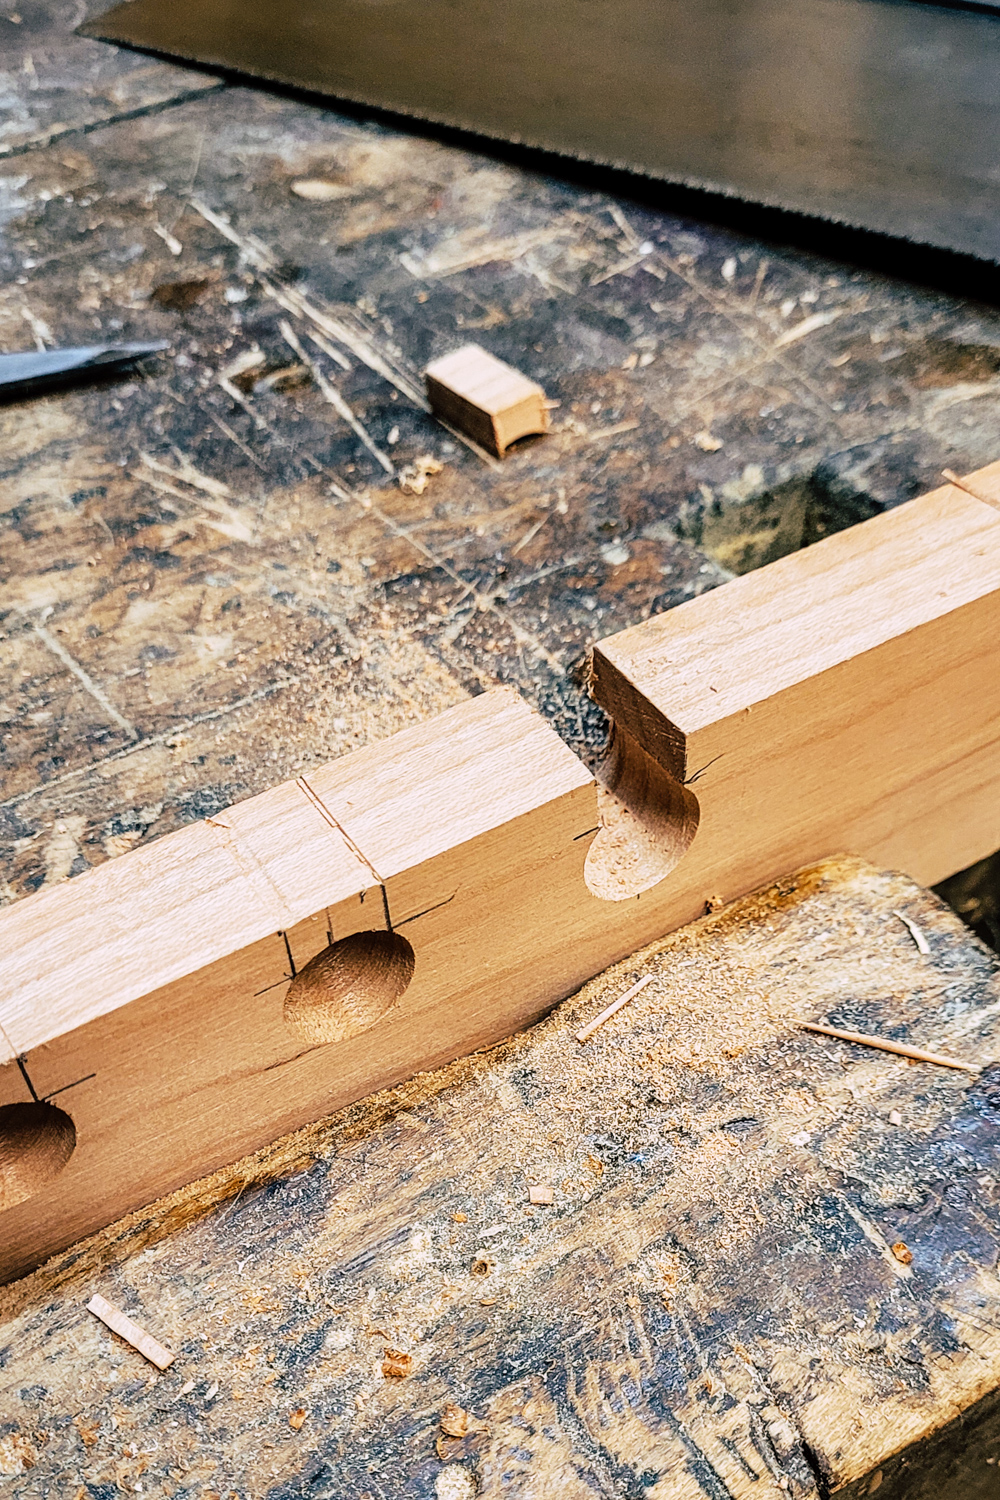
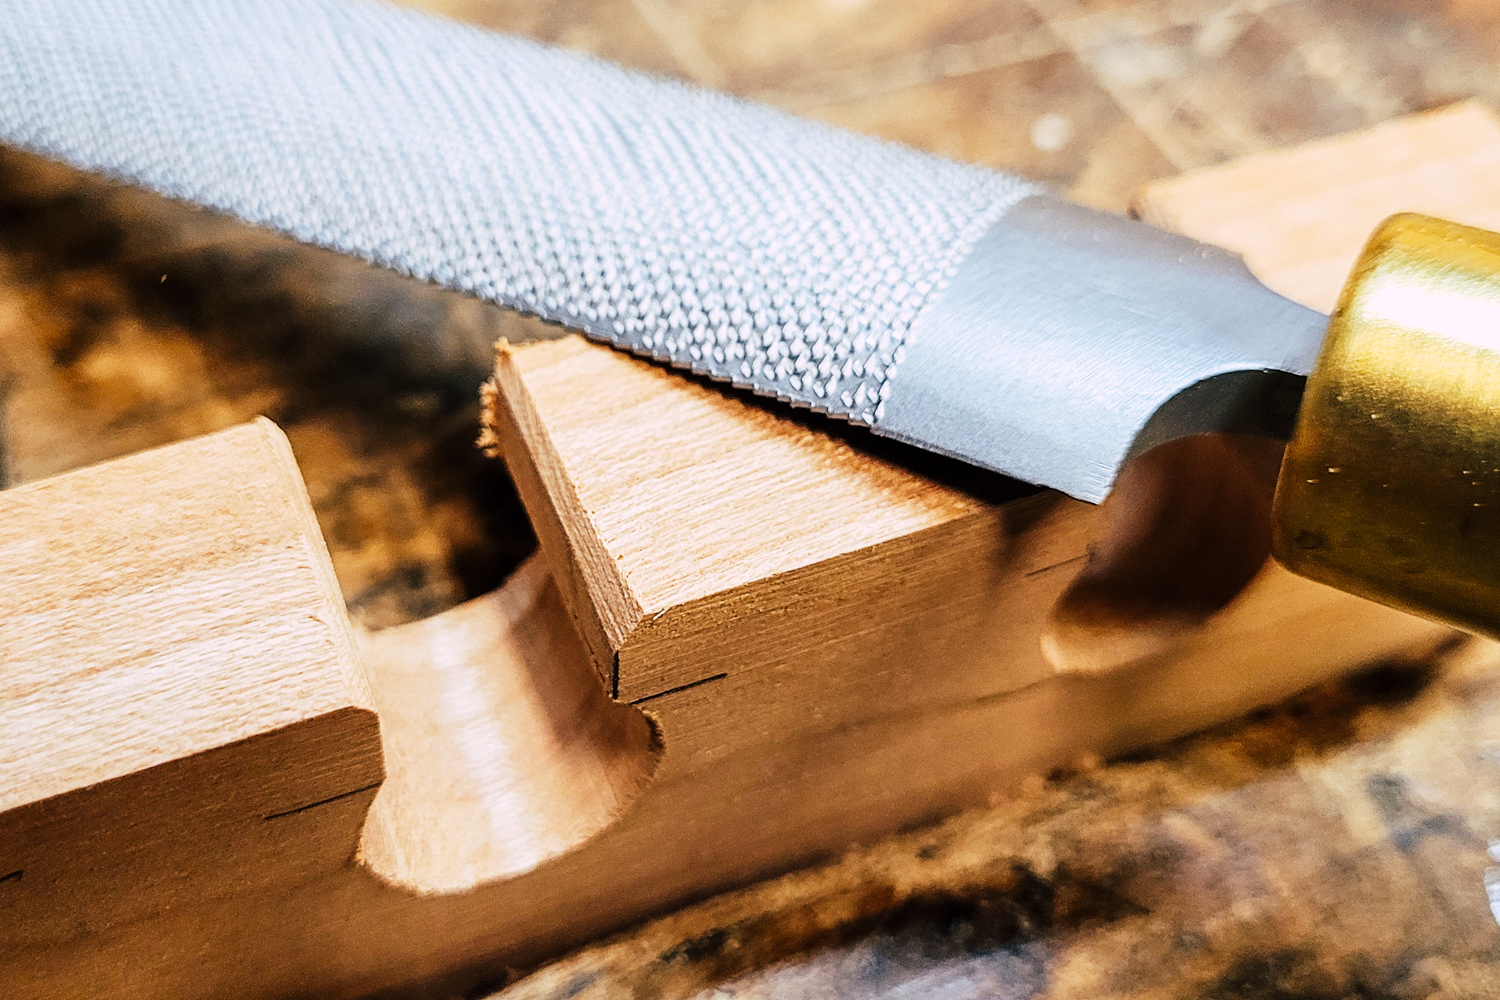
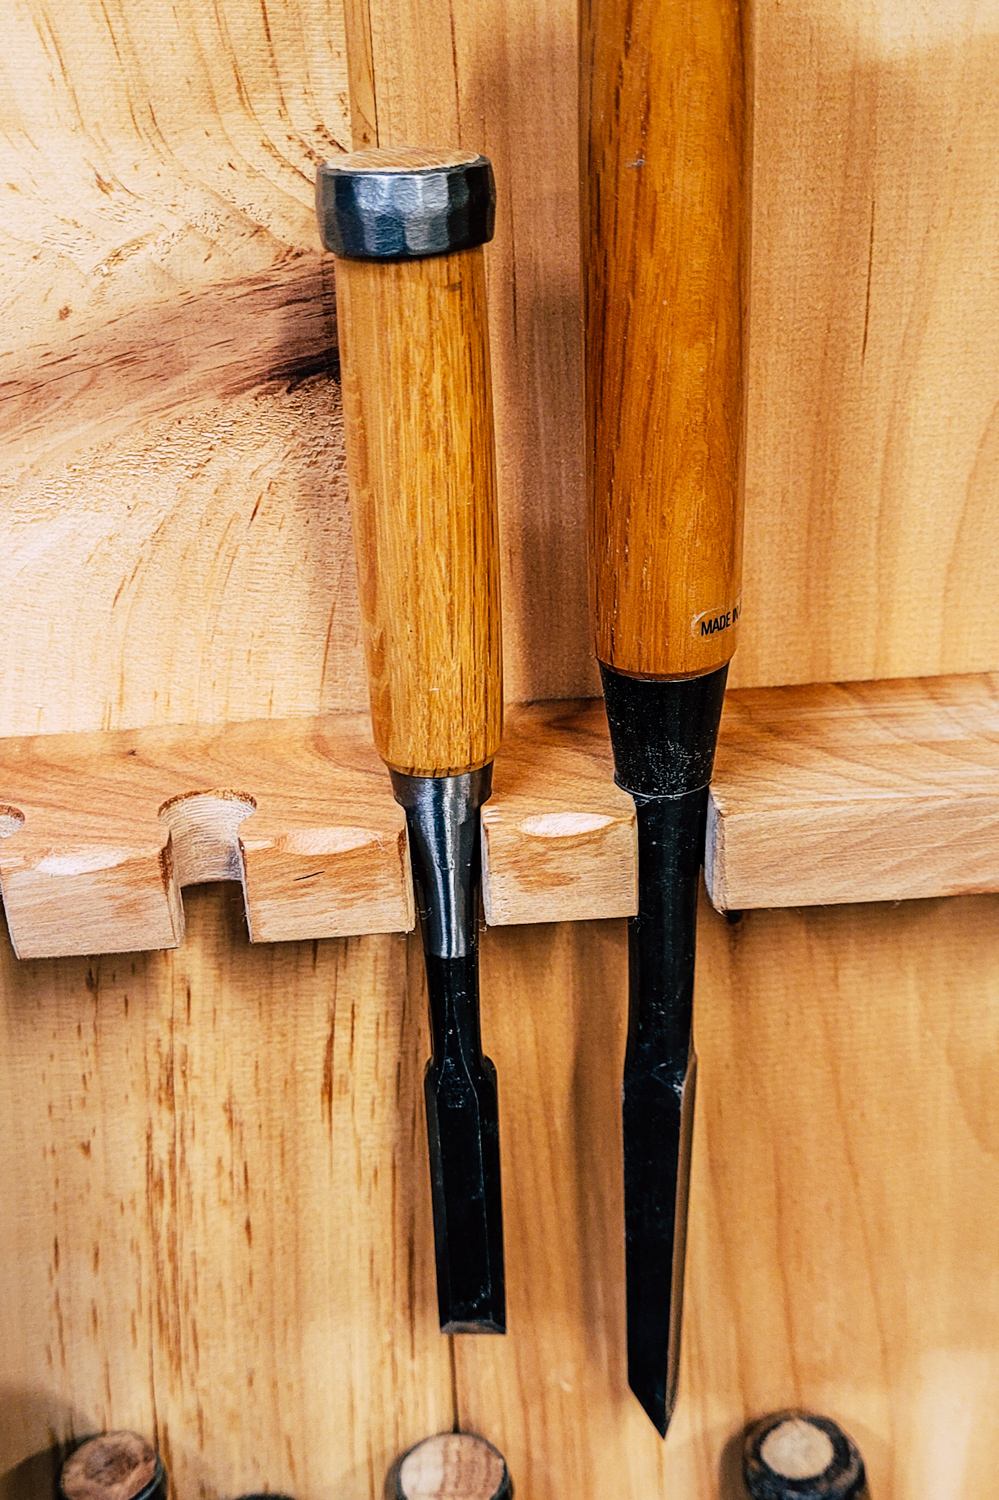
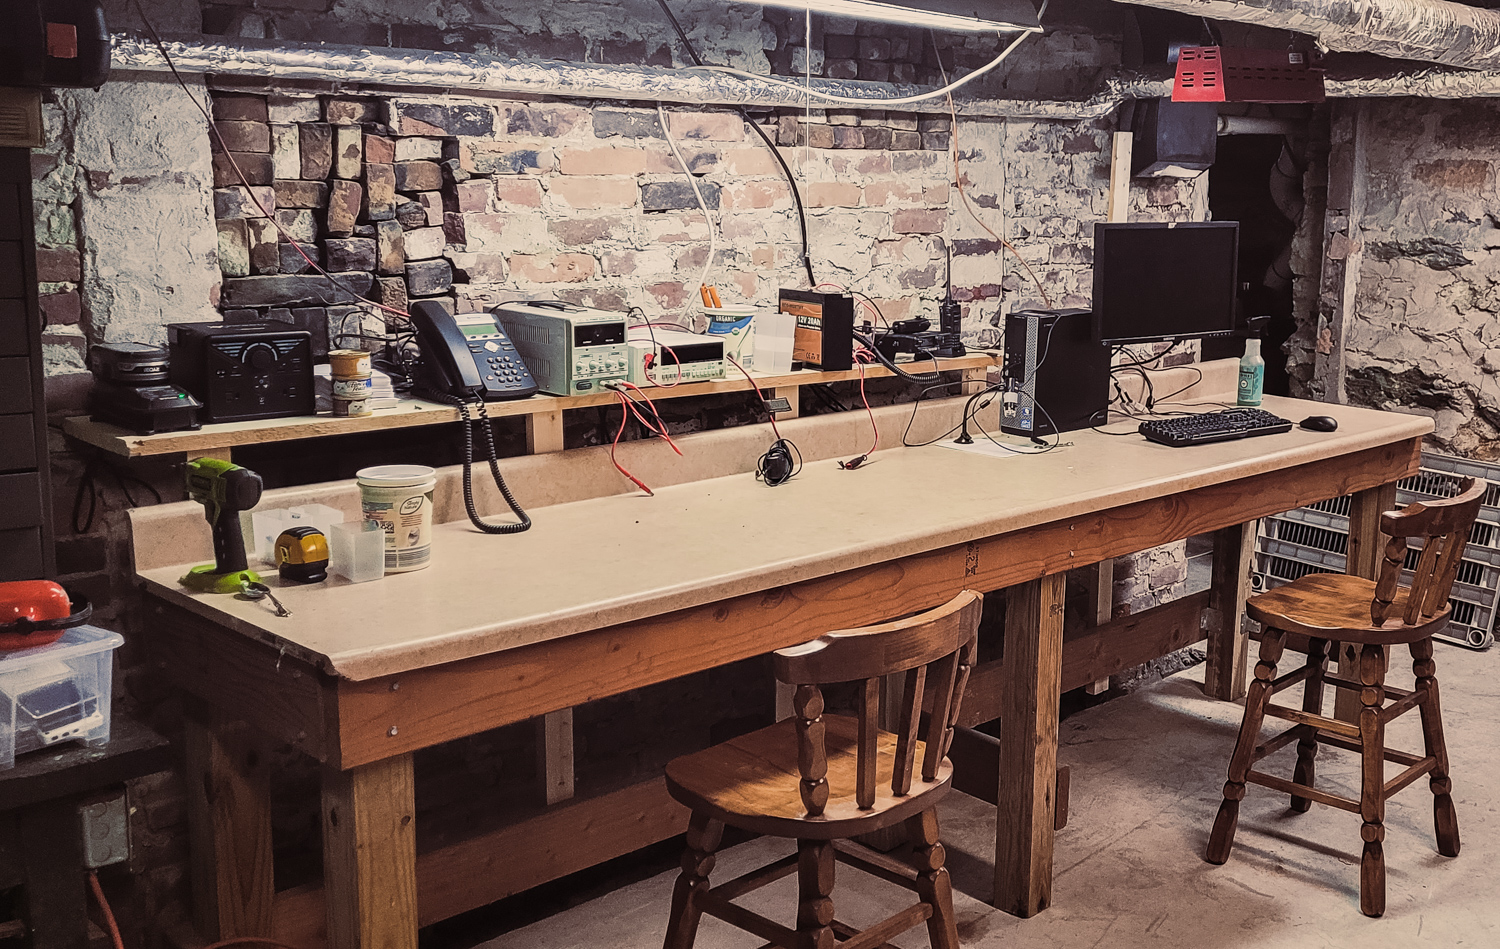
- Will and I passed our amateur radio tests in mid-November. I’ve been building a shack in the basement. With the cold weather, I find it hard to get motivated to spend a lot of time in the wood shop. Plus it gets expensive to heat. I think that if I spend a little more time in the basement, I’ll be able to keep the basement a little cleaner.
I have a few family goals as well:
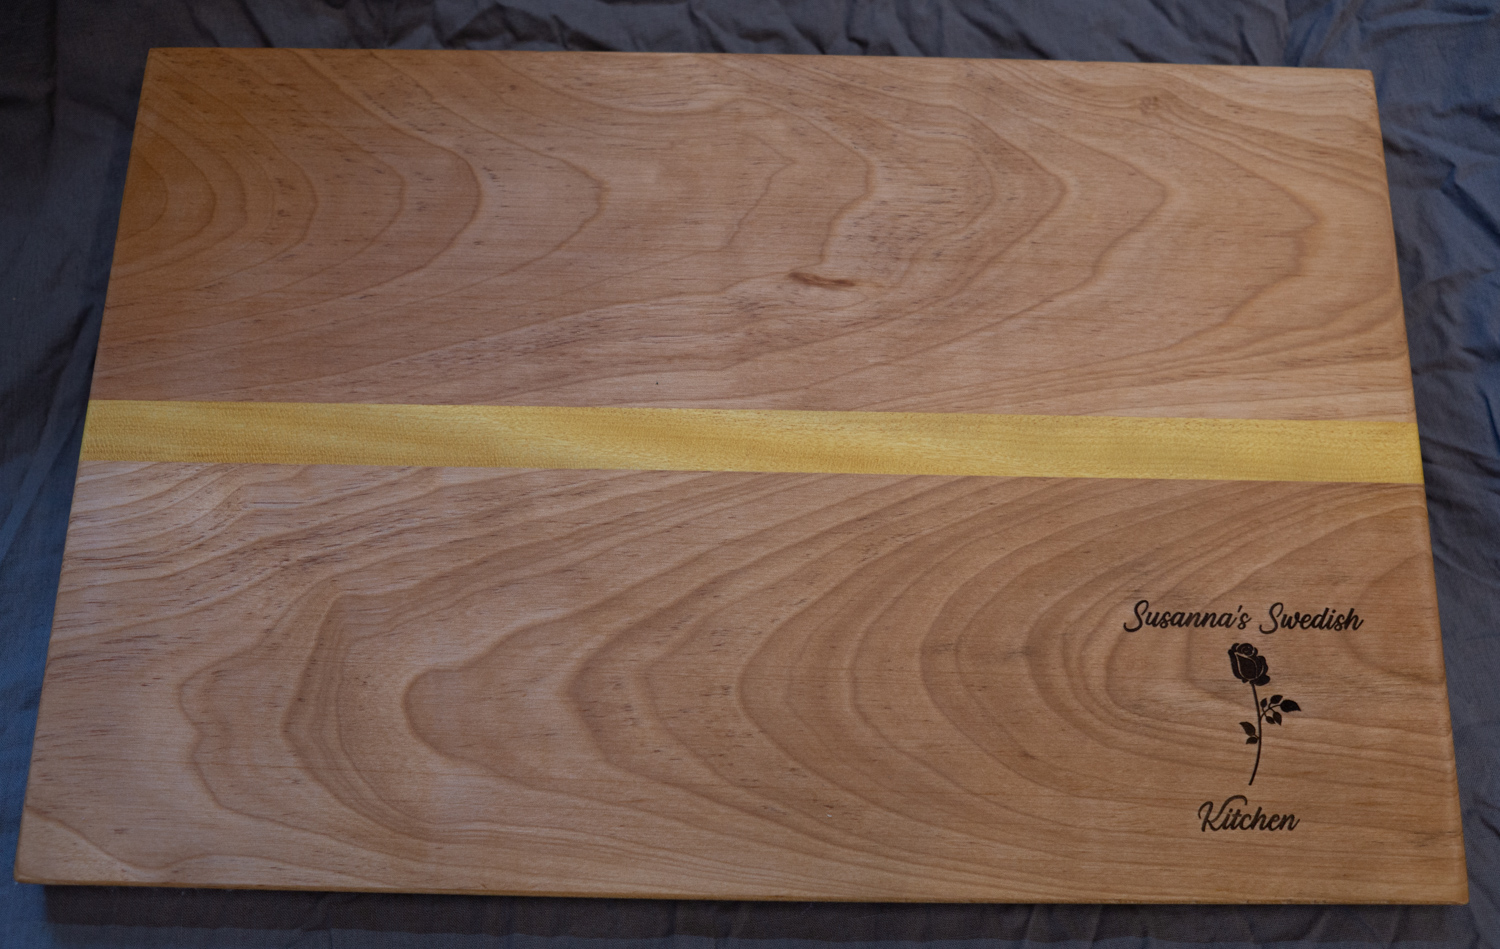
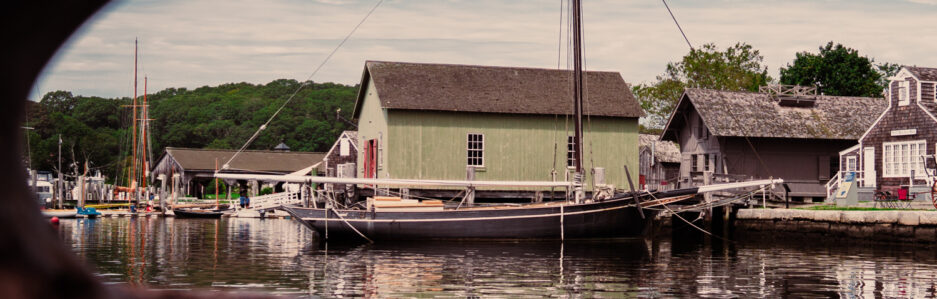
- I’m planning a long vacation to Sweden with Susanna and Izzy in August. I plan on getting some time to just settle in and explore the area. We are planning on retiring to Sweden, so I need to figure out what I’ll do there when I retire. And yes, I have a few years before I can retire.
- I’d like to rebuild our front porch. We don’t use it much, so it has fallen into disrepair. The stairs are starting to rot and the porch ceiling is in terrible shape. I’d also like to ensure that the posts aren’t rotting and possibly replace the porch floor.
In general, I’d like to spend less time staring at my phone and more time actually living life! I do think I should try to write here more often. It helps me focus a bit.