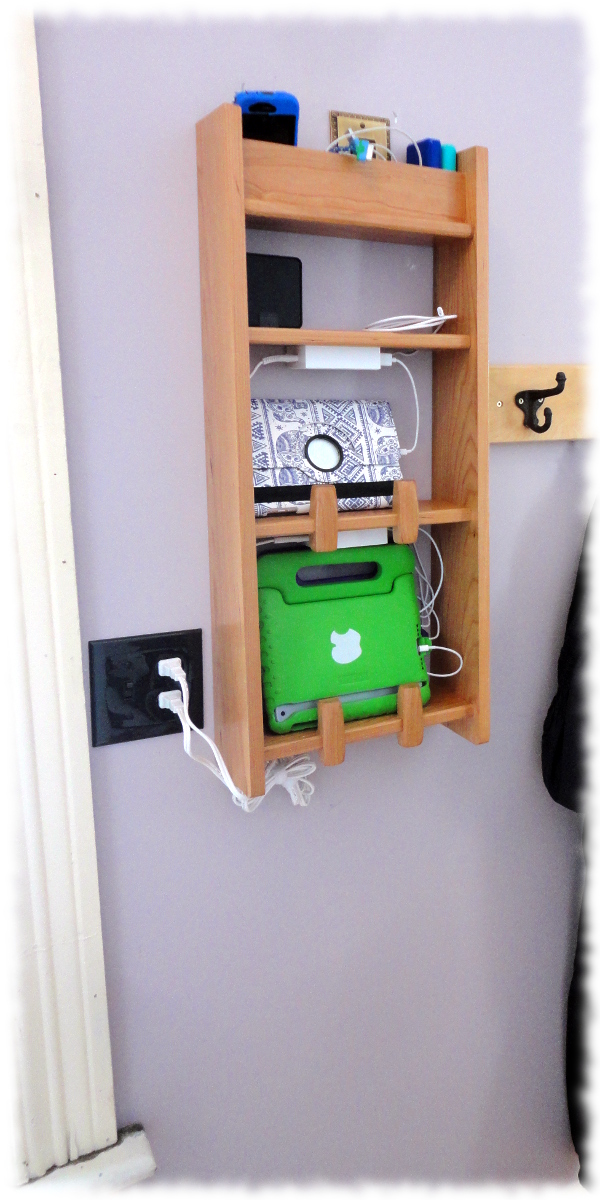

Ben is working on building a shaker shop stool. We watched the videos from 360 Woodworking and he decided that it was a project he could build (with a little help).
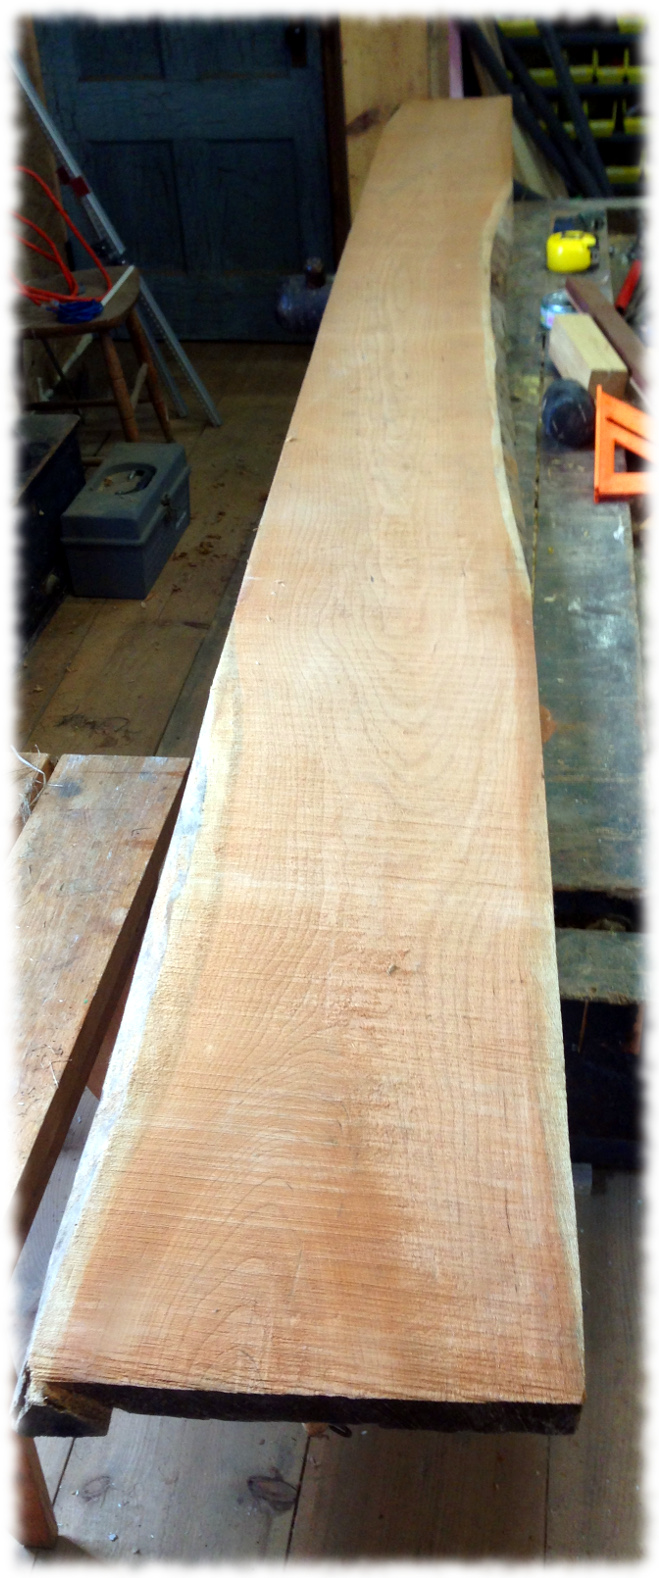
A week ago, Ben and I drove up to the J. Gibson McIlvain Lumber outlet in Danielson, CT to pick up a lumber for the project. I have lots of rough lumber here, but it is mostly Cherry and Oak, both of which are a little hard for him to use. Pine is soft enough that he doesn’t have too much trouble working it with hand tools. He picked up a nice clear 12″ wide piece of white pine for the project. Yes, for the same price as lumber at the box store, you get a much nicer piece wood from the lumber yard.
Last week we milled the pieces for the project. The board was flat enough from the lumber yard that we didn’t need to joint it, so it was a quick job on the planer and table saw. Ben even used the table saw (with close supervision) to cut the pieces to length.
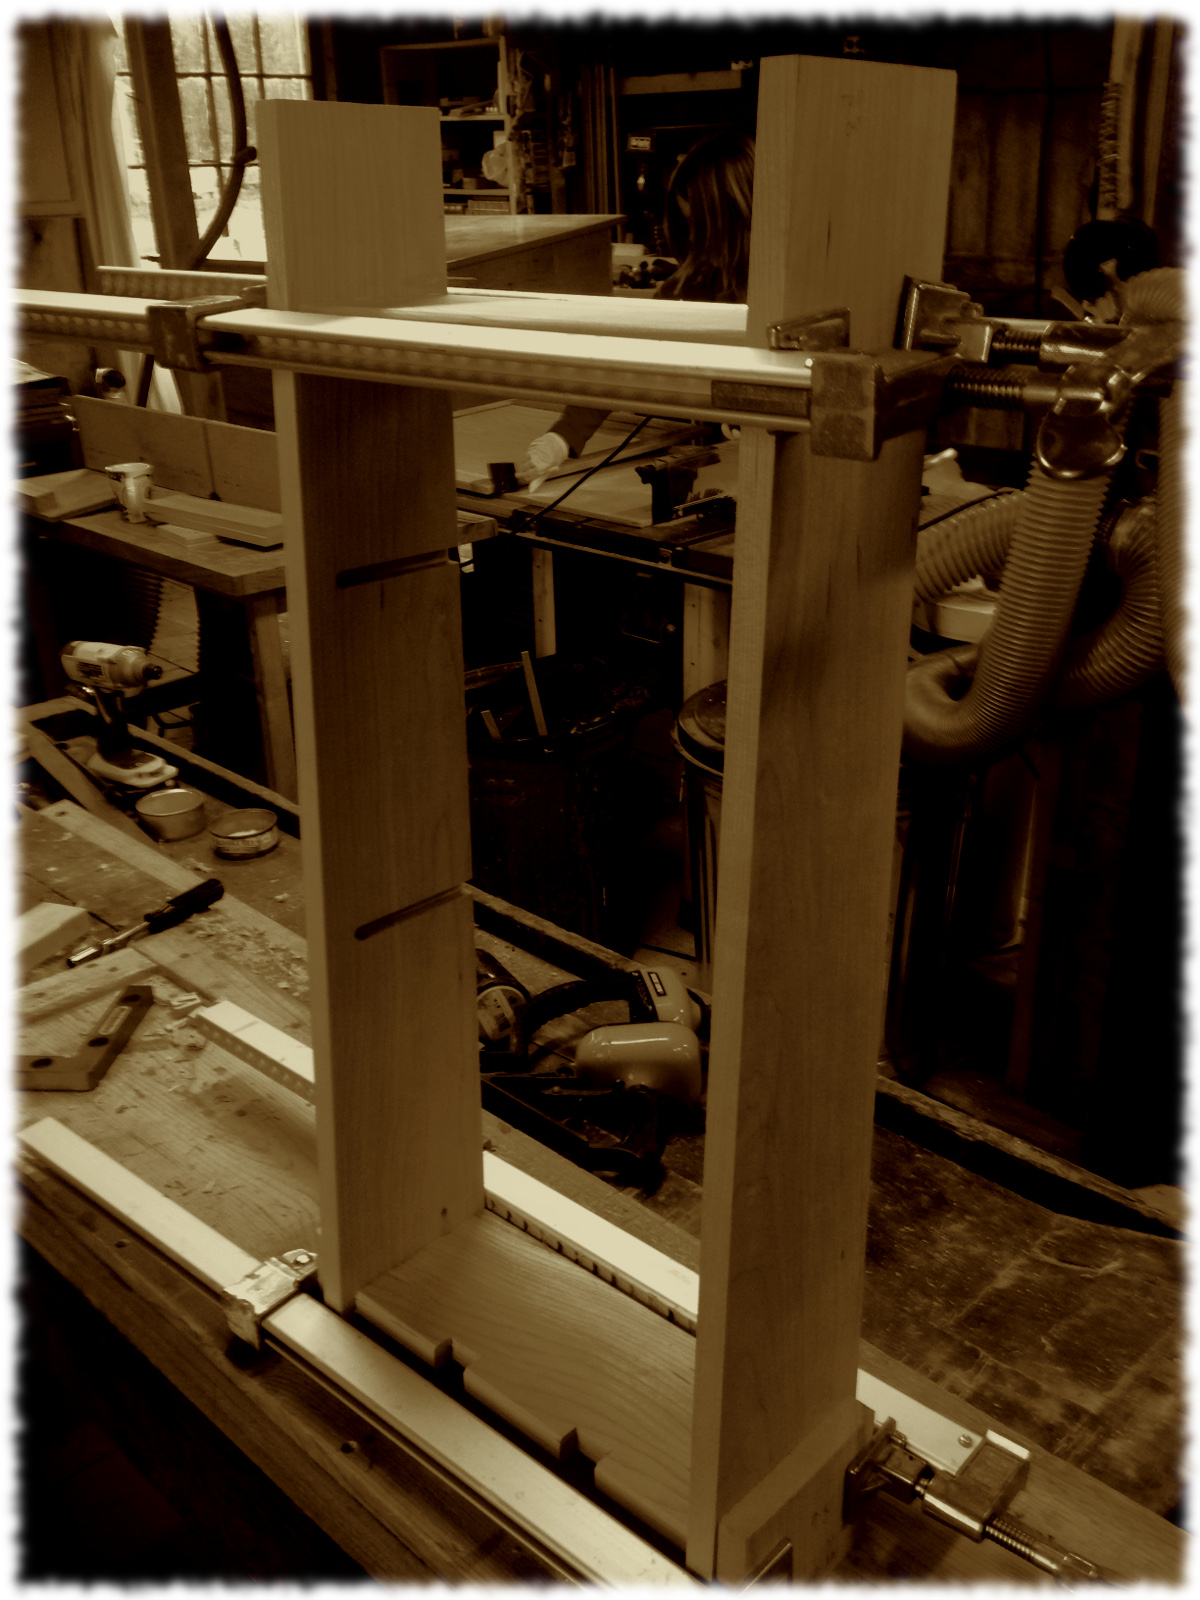
This weekend we cut the braces on the table saw, and Ben started hand cutting the dadoes on the legs and top. He did most of the work himself – though he did find the angled cuts a little hard. He chopped out the waste material with a chisel without any assistance, and the fit was pretty good.
Only three dadoes left to cut and he will be able to assemble the bench. Now to source some more pine for the boys to use in the workshop…