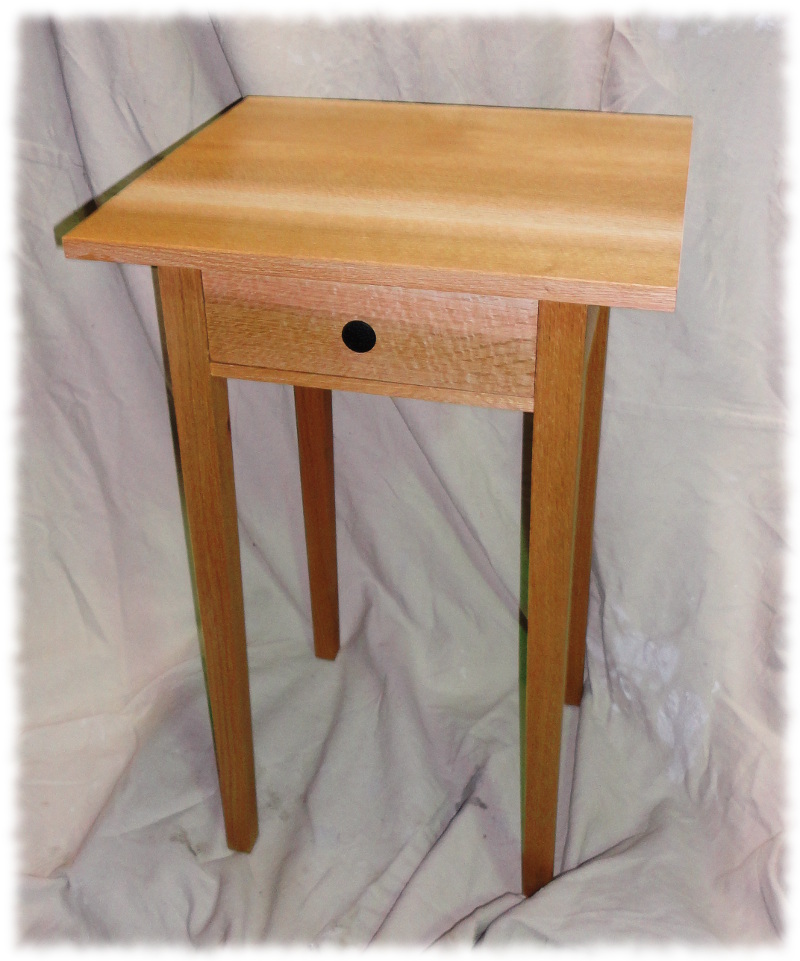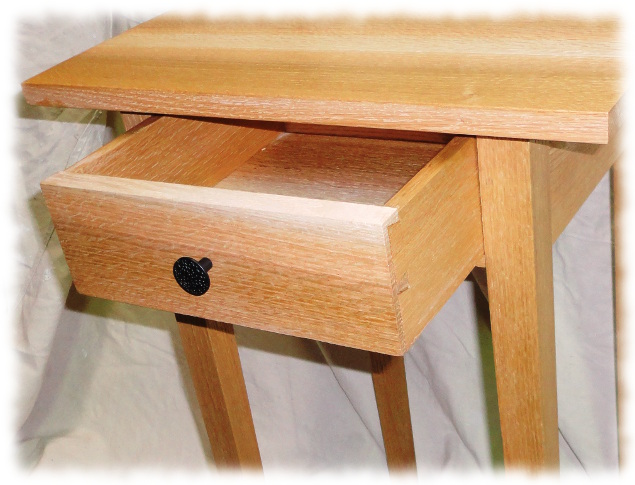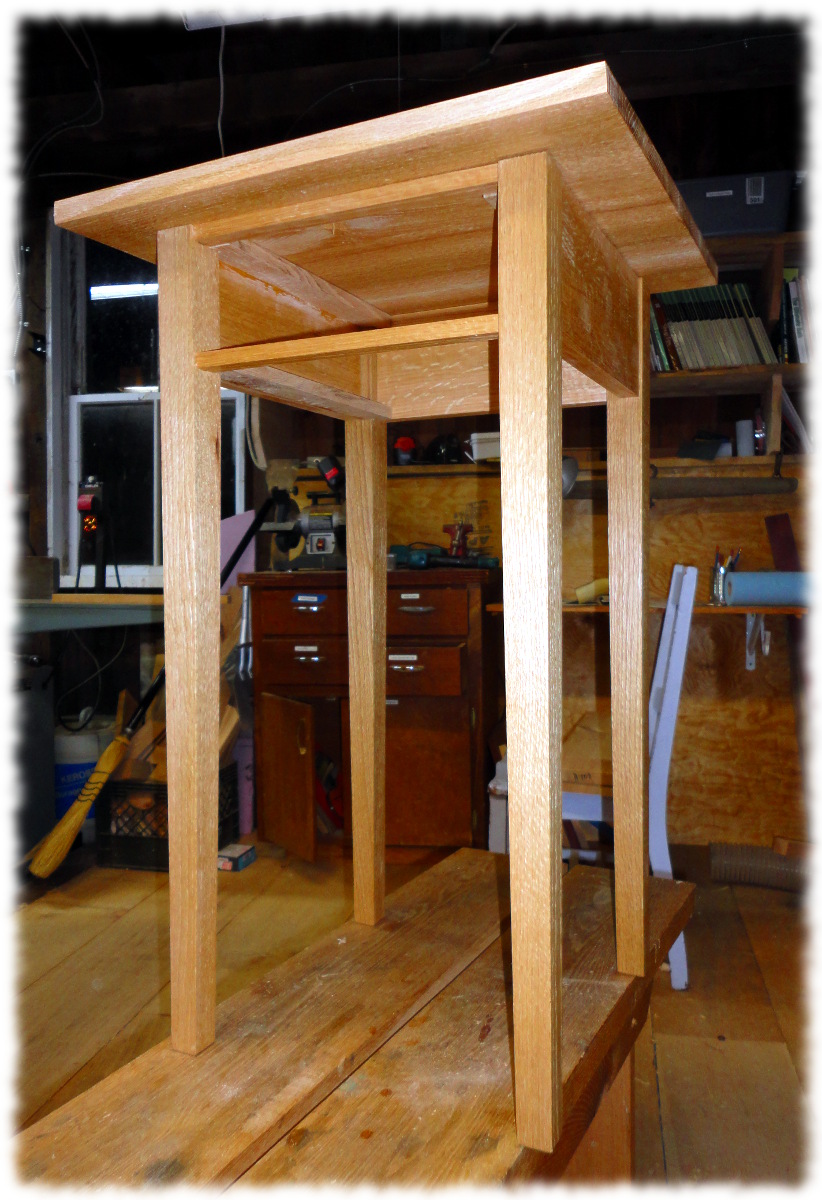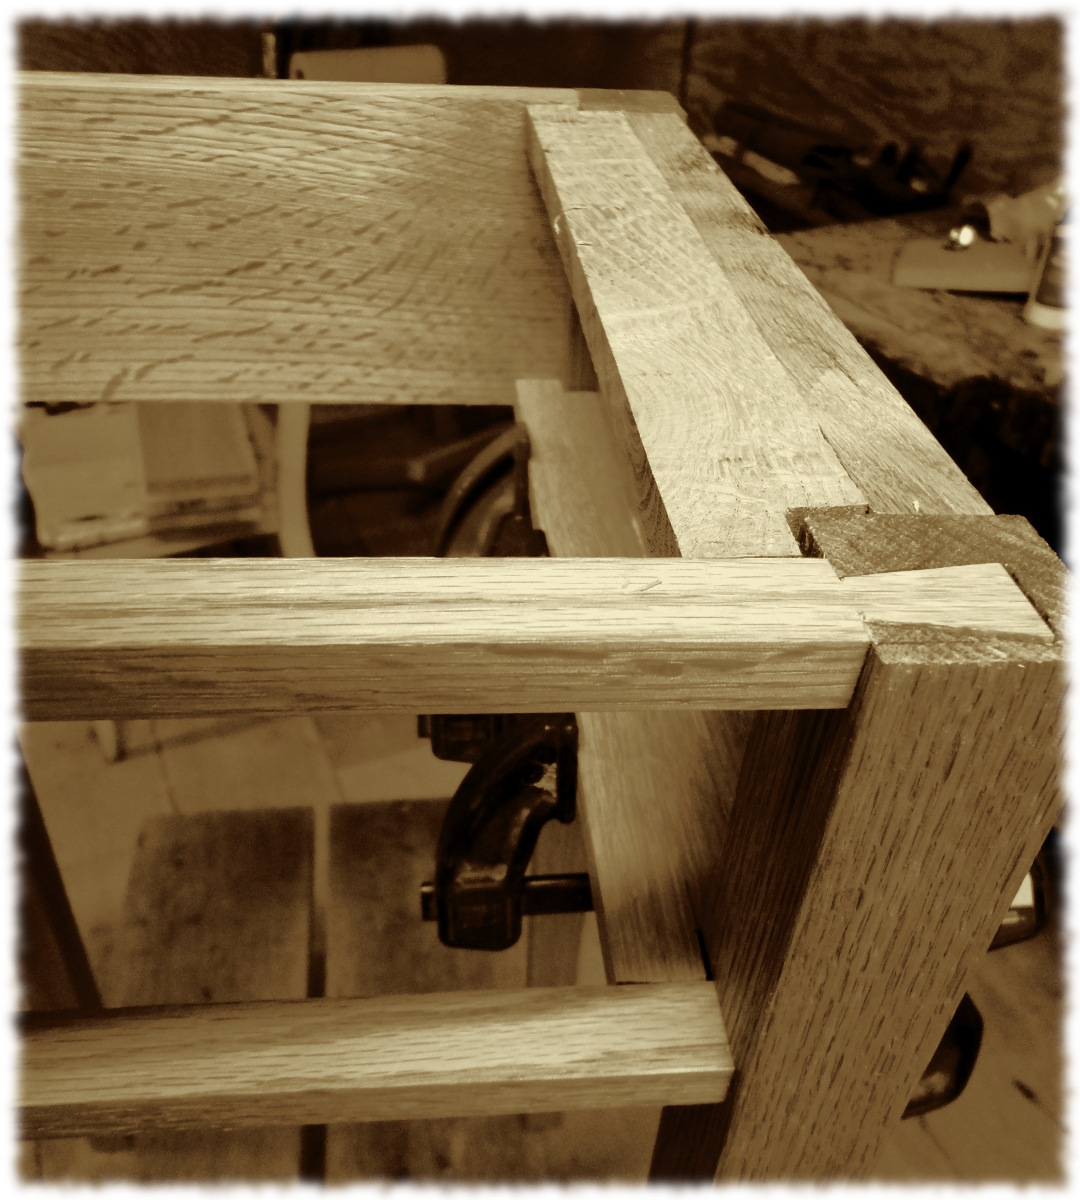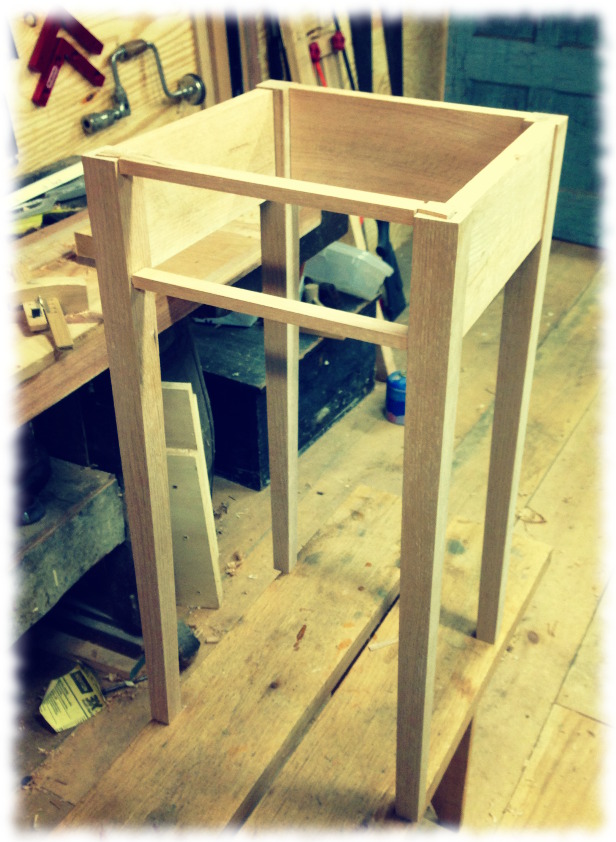

I finished the second nightstand this morning. I put the final coat of varnish on the project, and tomorrow morning I’ll move it to Will’s room. Time to move onto a new project.
The next project is a little different from the furniture that I had been trying to make. I am making a plywood dinghy for this summer. The sailboat will be on a mooring, so we will need a means to get from the dock to the boat and back. In a pinch, we could just use the canoe. However, a real dinghy would work much nicer (and it would be easier to tow behind the sailboat).
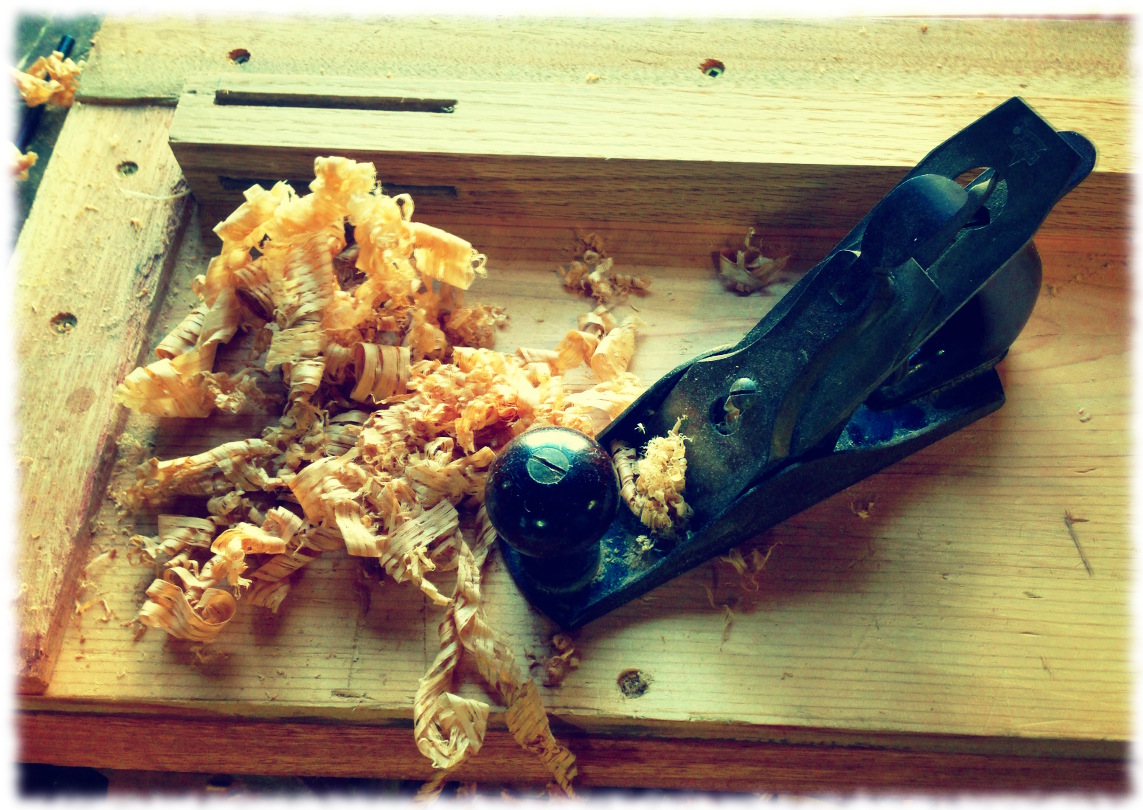
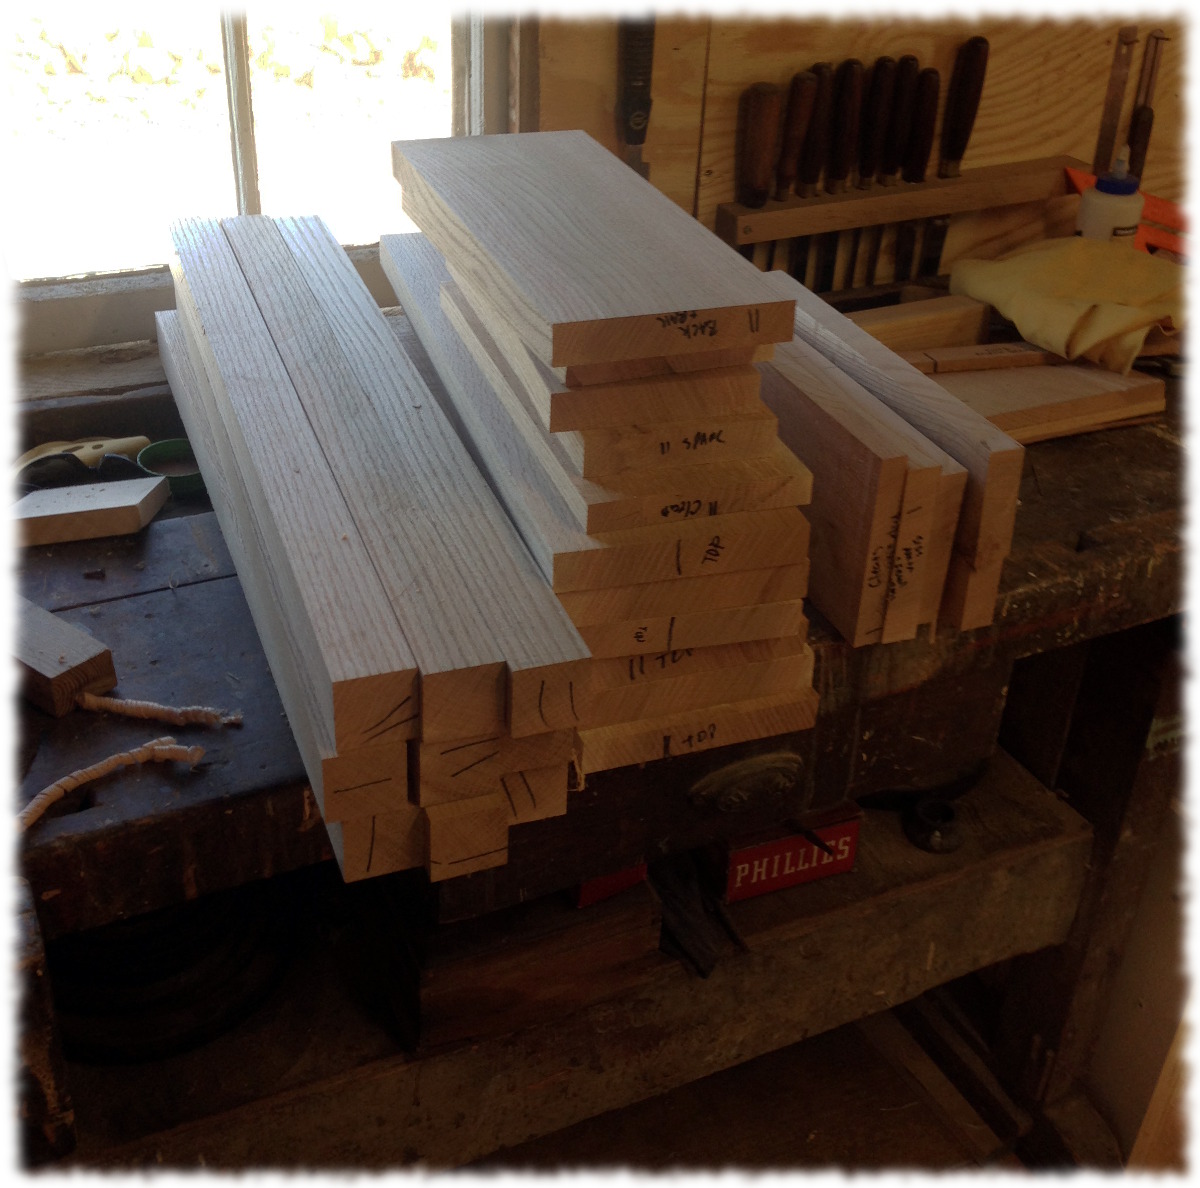
I downloaded free plans from Bateau. The boat will be the D4, a 7′ 10″ dinghy. The boat is built using “stitch and glue” technique from plywood panels. Today I cut most of the panels out (I have two seat frames to cut tomorrow). The pieces were cut from 1/4″ and 3/8″ plywood. I did the initial cut using a jigsaw and used a hand plane to get the pieces to final shape. Who says you can’t use hand tools on plywood.
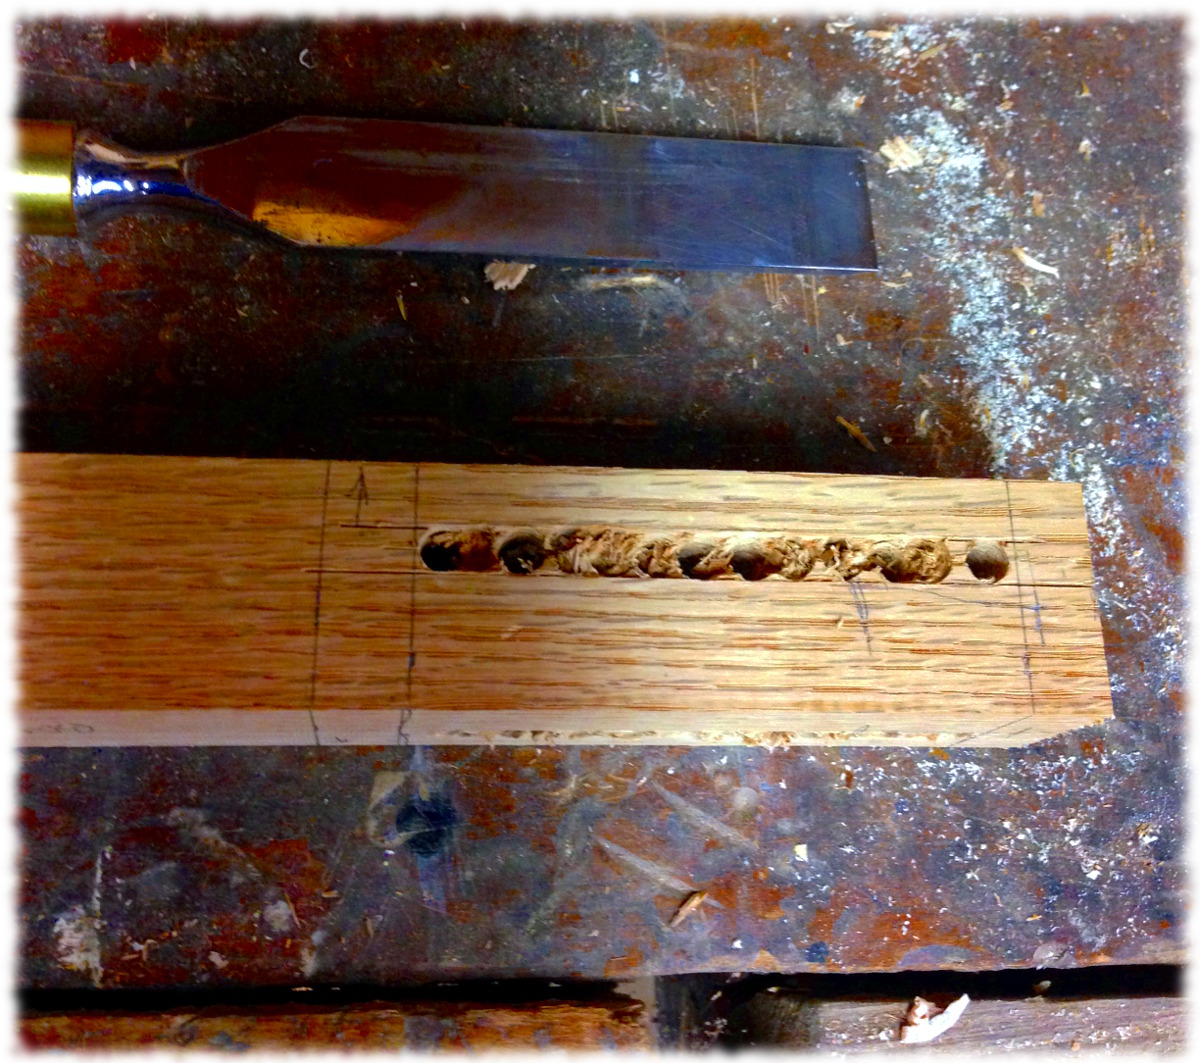
The next step will be to drill holes every 4″ around the edges of the plywood and then stitching the panels together with copper wire. The joints are glued together with epoxy and the copper wire is removed (or buried) when the epoxy cures. The entire boat will be covered in fiberglass and then painted. I’ll probably add white oak rub rails after the boat is painted (mainly because I have lots of oak and not much sapele left).