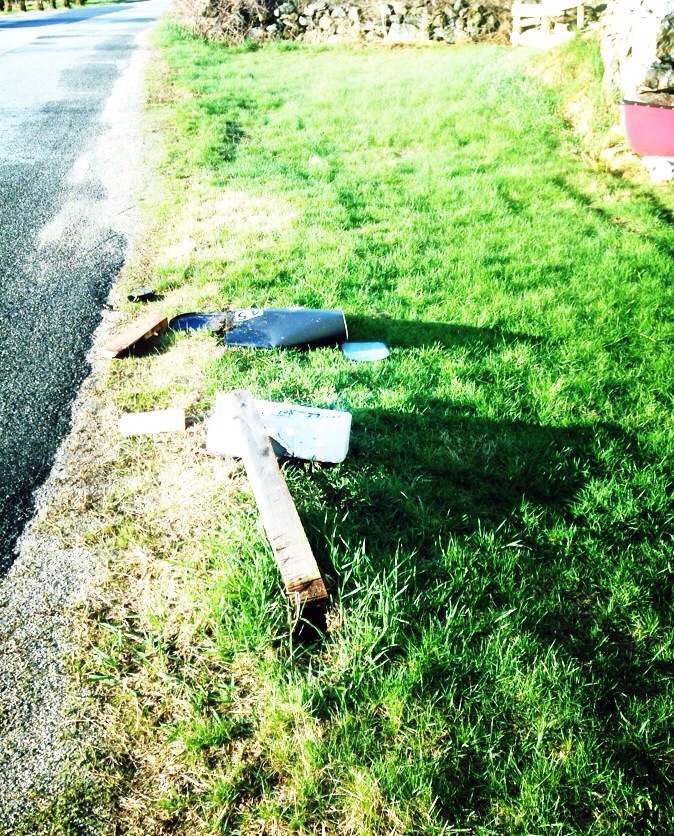
Thanks to some jerk and most likely drunk driver:
Posts by Chuck Curtis
Thanks to some jerk and most likely drunk driver:
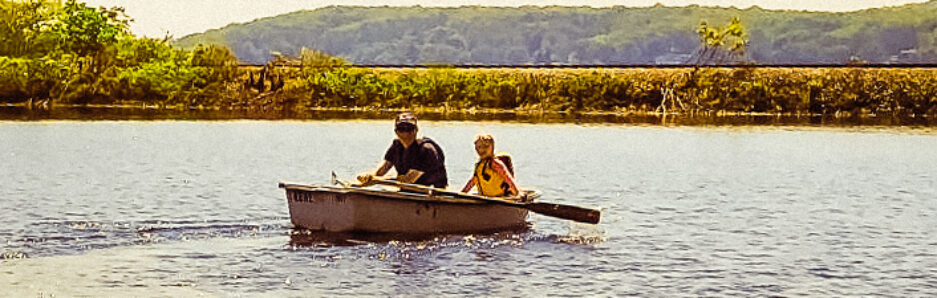
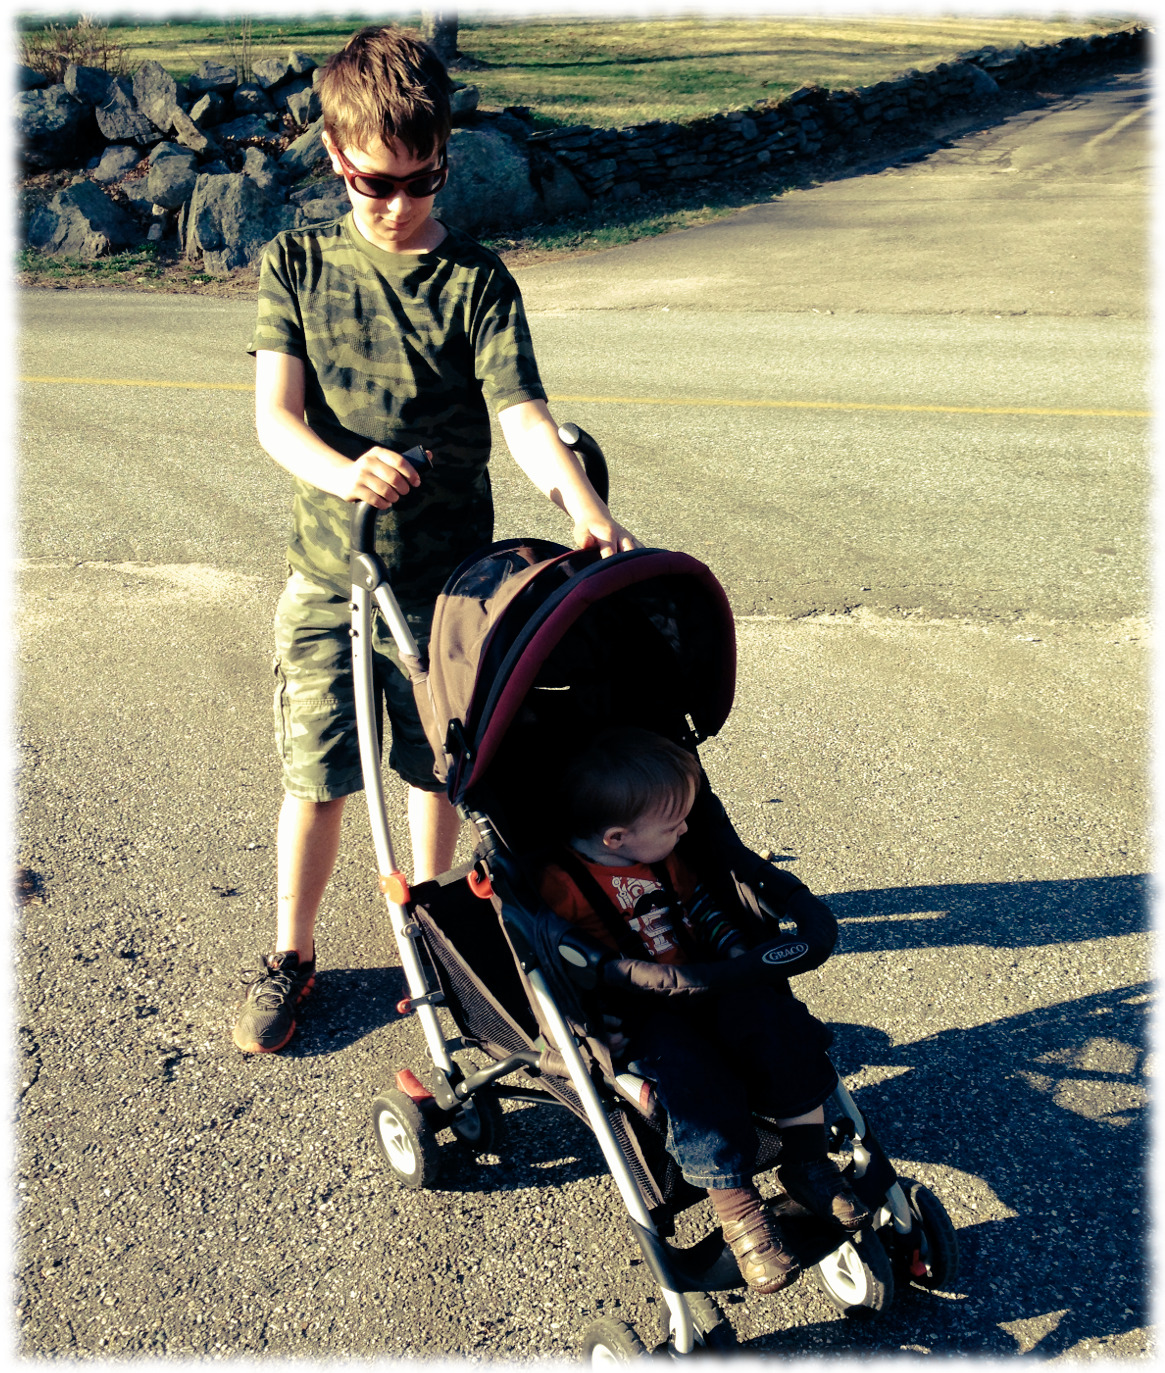
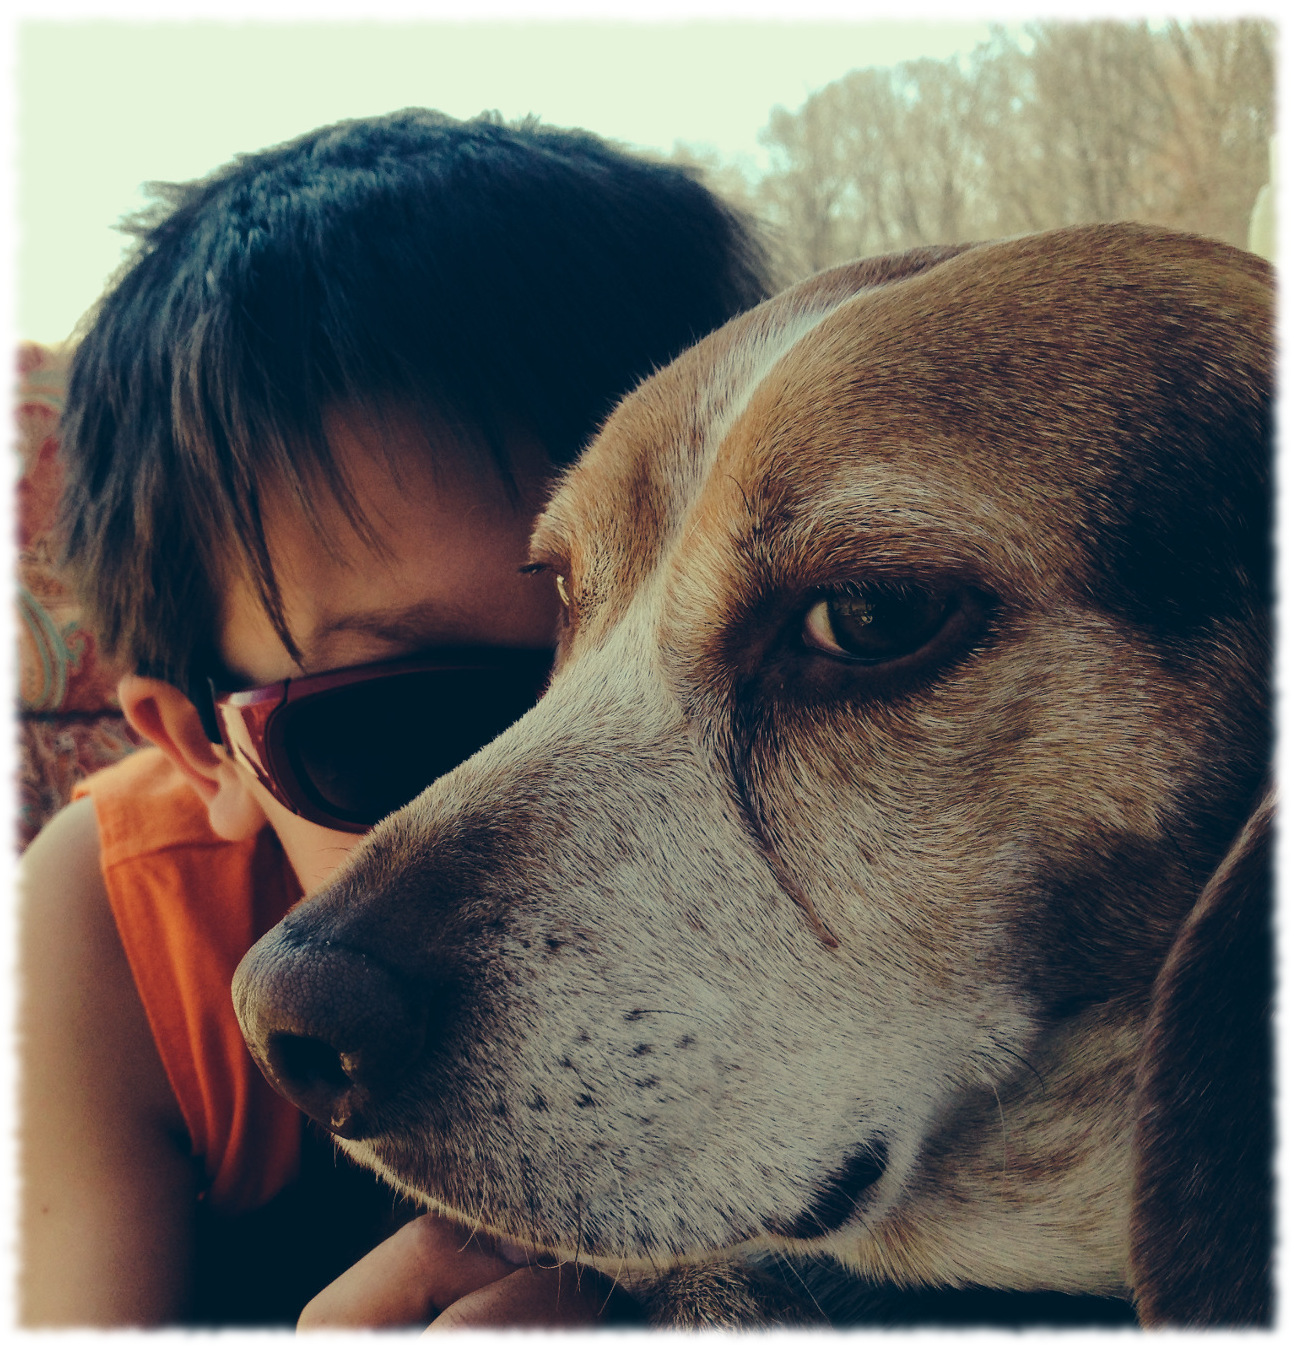
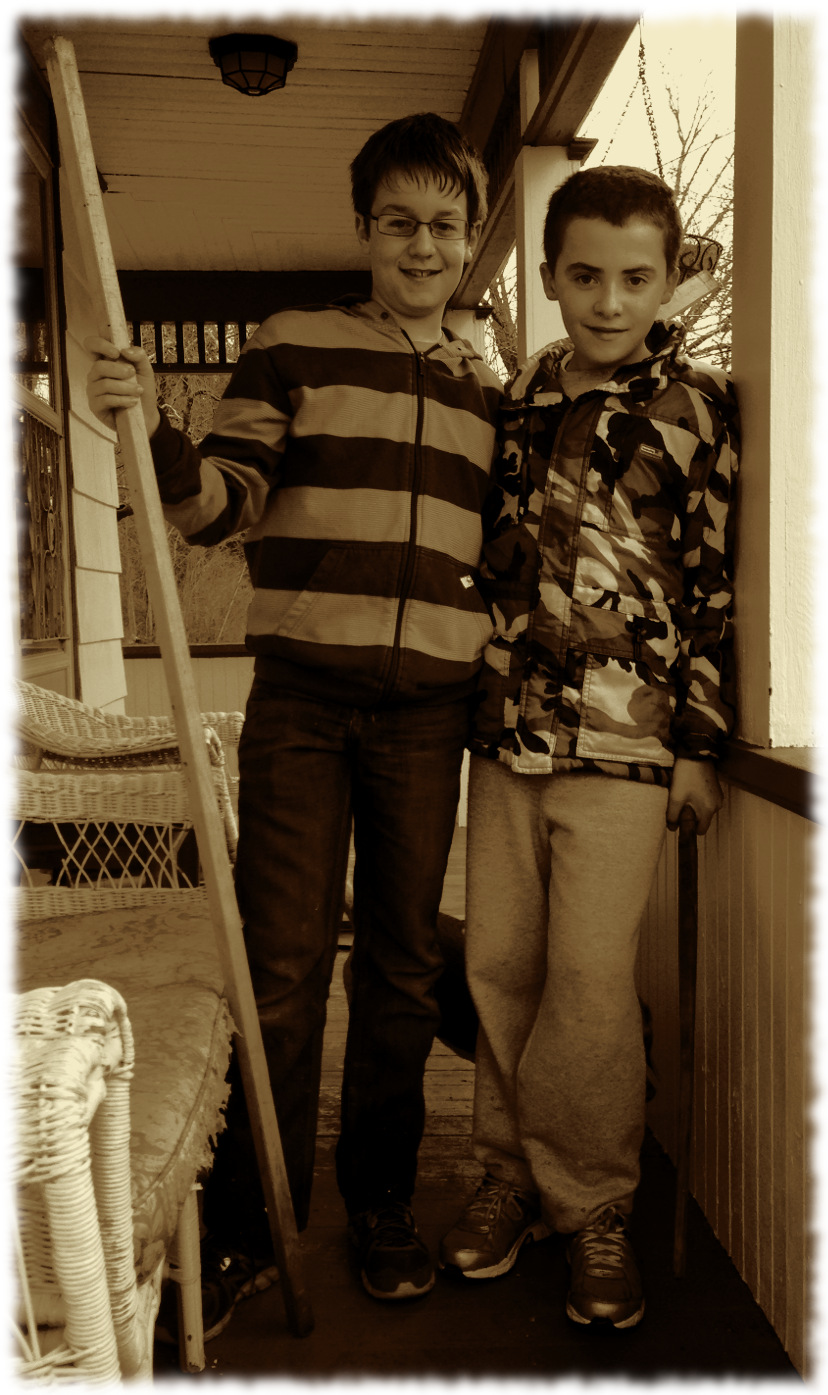
Taking a break from our afternoon bike ride.
It was 70-degrees here today. And Sunny.
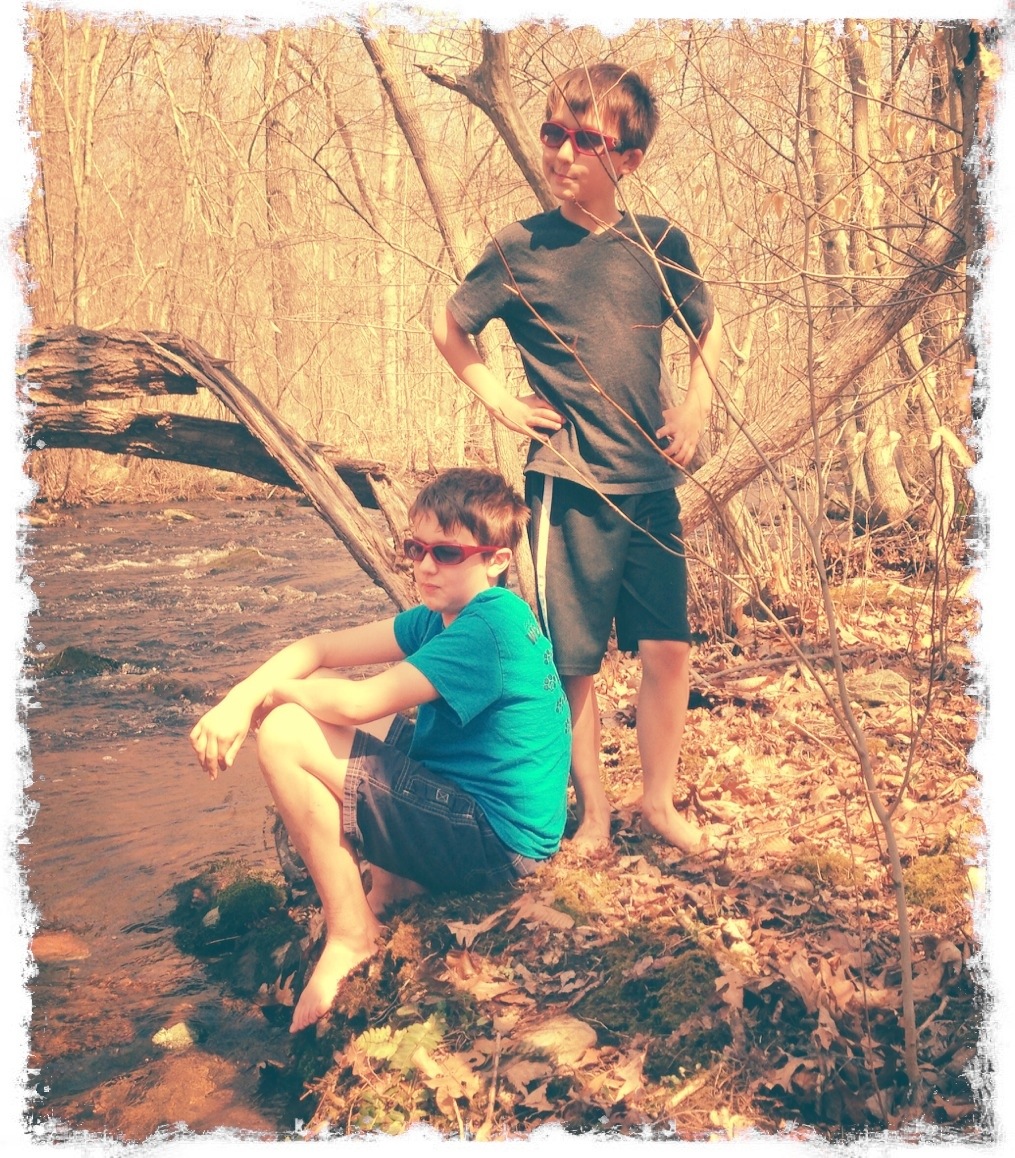
We had a busy day. I would write all about it, but I’m too tired to spend enough effort to make a long post make sense. Or at least get the post to what passes as making sense (to me). So I’ll keep this short (which I’m sure Susanna is thankful for) plus post some pictures from today.
The boys had soccer practice this morning. I got to sit and watch, so I’m not as tired as they are. They spent most of the afternoon playing basketball. Or make-believe Pokemon with the basketball. I don’t think I’m making sense. But I don’t think they did either, so I’m not too worried. Anyway, it was some sort of game somewhat resembling basketball, but different.
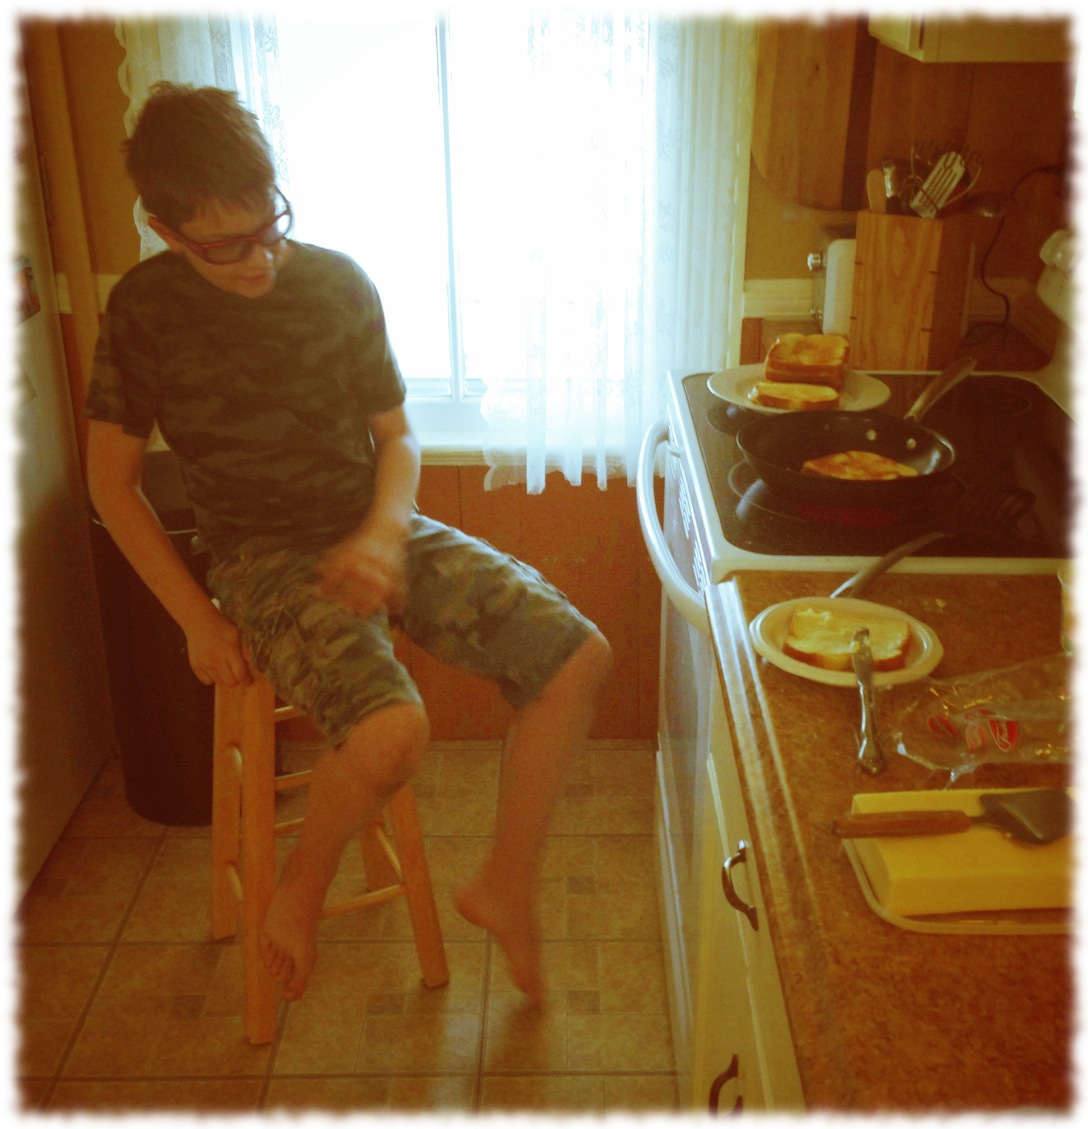
Will got in trouble last night for complaining too much about helping clean up the kitchen. So he got to make and clean up all of lunch. He was upset at first because all he knew how to make was peanut-butter and jelly sandwiches. And he is sick of them because that is what he makes every day for lunch at school. So I showed him how to make grilled cheese sandwiches. He made all but the first sandwich. With almost no help (though with supervision). Now he can make two things in the kitchen. He only burned himself once (a little bit). On the same hand that he had cut at breakfast trying to slice a loaf of bread (again a small injury). Yes, learning to cook can be painful. Just wait until he learns home repair.
Susanna and I cleaned the patio after lunch, cleaning off two years worth of leaves and fighting back the encroaching yard. It was much-needed. I had a chance to start sanding the bottom of the boat in preparation for painting. We are switching the bottom from blue to green.
Tonight we get to babysit Michael. It was a surprise (to me). Susanna had agreed a month ago, but we all had forgotten about it. Luckily we had no major pans (other than enjoy the nice weather). I actually got Will to help me take Michael for a walk down the road. Will even went to the neighbor’s house to borrow a stroller. We are finishing the night with two very tired adults, two exhausted and sleeping Curtis boys, and one not quite ready to sleep toddler.
So much for keeping this short.
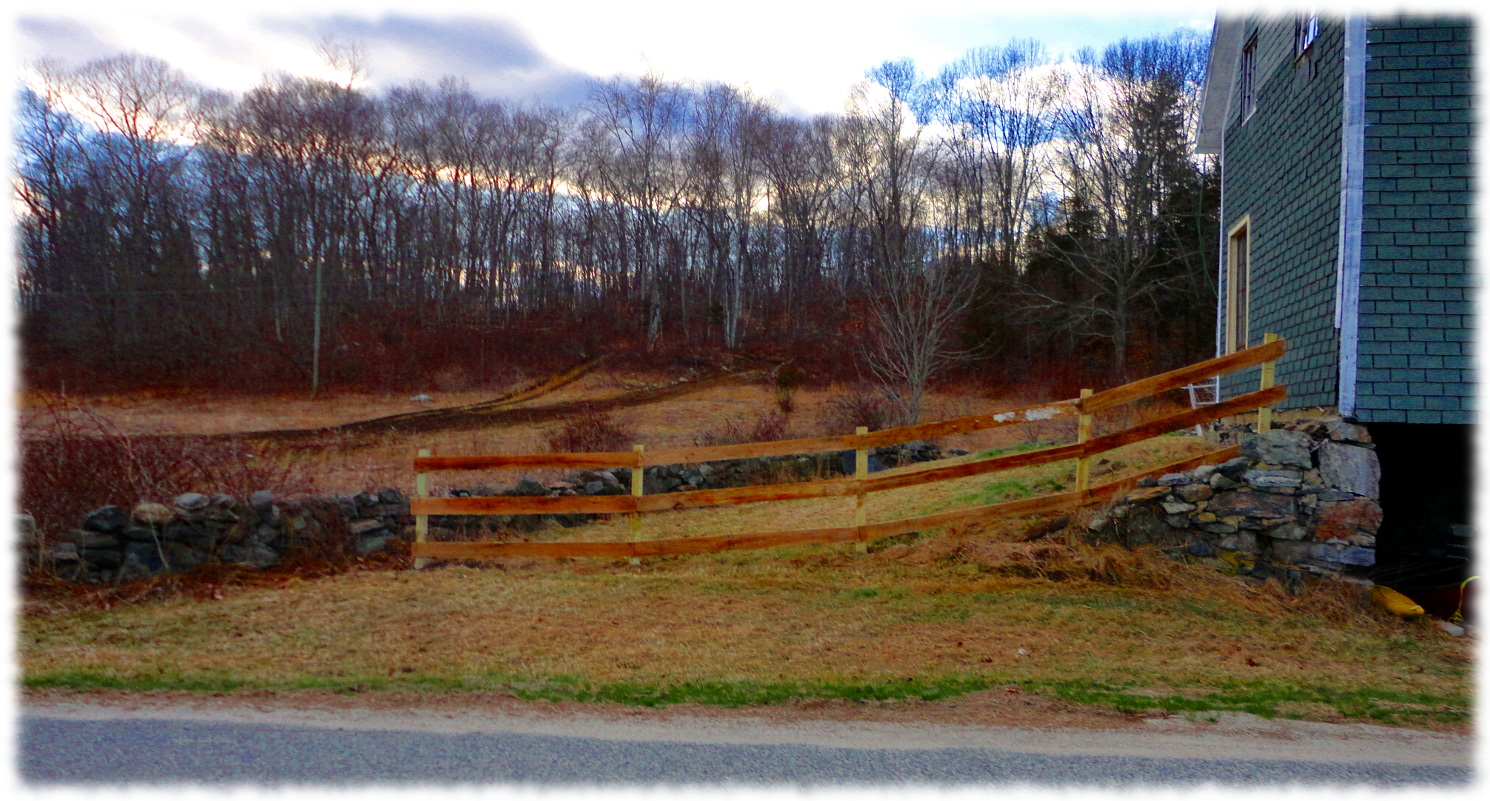
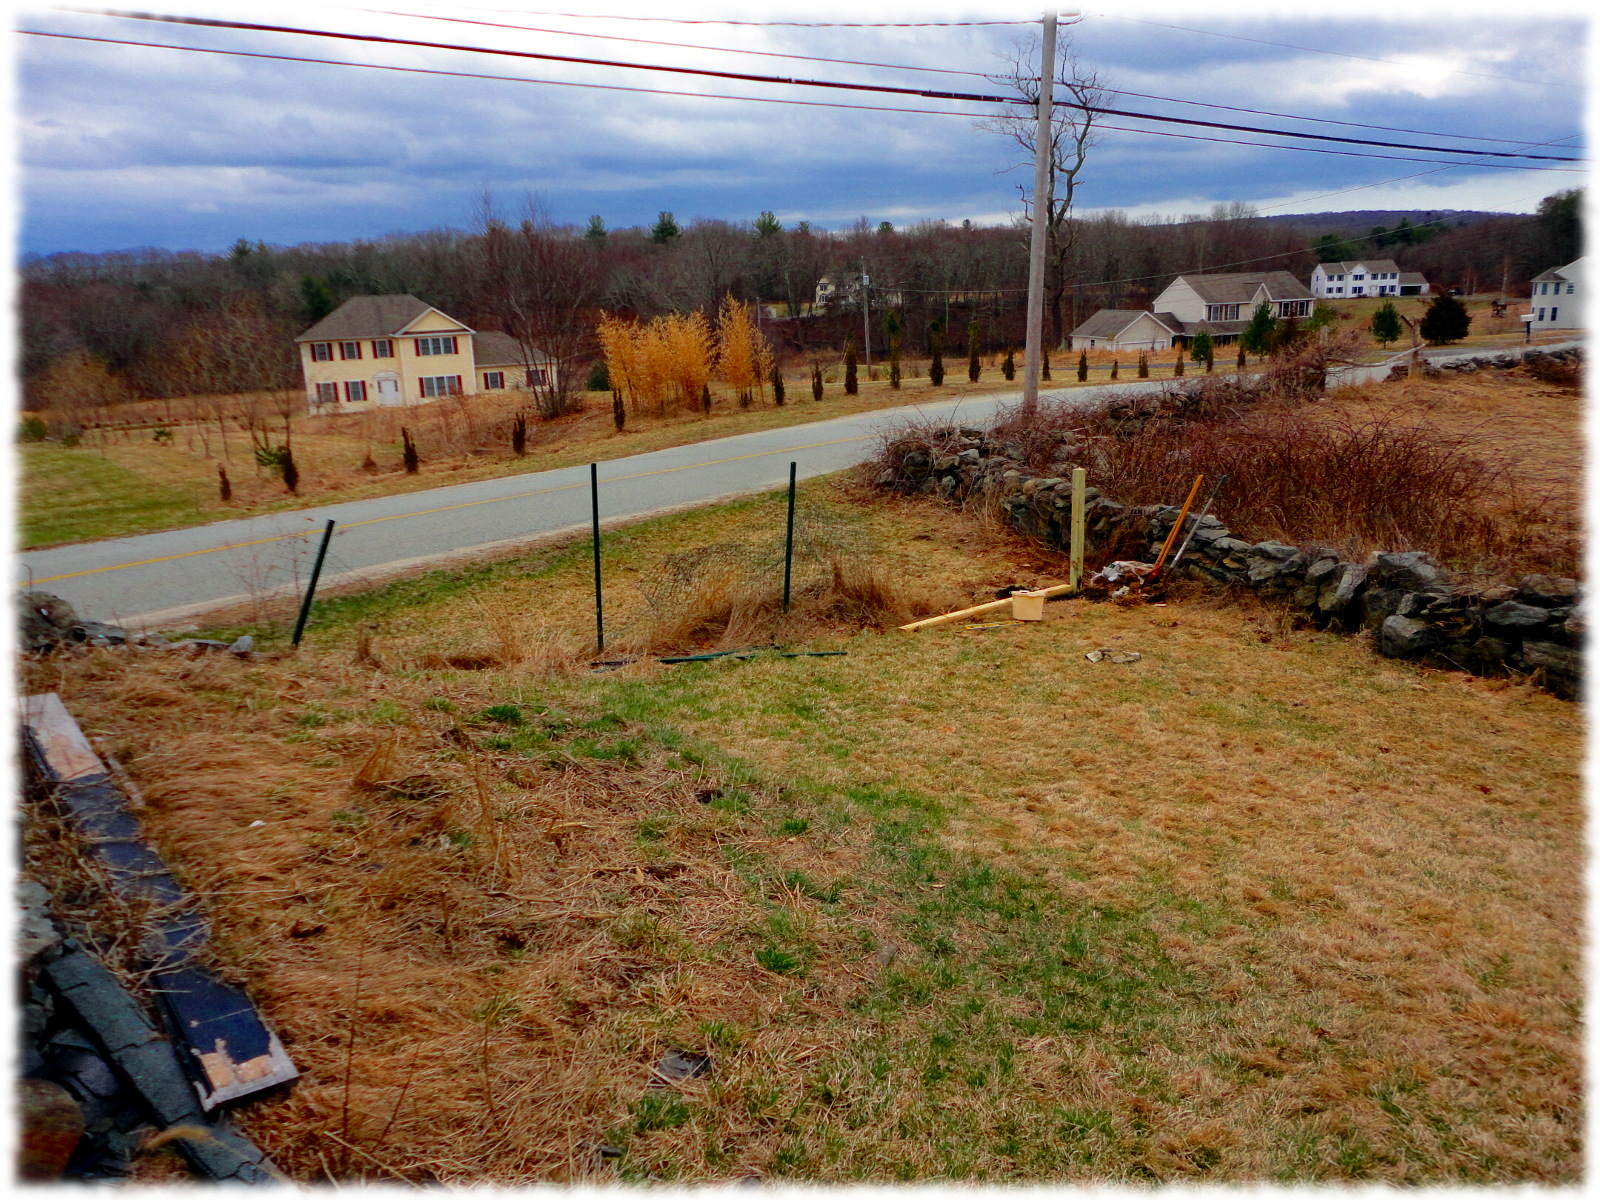
Susanna and I have been wanting to replace the fence next to the workshop for a while. It wasn’t a big project, just everything else got in the way. Until today.
And I know that I’m not the best at guessing how long it will take me to complete a project. I’m just easily distracted. Susanna just mentally adjusts the expected completion of a project whenever I give her a date that I’ll be finished.
But sometimes they really don’t take that long to finish. I had guessed that the fence was an afternoon project; and we started bulding in the afternoon and finished before dinner. That included cleaning up (but not restacking the lumber beneath the barn). The old fence was a green wire fence (we needed a fence to keep the dogs from running out of the yard on that side of the barn. We replaced it with a three board fence. The invisible fence follows the wooden fence, so it will keep the dogs in the yard (Tucker escapes from the back of the yard anyway).

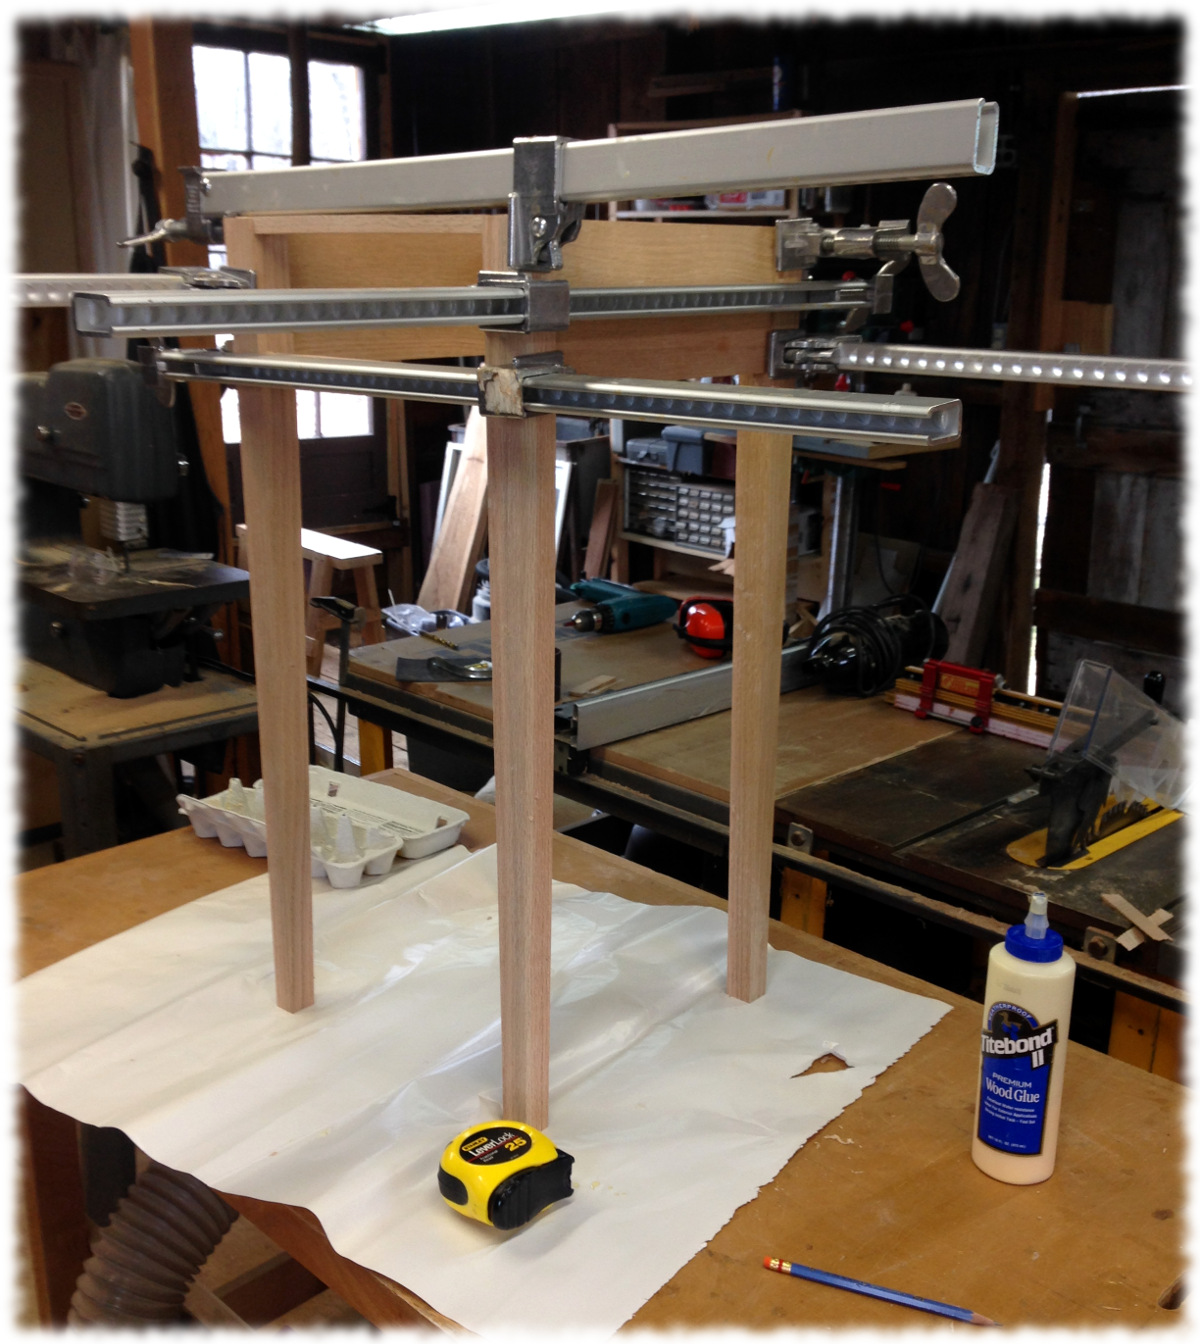
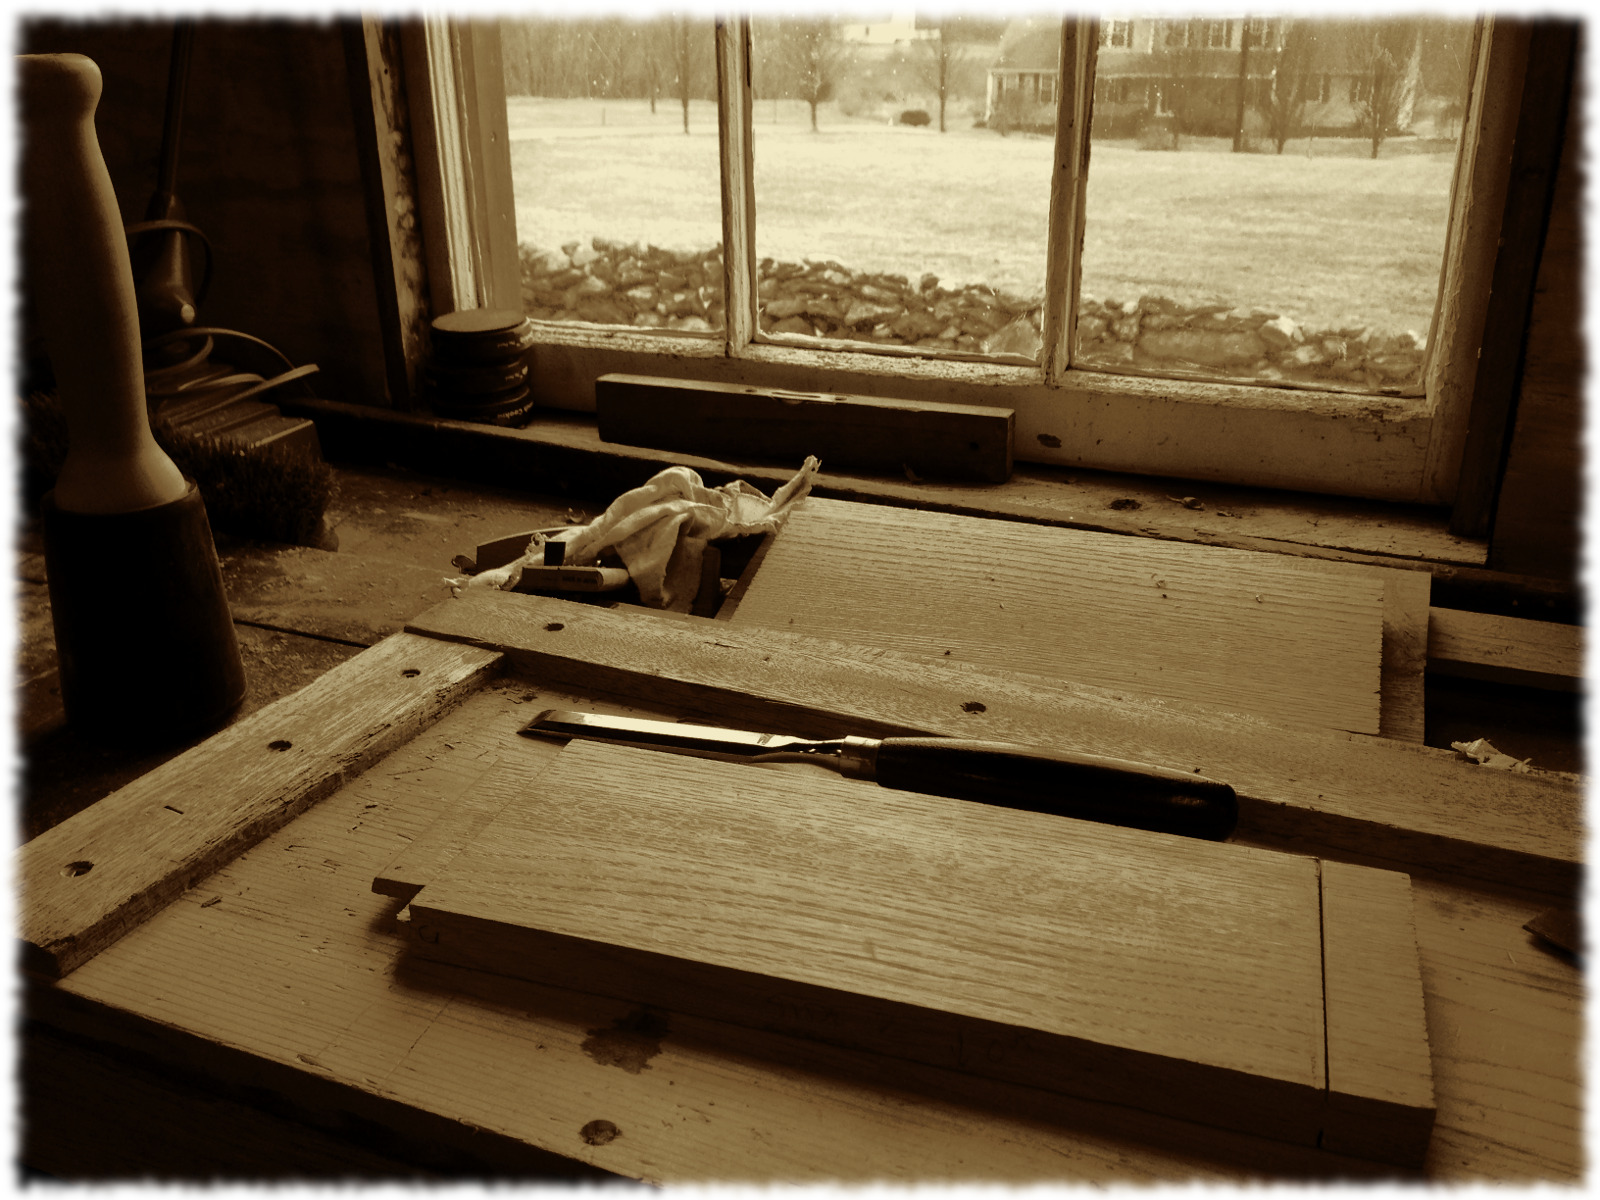
Finally the weather is warm enough for long enough to get some time in the shop. The boys didn’t have school today, so I took a day off of work.
This afternoon I cut the remaining tenons and glued up the second nightstand. The first nightstand is in the loft above the workshop waiting for a finish. I figure I’ll apply the finish for both of them at the same time.
Next I will finish milling the pieces for the top and glue up the top. I also have to install a pair of cleats on the inside of the side aprons to attach the top and a pair to act as slides for the drawer. After the table is assembled I will need to construct and fit the drawer. Hopefully I can make progress this week and next weekend on the remaining steps.
The rain mostly stopped. The temperature outside is in the 50s. It almost feels like spring. I think the whole family is enjoying the warmer weather and being able to be outside. It is good to see the everyone enjoying the day.
Ben is over at a friend’s house this afternoon (I’m assuming he is having fun – he always does). Will has a friend over and they are having fun, though I’m pretty sure they got their shoes soaking wet trying to explore the stream/river in the back yard. Susanna is starting a puzzle after working on lesson plans for next week for most of the afternoon. The dogs can finally spend most of the day outside, and I can time in the workshop (without having to blast the heater).

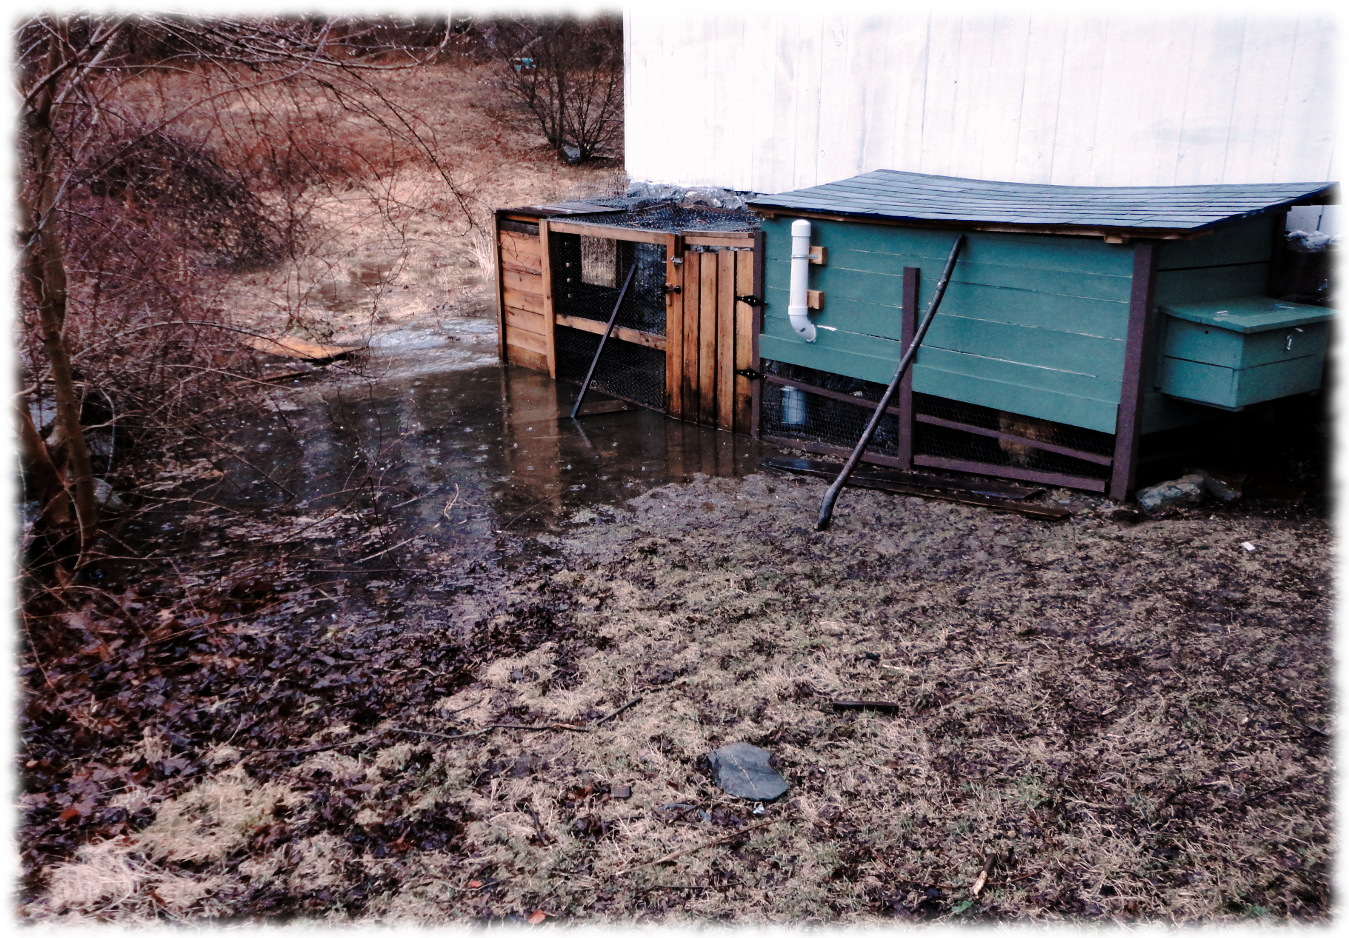
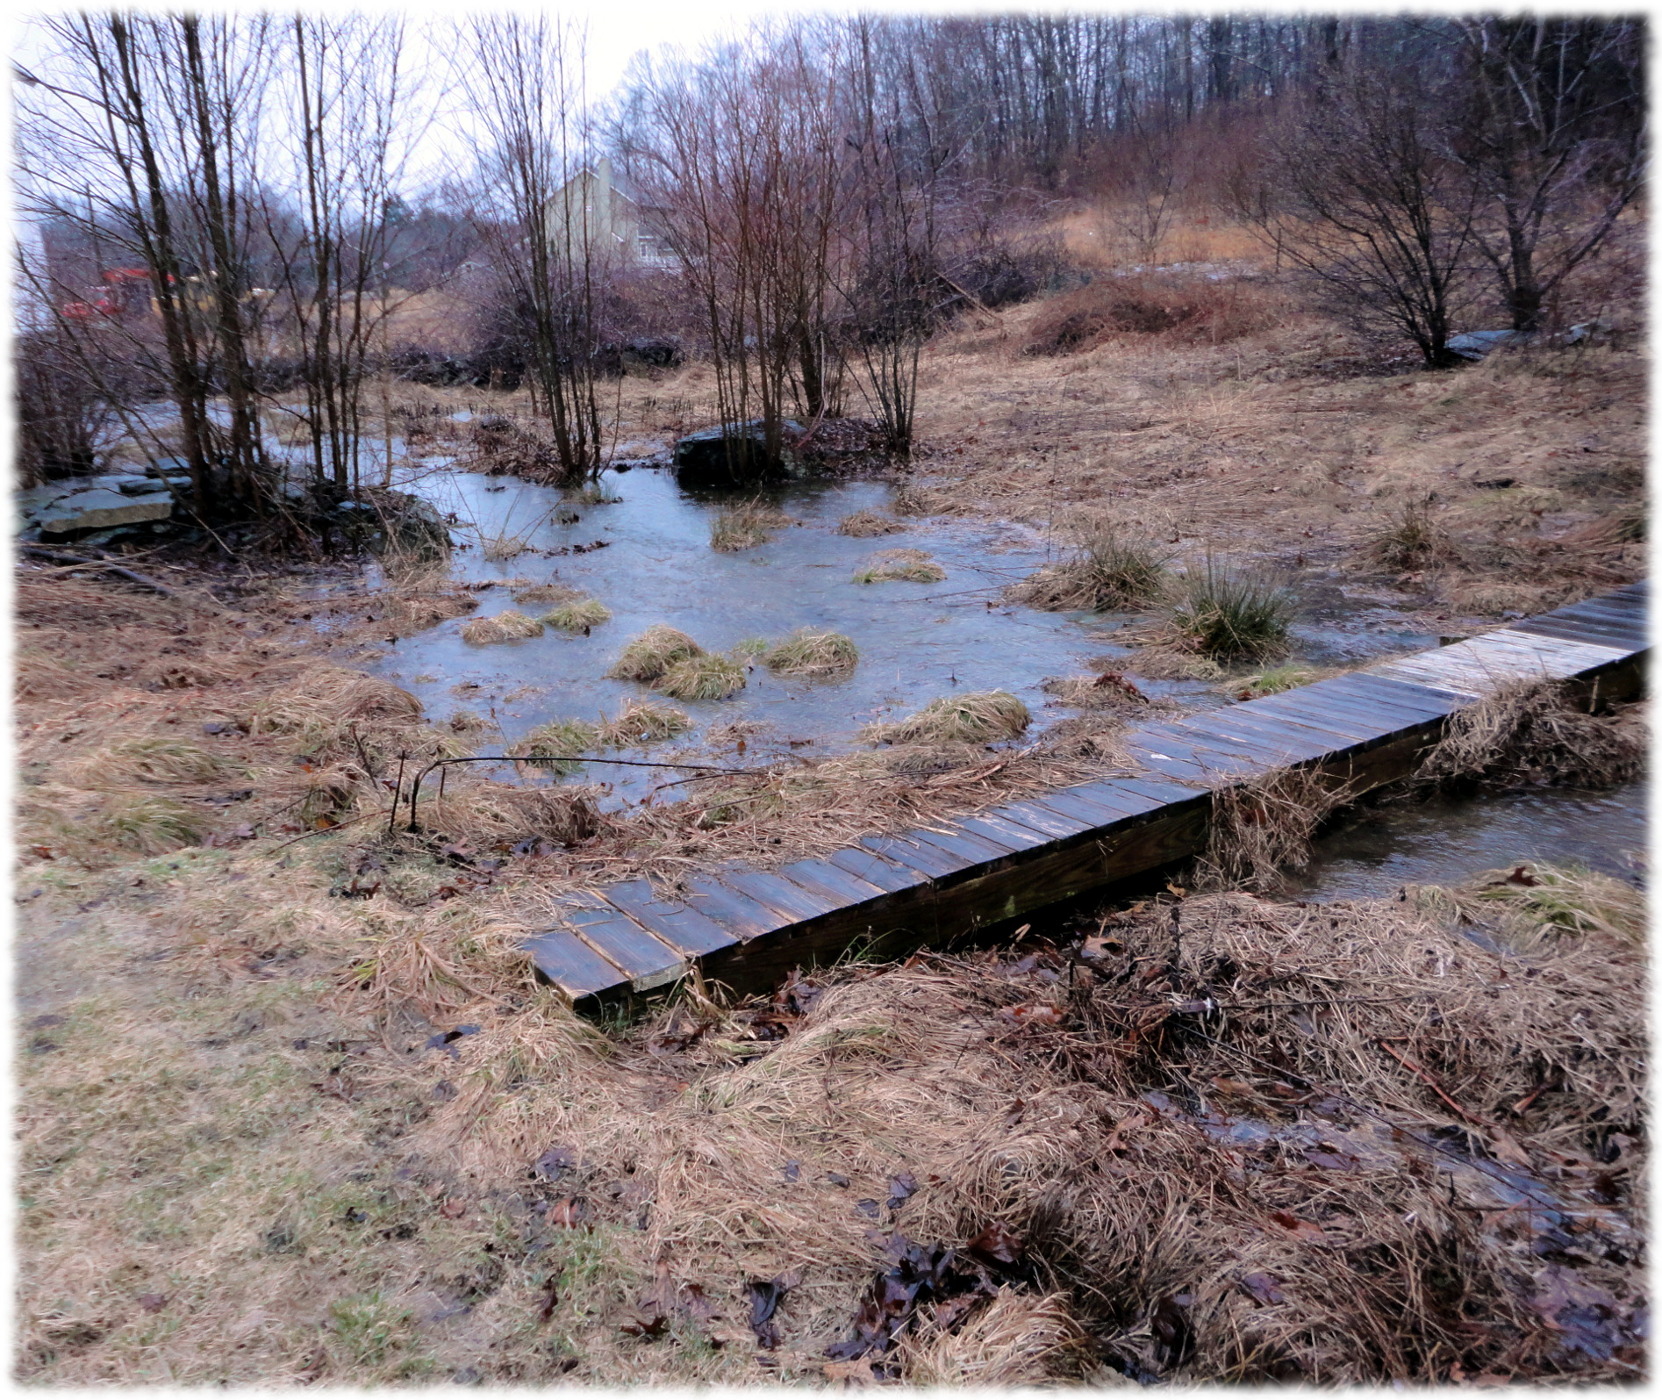
I like the rain. But enough already. The seasonal stream in the backyard has turned into a seasonal river in the backyard. At least the rain is slowing down for now.
A quick walk around the yard (in the very squishy mud) finds our stream overflowing its banks. Not that there were really any defined banks. Hopefully it doesn’t erode too much from under the back of the garage.
The water has flooded under the workshop. Luckily the only things stored on the ground there are the canoe (and it should be okay), some aluminum ladders, and a pile of not-very nice lumber. Though there may be some sapele and cedar on the bottom of that stack. Oh well.
And a quick trip to the basement… let’s just say that it is much wetter than normal. Luckily nothing should be stored on the floor in the basement. Though I’m sure the cat doesn’t enjoy having to find her way around on the steam pipes to stay dry.
Memories of the ICEX 2014:
I’m sure I didn’t nearly cover it all…. but enough for the night.
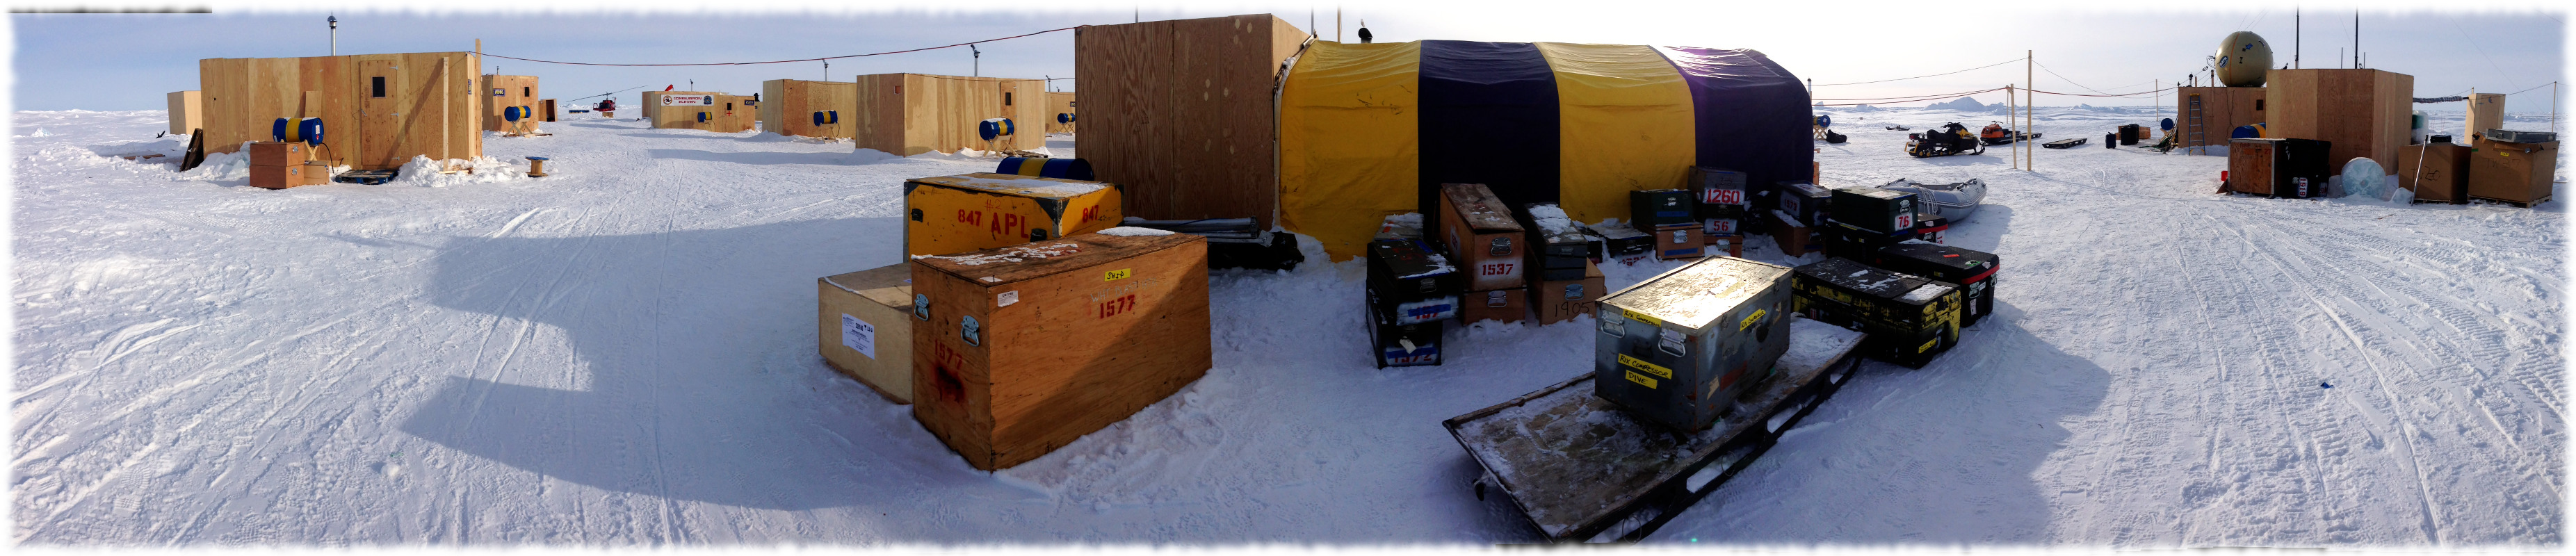
I flew to the ice camp and spent time onboard the USS Hampton during ICEX 2014. Below is the official navy news release about the camp:
From Commander, Submarine Forces Public Affairs
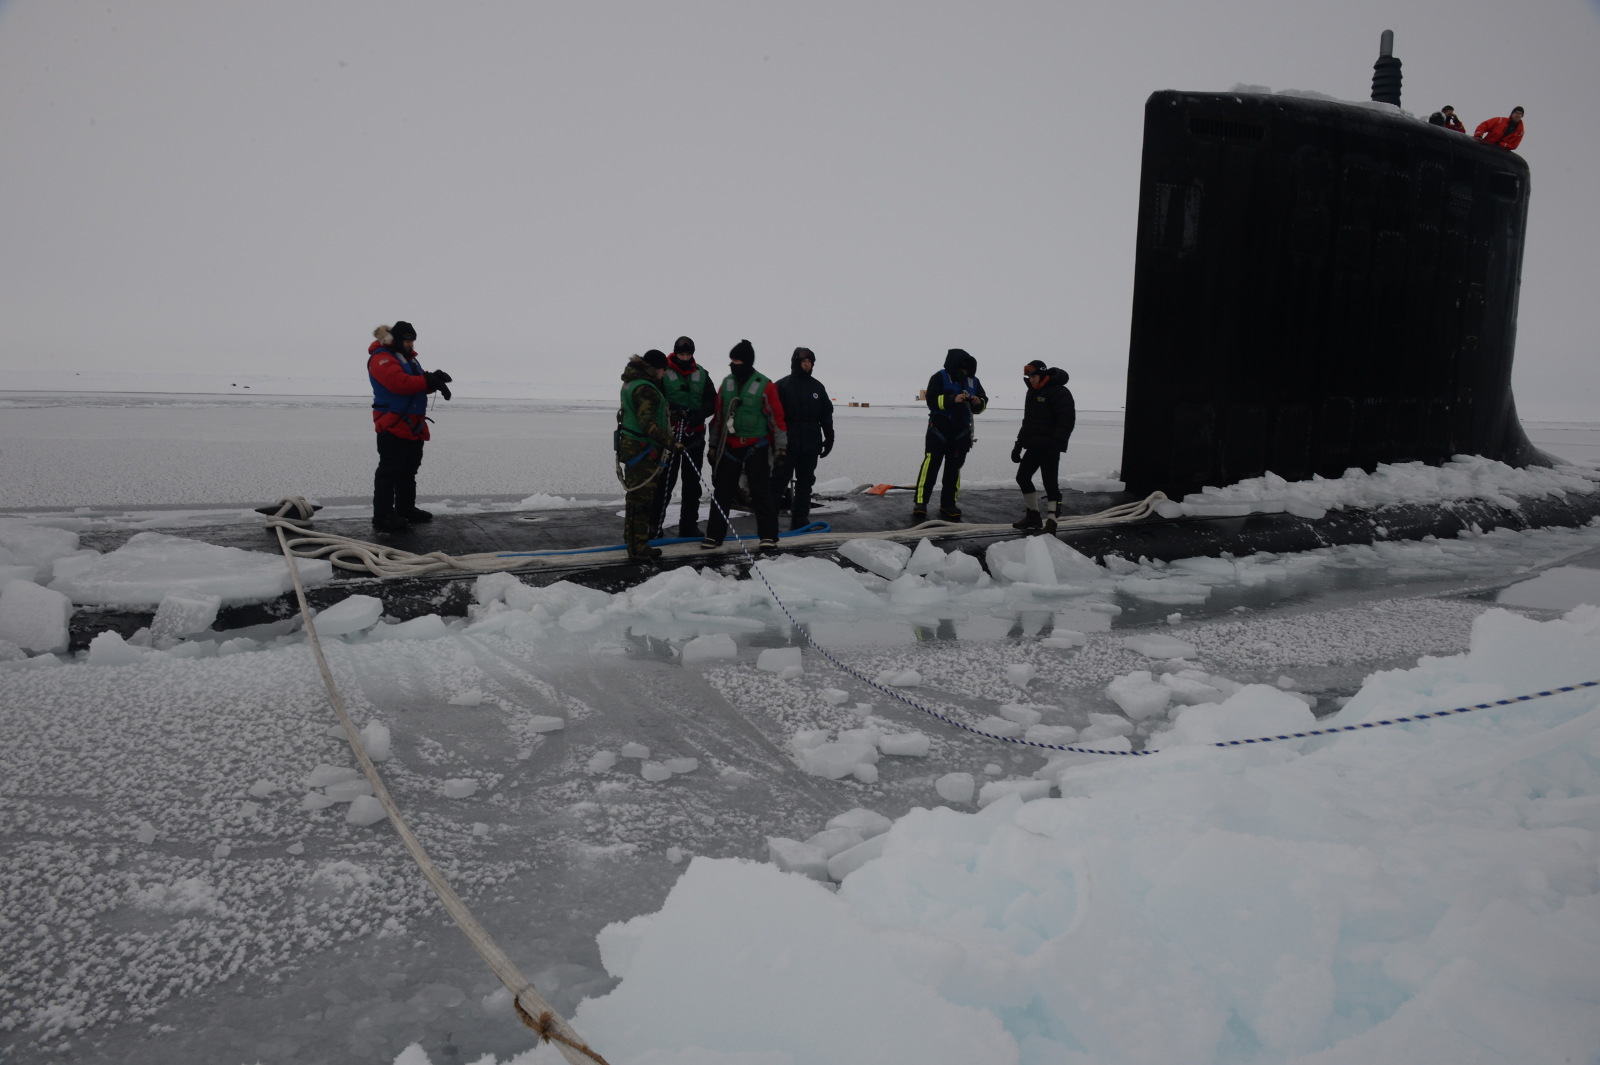
NORFOLK (NNS) — Commander, Submarine Forces (COMSUBFOR) announced an early end to Ice Camp Nautilus on March 23. The ice camp was a temporary structure built and operated especially for Ice Exercise 2014 (ICEX-2014).
Personnel at Ice Camp Nautilus, which is built into the ice floe north of Prudhoe Bay, Alaska, began a careful breakdown of the camp Sunday.
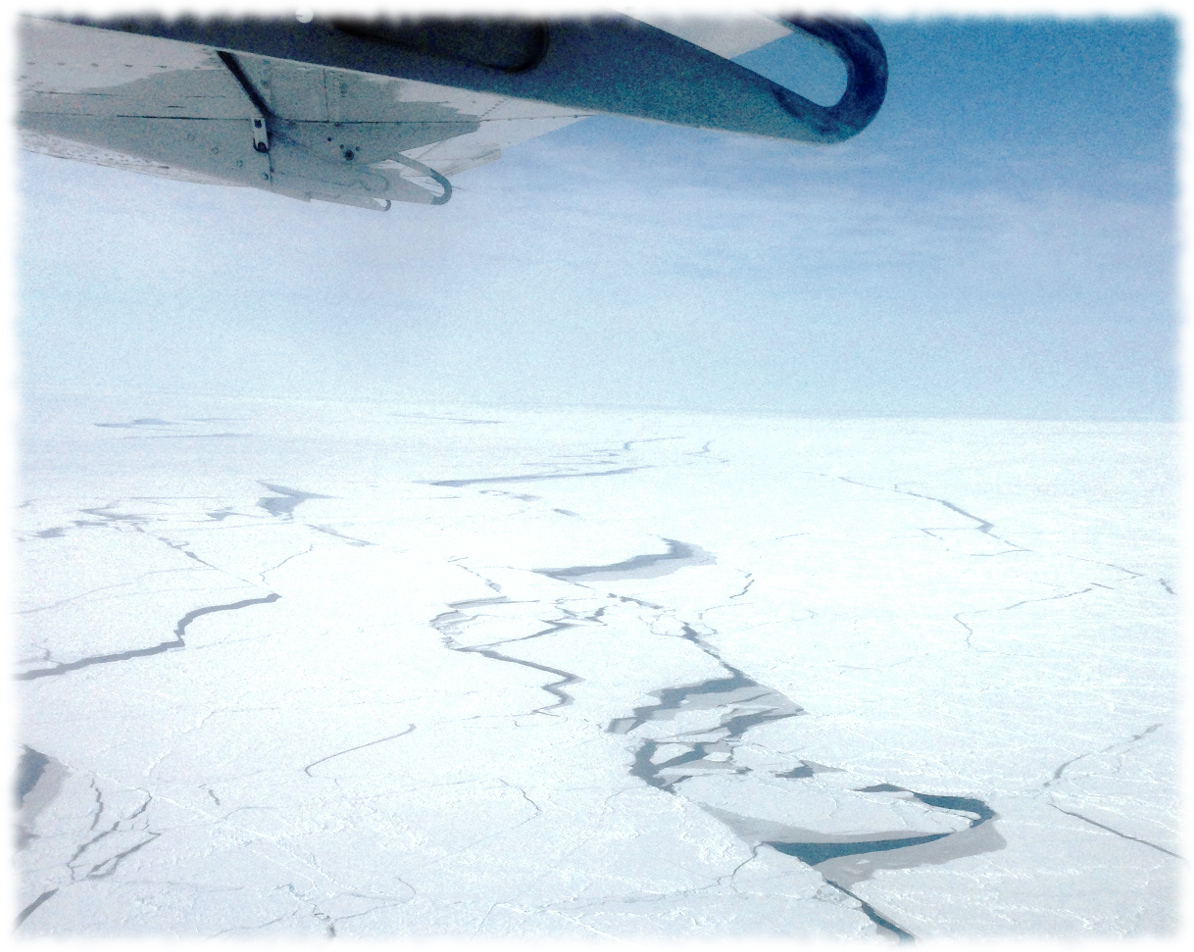
ICEX-2014 began March 17 and was scheduled to continue through March 30. However, large shifts in wind direction created instabilities in the wind-driven ice floes of the Arctic Ocean, and these changes in the prevailing winds between March 18th and March 20th led to multiple fractures in the ice near the camp. These cracks prevented the use of several airfields used for transporting personnel and equipment to the ice camp. The rapidly changing conditions of the ice, along with extremely low temperatures and poor visibility hampered helicopter operations and made sustaining the runway potentially risky.
The Virginia-class attack submarine USS New Mexico (SSN 779) and the Los Angeles-class attack submarine USS Hampton (SSN 767) will continue to gather data and conduct ice-related exercises until they transit out from under the ice.
Submarines have conducted under-ice operations in the Arctic regions in support of inter-fleet transit, training, cooperative allied engagements and operations for more than 50 years. USS Nautilus (SSN 571) made the first submerged transit to the North Pole in 1958. USS Skate (SSN 578) was the first U.S. submarine to surface through arctic ice at the North Pole in March 1959. Since those events, the U.S. Submarine Force has completed more than 120 Arctic exercises with the last being conducted in 2012. The last ice camp was established in 2011. Since 1987, most of these have been conducted in conjunction with Royal Navy submarines.
For more news from Commander, Submarine Force, U.S. Atlantic Fleet, visit www.navy.mil/local/sublant/