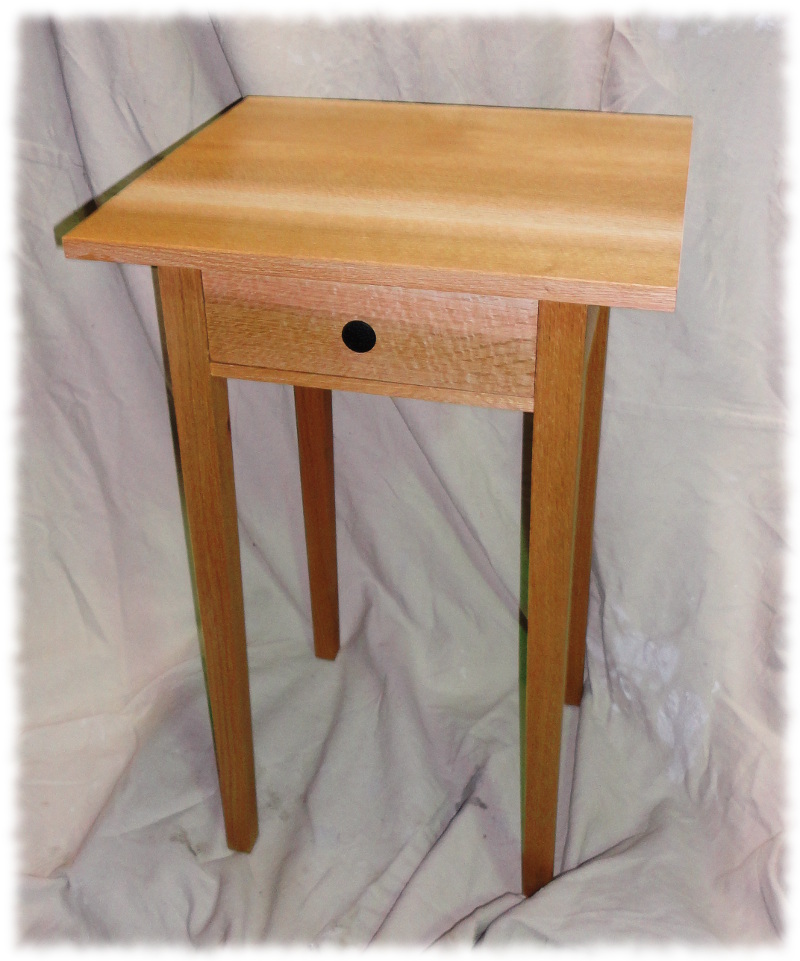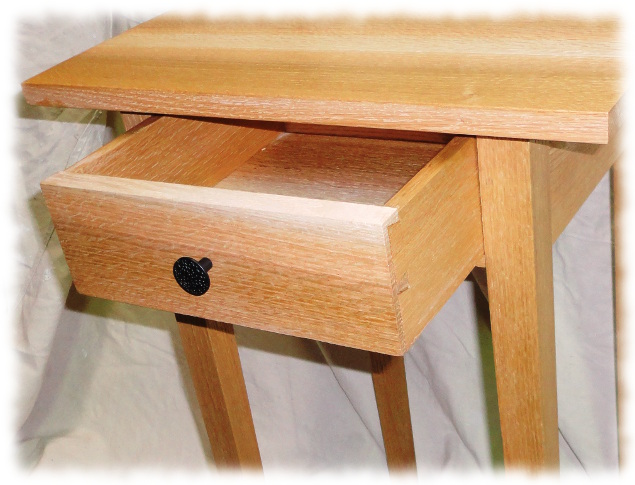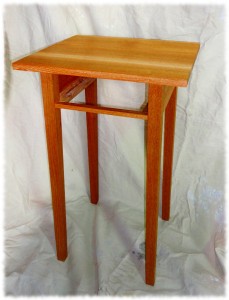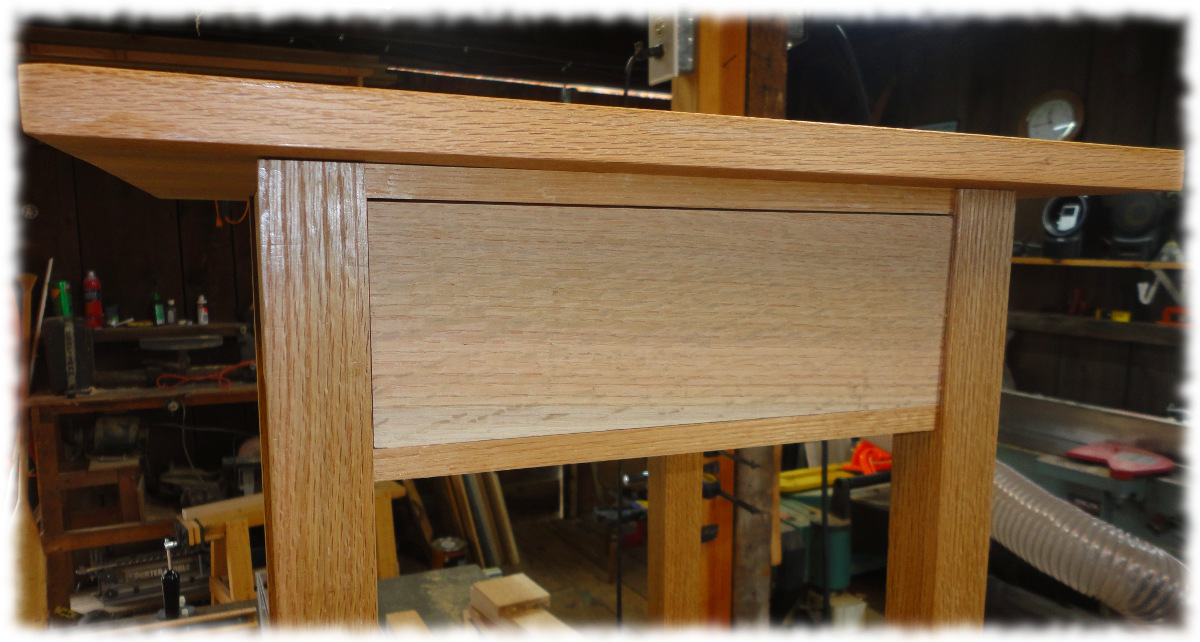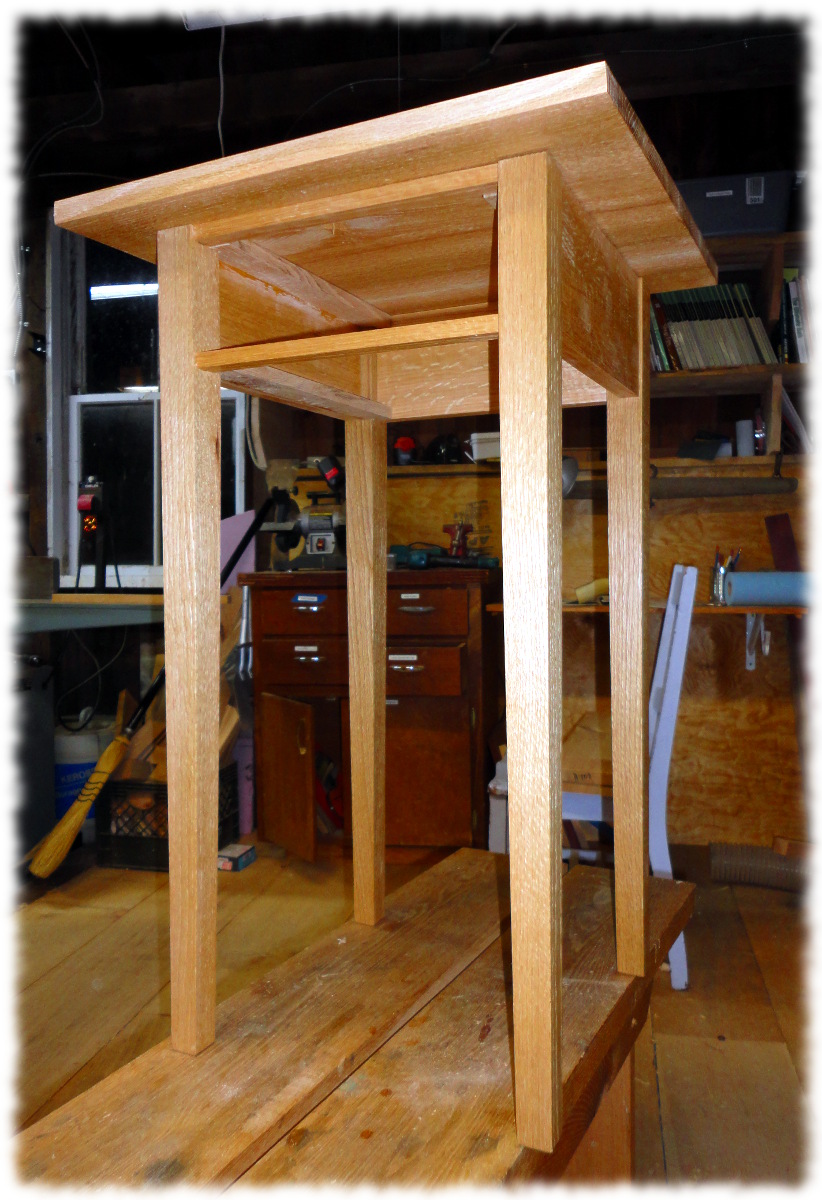
First nightstand constructed (ready for finish)

First nightstand ready to have finish applied

I finished the first nightstand this week. Okay, I completed everything except the finish. I’m planning on building the second table and then applying finish to both.

Overall, the table turned out okay. It isn’t perfect, but looks nice. The drawer is still a touch tight, so I may plane the sides a touch thinner before applying the finish.

This is a pretty basic piece of furniture. The four legs are square, with a slight taper starting 6-inches from the top. The aprons and stretchers are connected using mortises and tenons. The top was constructed from thee pieces of oak, and attached using screws.

The drawer is made from solid oak. The box is constructed with dovetails. They are hand-cut dovetails, and it was my first attempt at making a drawer, so the dovetails aren’t perfect. The bottom is made from two pieces of oak that I resawed (by hand – they were too wide for the bandsaw) to 3/8″ thick.

What am I happy with on this build:

  • The wood is clear and the case looks nice. It is built from quartersawn red oak that I had cut from a tree that was taken down in Ledyard two years ago. I have an entire section of the tree cut into boards, so I have enough wood to make a full matching bedroom set.
  • The solid drawer bottoms – I debated using plywood, but I like the feel of the solid bottom. The panel is aligned so that the wood will expand and contract from front to back (and shouldn’t bind the drawer in the summer)
  • Most of the joinery is pretty clean. Not perfect, but it is getting better.
  • The drawer front is a good fit. I’m hoping that there is enough gap that the drawer won’t bind in the summer, but it is quartersawn and shouldn’t move too much.

What will I do differently on the next build:

  • I messed up the mortise for the bottom rail. It isn’t inset enough (the front of the mortise is lined up with the front of the rail). There is a slight gap and no front shoulder on the corresponding tenon. I’ll need to set the mortise back 1/8″ on the next build
  • I will try routing the mortises on the router table. I don’t have the best mortise chisel for 1/4″ mortises. I think the router table may be quicker to get all the mortises finished. But I am not sure if I can get the full depth of mortise on the router table. The current mortises are 1″ deep.
  • I’ll be more careful on the thickness of the spacers to guide the drawer. On this project they were a little too thick which requires me to plane the sides of the drawers a little thinner (and leaves a little larger gap around the drawers than I wanted).
  • I need to be more careful making sure that the drawer front and sides are flush on the bottom.
  • I would like to have the dovetails be cleaner right off the saw. I know that just comes with practice.
  • The half-blind dovetails were tough to get clean.
  • I need a better bench to cut joinery on.
  • I need a better way to hold the piece down when I’m cleaning out the dovetails.
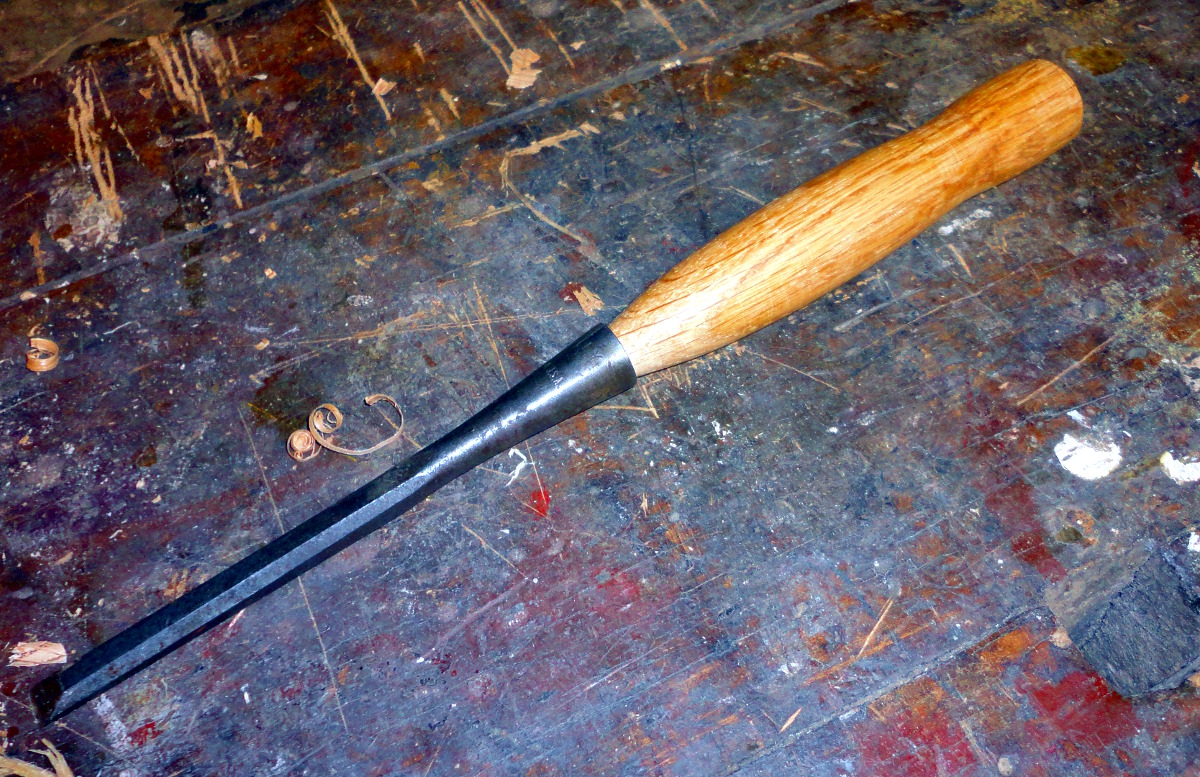
  • I never properly sharpened my skew chisels. That (and the previous comment) made for a bigger pain cleaning out the half-blind dovetails than they should have been. A dovetail chisel would be a nice addition to the toolbox.
Nightstand drawer
Nightstand drawer

More Nightstand Progress

Nightstand with top attached.

We are having a nice lazy Sunday morning. It is brisk and overcast outside – a perfect day to do inside things. The boys are enjoying a rare morning just taking it easy playing on their electronics. Susanna is hanging out with them.

I headed out to the workshop.

I cleaned up the drawer runners and top cleats. I then placed the nightstand top down on the router table (it is a good flat assembly surface) and centered the base on the top. I attached the top to the base with 4 screws through the cleats. I pre-drilled the holes in the cleats a little large, to give the top some room to move as the wood changes sizes as the moisture in the air changes seasonally.

Yesterday I said I would probably build the second table before building the drawer. Today I changed my mind. I started milling the lumber for the drawer. I milled a piece for the drawer front, but the wood had a crack in it, so I had to mill a second piece. I carefully fitted the drawer front to the opening, leaving about 1/32″ gap on the top to allow for wood expansion.

Drawer front fitted to the opening

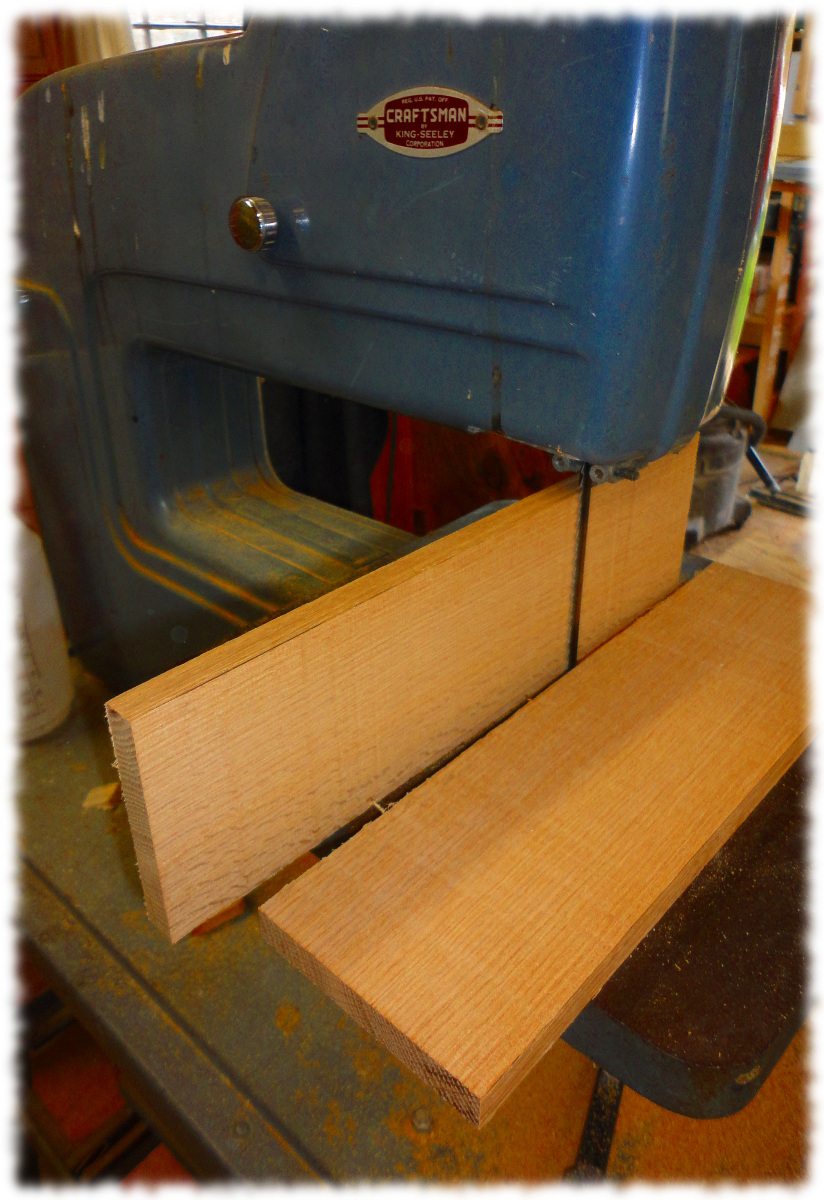
I milled stock for the drawer sides. However, the rough lumber I have is very thick (almost 1 1/2″ thick). Instead of planing down the thick lumber to thin drawer sides, I decided to try to resaw the sides from a single piece of lumber. My bandsaw isn’t the best, but the blade is sharp so I decided to give it a try. It turned out perfect. I have to resaw the wood for the drawer bottom as well, but the stock is wider than the 4″ resaw capacity on my bandsaw. I’ll try to resaw the drawer bottom by hand.

The drawer sides after resawing. I'll run them over the jointer one time and then plane them to just under 1/2" thick.
The drawer sides after resawing. I’ll run them over the jointer one time and then plane them to just under 1/2″ thick.

Three Years of Blogging

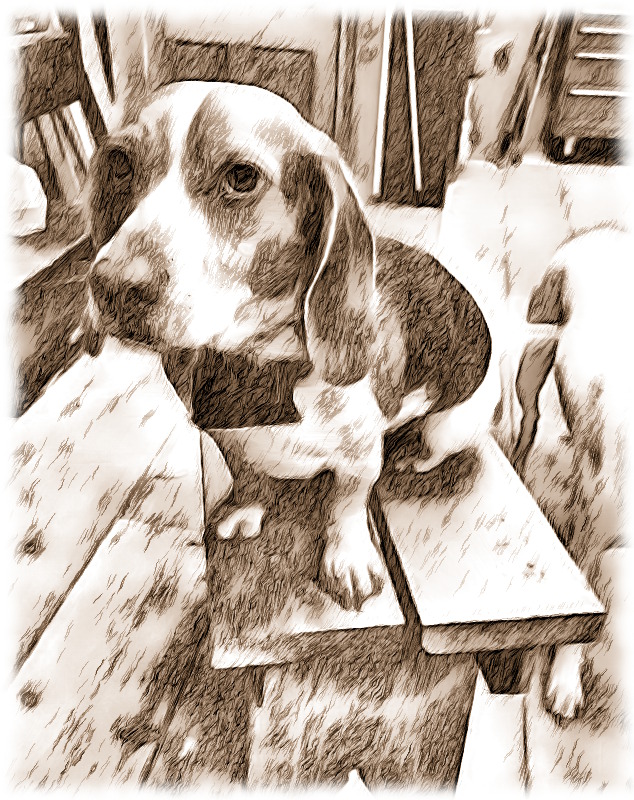
Shop Dog
Shop Dog

Three years ago today I started this blog. The fist post was a short “I am trying to start a new blog….  We will see how it goes.”  Well, here it is three years later.

I have over 300 posts. Most of them are longer than the first one. Hopefully some of them are more interesting than the first post. I have added over 500 pictures to the blog as well as written almost 90,000 words over three years.

Here is to the next three years. I hope they are as much fun as the past three years have been.

Glue-up Complete (Nightstand Update)

Nightstand after glue-up. The top is just resting on the base. An initial coat of shellac has been applied to the table
Nightstand after glue-up. The top is just resting on the base. An initial coat of shellac has been applied to the table.

I’m making progress on the night stand. I took some vacation time yesterday afternoon to meet the boys off the bus. I was able to get the first table glued before I took Ben to basketball camp. It isn’t perfect, but I feel pretty good about the construction.

Today I applied shellac to the base and top. I wound up making the top a little narrower (I had planned 20″ wide and wound up with 18″ wide).  When I put the top on the base, it seemed a bit wide. Susanna agreed with me, and it took 30 seconds to run the top across the table saw and remove the 2-inches.

Tonight I glued in the cleats to attach the top as well as the runner for the drawer. Tomorrow I will attach the top and make sure the project is cleaned up and ready for the drawer to be built.

I’ll probably build the second table before building the drawers, but that is always open for change.

I also haven’t decided on a final finish for the tables. I may get some more water-based finish to spray on, or I may just use a wiping varnish. I’m leaning towards the spray finish – it will offer a little more protection than just the wipe on varnish. I have wiping varnish on hand,  but I would have to go purchase more water-based finish to spray. Luckily, I don’t have to decide right away. The shellac will offer a little protection until I put a real finish on it, and they don’t need to be ready until Christmas anyway.

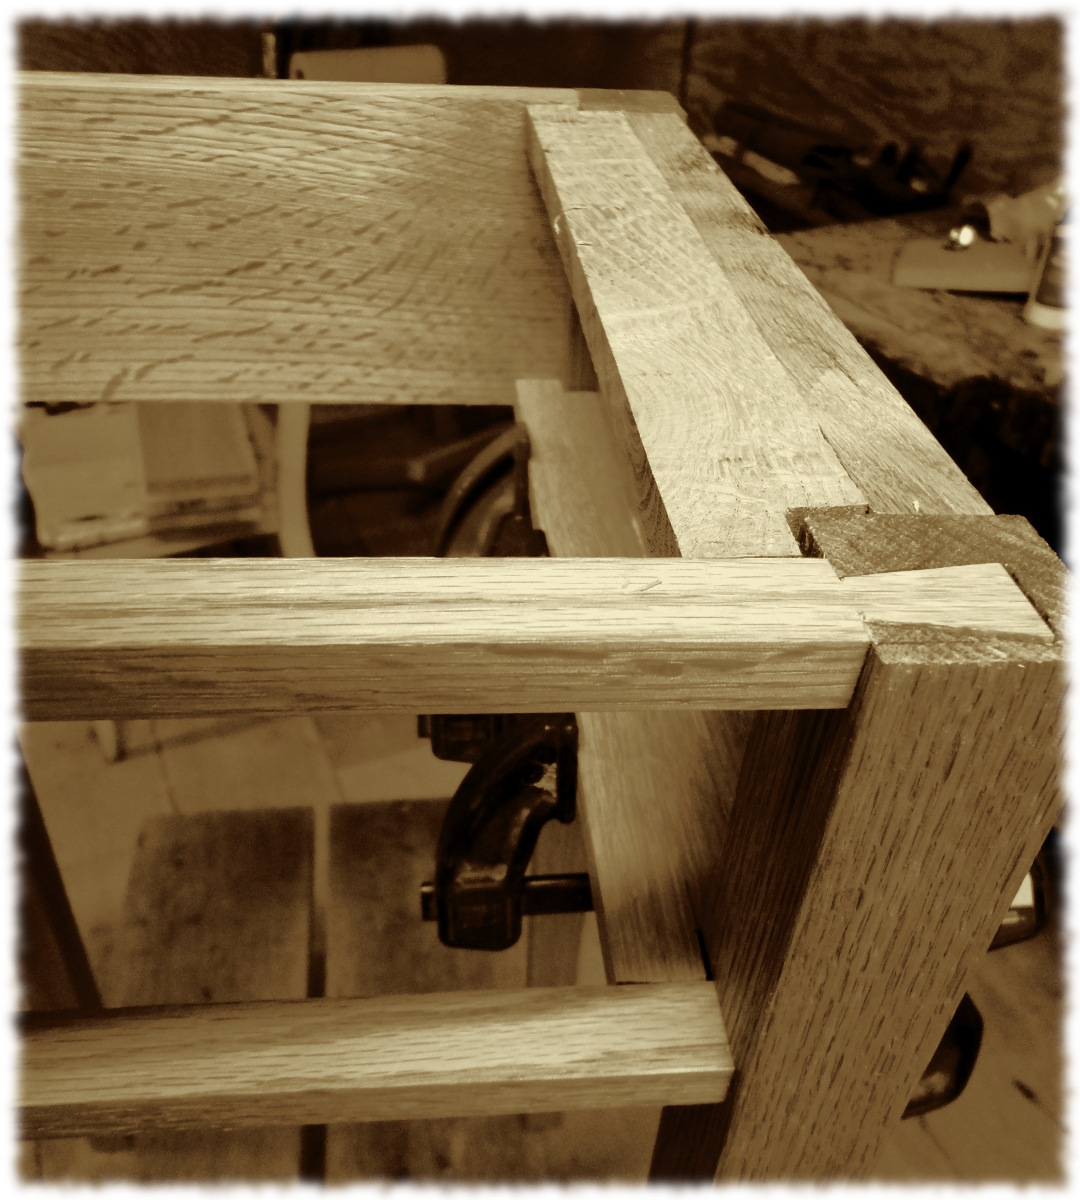
The top rail dovetailed into the leg. I could do a better job on the joint - hopefully the next one will be cleaner (good thing you can't see this when the table is finished)
The top rail dovetailed into the leg. I could do a better job on the joint – hopefully the next one will be cleaner (good thing you can’t see this when the table is finished)

Nightstand Update

Making wood shavings with my smoothing plane

This week I found some time to work on the nightstands. I have material milled for both stands, but focused on putting together the first stand. Will came over for dinner on Tuesday night, and for the night on Wednesday, so I had a little less time than I had planned – but it is worth taking time from the workshop to spend with him. But I also did get workshop time both nights (a big thank you to Susanna for encouraging me to get out of the house and work on my projects).

I was able to get the carcase of the first table assembled. I still have to adjust one tenon and clean up two of the aprons prior to gluing up, but I should be able to glue up the carcase the next time I’m in the workshop.

The tables are made from red oak. I cut the mortises by drilling out the waste on the drill press and using a chisel to clean them out. I could use a good 1/4″ mortise chisel – that will be on my Christmas list (I’d love a 1/4″ English Mortise Chisel by Ray Ilse from toolsforworkingwood.com). The tenons were cut by hand. I did the first several using my dovetail saw – but the saw is for detail work and took forever to cut the tenons. The last two I cut using my carcase saw (an old backsaw sharpened by Matt Cianci – “The SawWright”). If you have any old handsaws that you need sharpened, I would highly recommend him. He is backlogged, and it takes 10-12 weeks, but a professionally sharpened handsaw is amazing to use.

Table carcase assembled

The next step is to glue up the table and add the cleats/runners. Then I have to finish milling, glue up and add the top. Finally, I will have to mill the lumber for the drawer and build the drawer. I’m still a little nervous about cutting the dovetails for the drawers.

I plan on trying to route out the mortises on the next table using a 1/4″ upcut spiral router bit I just purchased. I’ll let you know how that works out. I am not sure I can get the full 1″ depth of mortise on the router table. I may have to clean out the tenons with a chisel – so it may not save me much time on construction.

Almost ready for Halloween

Will showing off his Halloween costume. Nice and scary.

The boys are with us this week and Susanna’s classroom is short an assistant. That means tired nights, and not much workshop time. But it is worth skipping the workshop to spend time with the family.

Friday was pizza/movie night. I made homemade pizza dough. Twice. The boys and I took a quick trip to the store to pick up cheese and left the dough in Tupperware containers on the counter. In the 30 minutes we were gone, Targa got the dough off the counter. Targa and Tucker ate most of the dough. The boys are now much closer to knowing how to curse like a sailor. I mean, it was only thirty minutes. I came home early and let them run outside for an hour or two before the boys came home. And raw pizza dough. What the f**k is wrong with the dogs?

Today was the boys’ second to last soccer game. They lost (again). But they had fun. Ben twisted his ankle during the game (okay, I think that part wasn’t so much fun), so he decided to hang out at home this afternoon. 

I took will to pick up a costume for Halloween, and then to the submarine base for a haunted house. It was much scarier than I had expected – I’m pretty glad that Ben skipped it this year. It was nice to have Will for the haunted house – he was brave enough to lead the way. However, after we left the building (and thought the scary stuff was over), an actor came out from another door with a chainsaw and Will ran as fast as he could. We both got a good laugh about it, and stopped and picked up pumpkins on the way home.

We finished the day with friends over and time playing outside. It was a beautiful New England fall day. Brisk, but not too cold, windy and sunny.

Ben working on carving his pumpkin.

Nightstands – Milling the Lumber (part 2)

Today I continued milling lumber for the nightstands. I cut out pieces for the top and aprons. All the pieces were milled down to 1″ thick – when I am ready to use the pieces, I will mill them the rest of the way.

The lumber for the nightstands. I will mill the lumber for the drawers after the tables are built.

Next I marked out the mortises on the four legs. I double checked the placement. I only have one spare leg if I mess these up. I am using the drill press to remove most of the material for the mortises. The mortises are 1/4″ wide, 1″ deep, and 3 1/2″ long.

The leg after the the drill press. The remainder of the wood in the mortise will be removed by chisel.
The leg after the drill press. The remainder of the wood in the mortise will be removed by chisel.

I was able to complete half of the large mortises on the legs tonight (for one of the tables). After cutting out the mortises, I will taper the legs on the bandsaw (using a hand plane to smooth the cut).

Completed mortise. I will cut the tenons on the table saw and individually fit them to the mortises.

Also, this is my 300th post on this blog in just under 3 years of writing.