
I decided to do a quick project in the workshop with the boys today (and Will’s friend who was over for the afternoon). I had worked with Will yesterday to mill some (what I think is) maple to make trivets. And today, after I figured how easy they were to make, I pulled a scrap piece of walnut out of the wood pile for an additional three trivets.
I get the idea from one of the many woodworking books I have. The plans called for stopped groves made on a router table. I had a 1/2″ straight bit for the router and I tried to make one following the plans yesterday. The router bit is terrible, and it left the wood in terrible shape (so that one will go to the fire pit).
That of course made me head inside and look for a better router bit online. For $70 I could get a nice solid carbide spiral bit. But then I would have to wait to finish the project. And I would have to spend $70 on a bit to make a handful of simple trivets. Which would change the cost per trivet from nearly free (scrap lumber) to something more than nearly free. Though a nice spiral bit would be good to have in the shop… but I sat on my hands and didn’t get the bit.
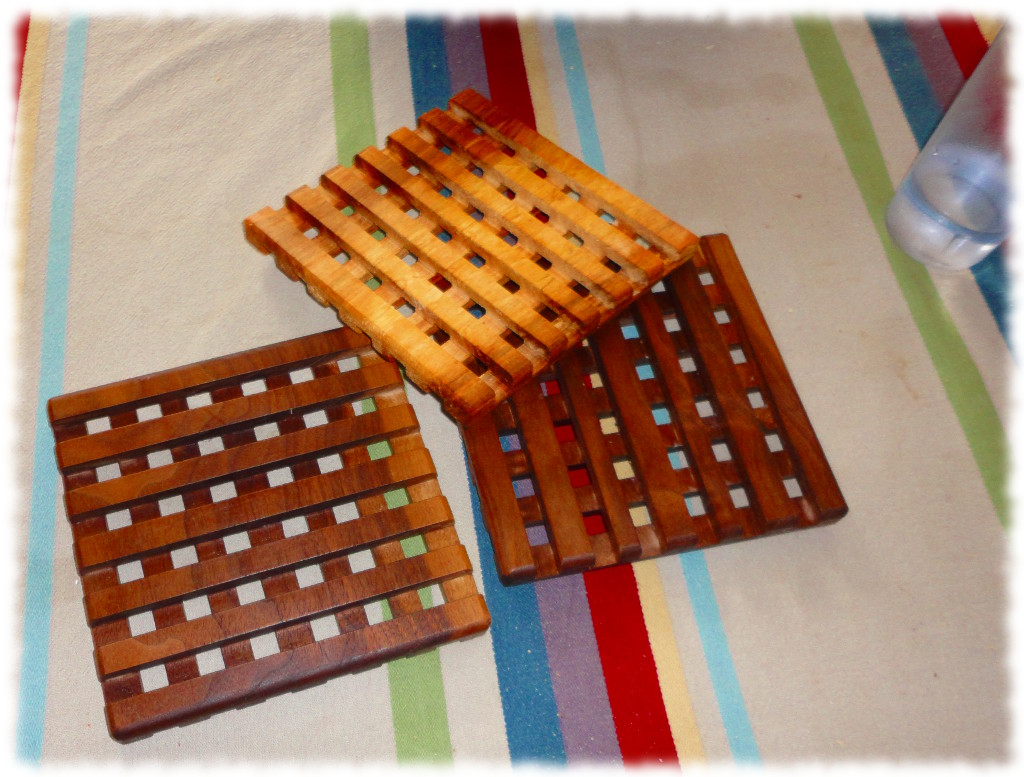
I thought about it for a while, and realized, that if I changed the design, that I could easily cut 1/2-inch dadoes using the table saw (they would be through dadoes vice stopped). It took longer to switch blades than to cut all the trivets. The boys and I then sanded them. A 3/8″ piece of wood with adhesive sandpaper clamped in the face vice made quick work of cleaning up the inside of the dadoes. After sanding, the trivets were finished with butcher block finish (wax/oil mixture), and are all set for use. We made a total of six trivets in all. I think the entire project took less than 2 hours (including the first screw-up with the router bit). Susanna even used one with dinner tonight.
Overall, I am pretty happy with the project. Next time, I will have to be careful measuring the spacing between the dadoes – on a couple it is obvious that the spacing isn’t even. But for very little effort, and a chance to get the boys in the workshop – it was perfect. Maybe we will make some more sometime – anyone want to buy trivets?
Not a bad quick project for a Saturday afternoon. Of course I had to spend some more time in the shop making wood guns for the boys. Luckily, a couple of months ago I milled up a dozen boards that are the perfect thickness/width for making play swords/guns.


