I finally got fed up with the dripping faucet in the kitchen. So, this morning the boys and I headed to Home Depot and picked up a replacement. The project took less than 2 hours including the trip to the store.

Posts by Chuck Curtis

I finally got fed up with the dripping faucet in the kitchen. So, this morning the boys and I headed to Home Depot and picked up a replacement. The project took less than 2 hours including the trip to the store.
I’m tired tonight. More than just tired. I’ll probably head to bed when the kids go to bed.
We started this morning at 5:30 when Will and his friend, Shane, woke up. Sleep overs are fun, except at 5:30 in the morning.
Will and Ben had a great morning spent mostly fighting with each other – got to love brothers. At least by the afternoon they were finally playing nicely together. I’m sure it didn’t help that everyone was up early and didn’t get enough sleep. But that is okay, they will go to bed early tonight, and hopefully sleep in. I told them tomorrow is house cleaning morning, unless they sleep in too late to clean the house – I’ll see if that works. If not, at least we will have a clean house early in the morning.
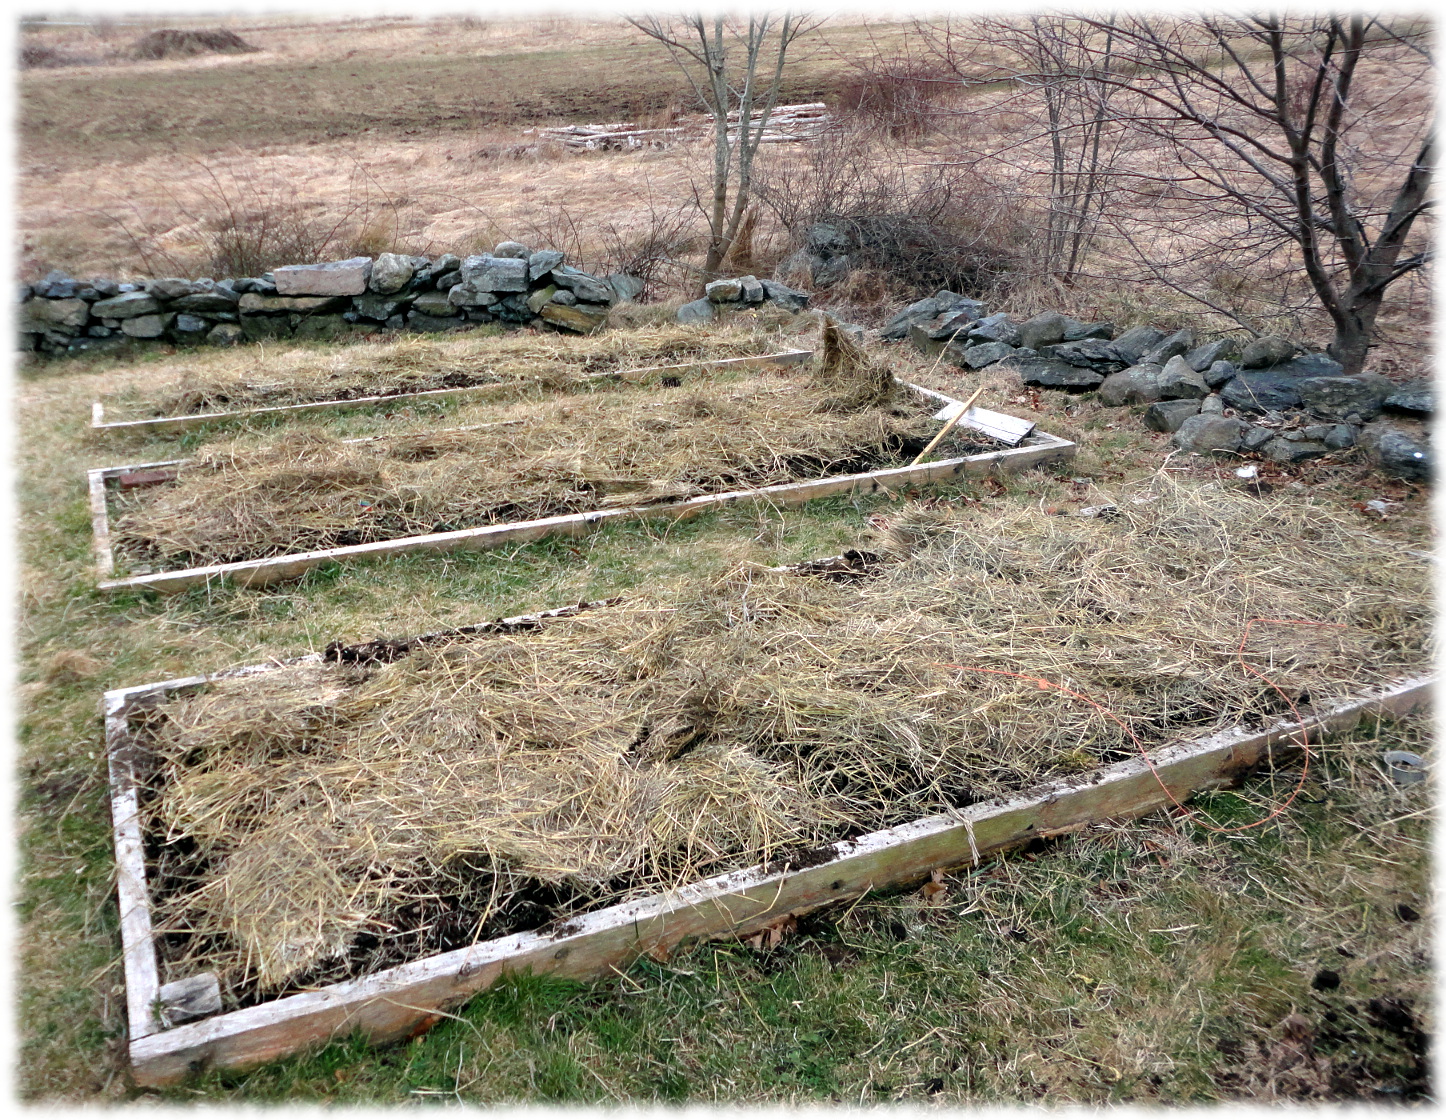
I took the boys over to Rob and Anna Sawyer’s farm to pick up fresh eggs and a trailer load of horse manure compost. I spent the afternoon spreading compost and getting the garden ready for the spring. It wasn’t as warm out today as I had hoped, but it wasn’t too cold to get some yard work done. I could at least get some chores done while watching the boys run around the yard and the woods behind the house.
I didn’t get any time in the shop, except to build swords for the boys. But that is okay, maybe I’ll get in the workshop tomorrow. Tomorrow should be a nice quiet day – no friends over.
Well, nothing in an old house is ever completely finished. However, we made our goal for the weekend. I wasn’t always sure if we would make it.
Today I finished touching up the wall and trim paint as well as finished painting the door. I fixed the radiator where it was leaking (note to self, make sure the joint is clear of any foreign material before mating up the radiator to the valve). I also hung the curtains around the closet and on the windows.
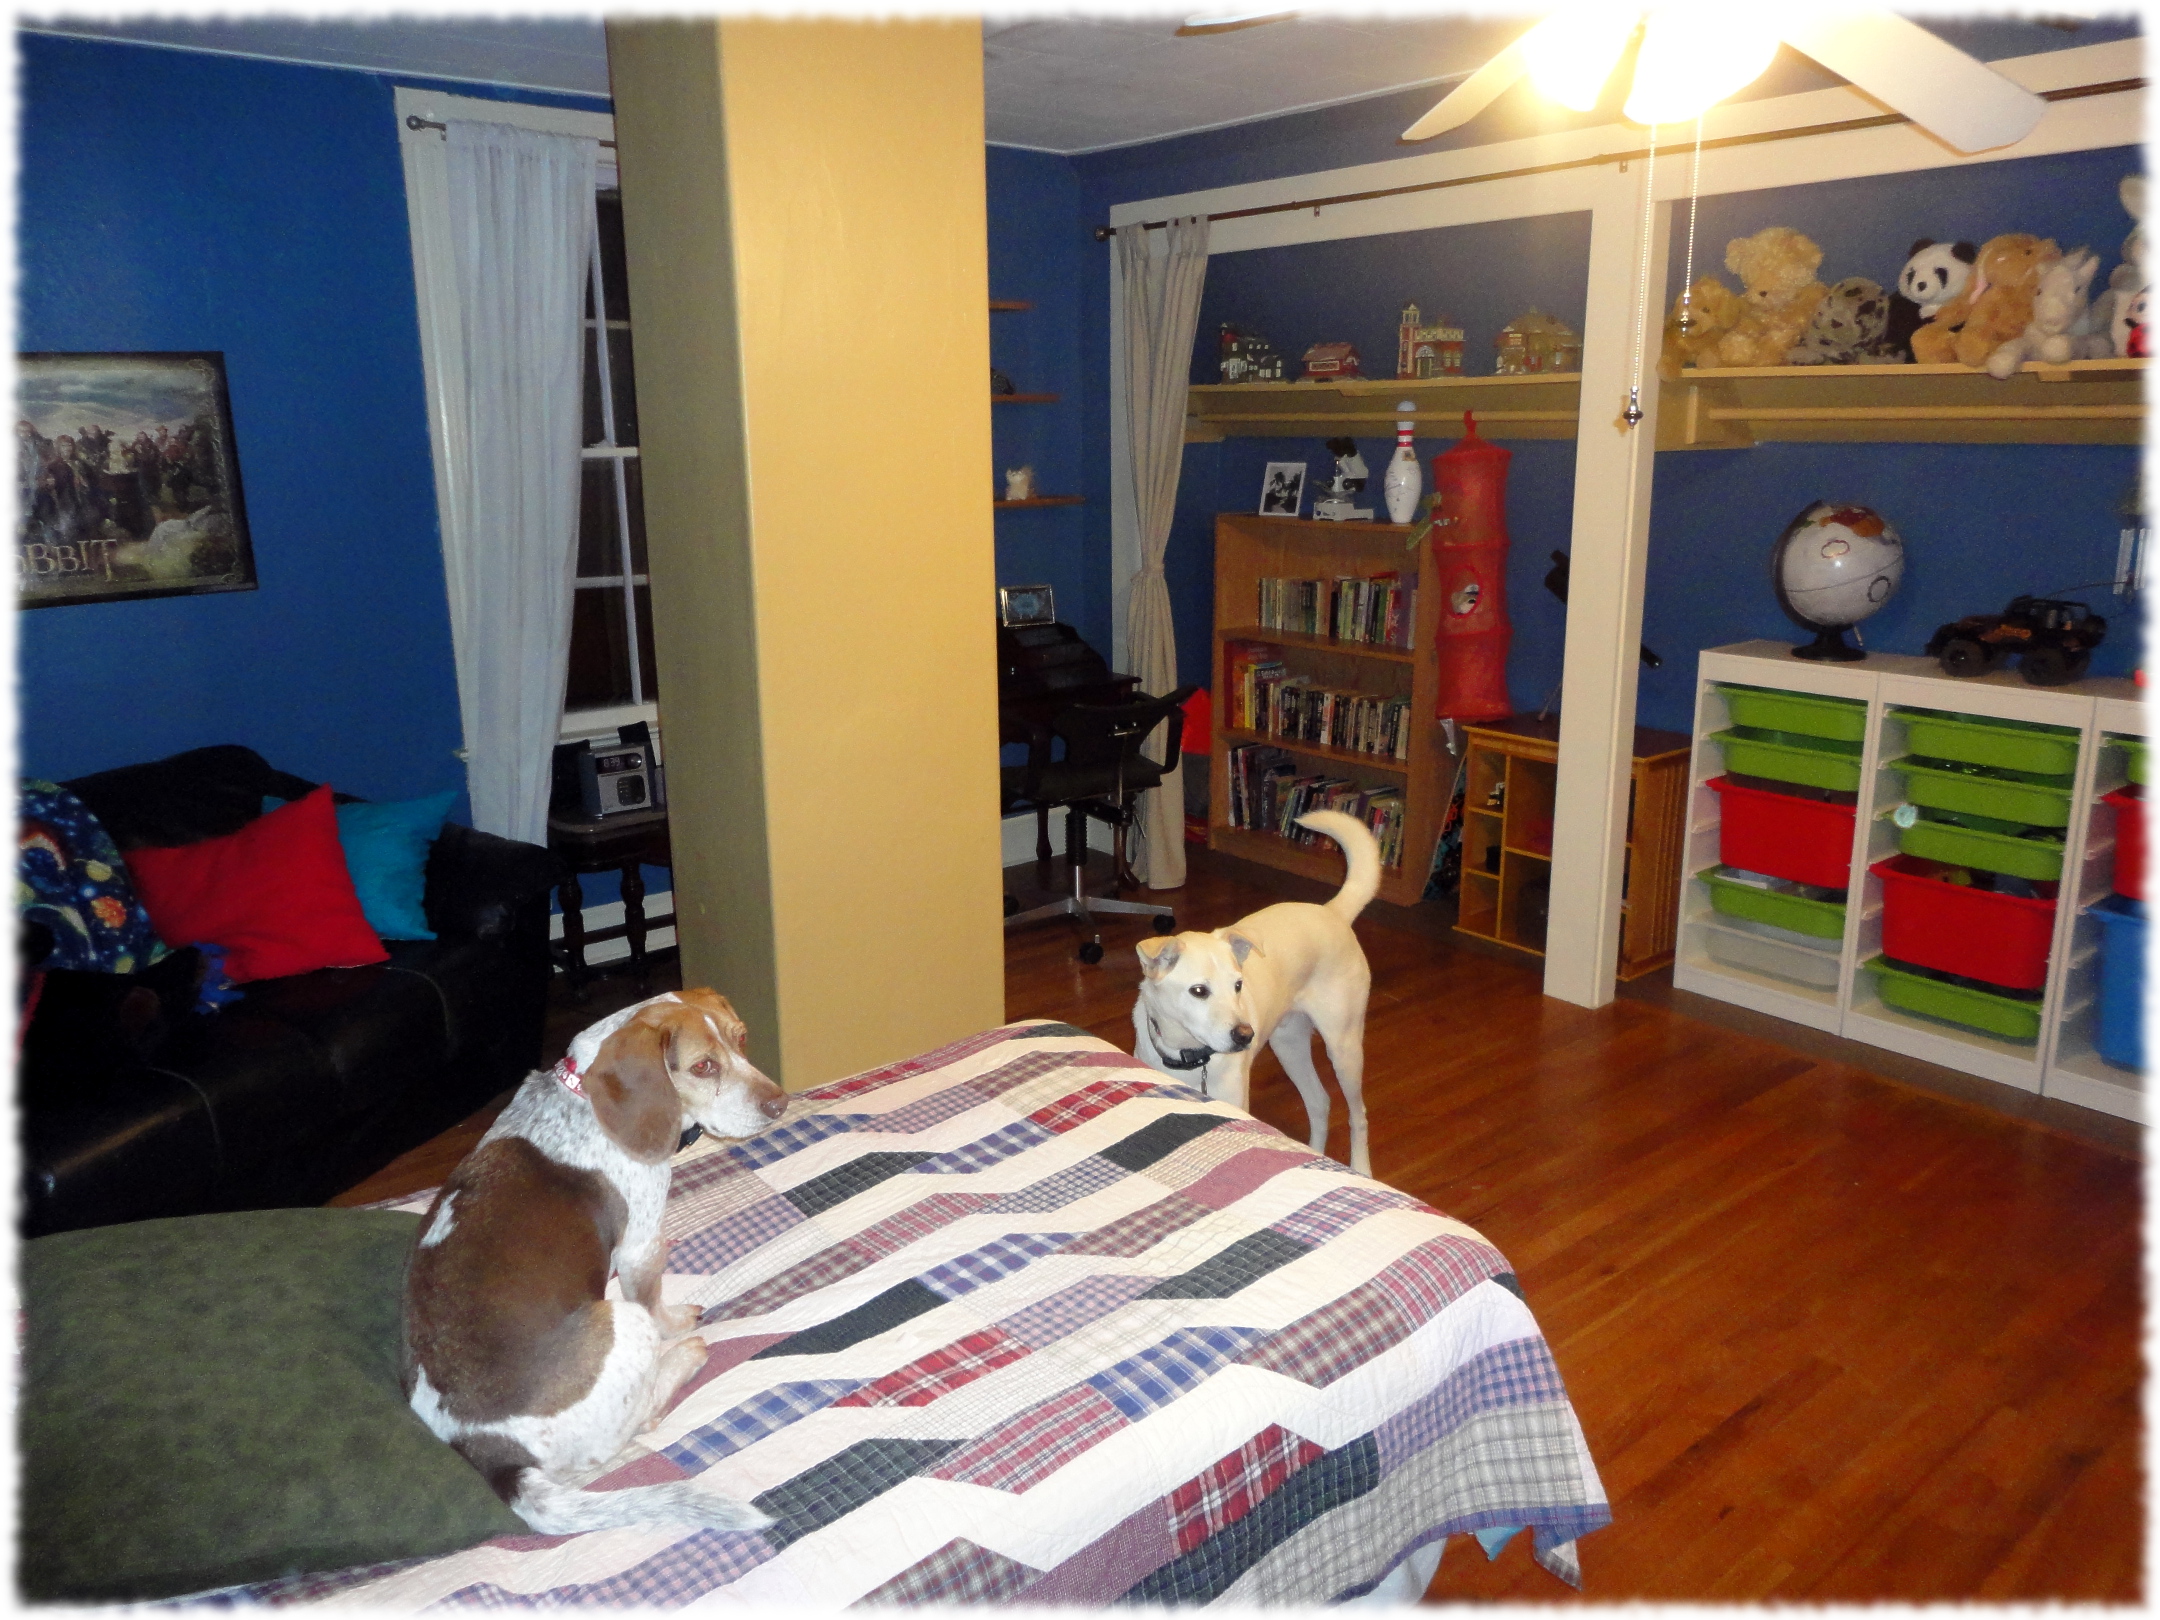
I don’t mind doing the wall repair and most of the painting, but I am very glad that Susanna is a good organizer and decorator. It is the little things, like having the couch at an angle vice flat on the wall, that makes the room really stand out. She also does a great job sorting through the toys and getting rid of things no longer needed. Of course, you can see her organization skills in the rest of the house. As far as room colors, we worked together on the paint scheme, and I think it came out very nice. I am certain life would be more chaotic and disorganized without her help – but it isn’t just organizing things, it is finding a way to organize that also fits each room that makes a big difference. Now if could only get her to help with the workshop. And to top it off, organizing and redecorating is something that she loves to do (with the exception of the workshop of course…).
Will’s room is tricky. There is a chimney in the middle of the room. The chimney will be taken out one of these days, but for now it is there. It also has a large closet on one wall that used to have sliding doors. I removed the doors, but that leaves a long unusual space to deal with. We repainted the open closet – it has a lot of colors – blue for the walls, off white trim, gold for the walls and brown on the floor that was previously painted the trim color.
One of the biggest challenges with the room is fitting in his bed and the love seat. With the chimney and the large closet space, his bed really only fits in one of two places (the corner where the couch is or where we wound up putting it). I have tried several arrangements of the room, but I think this one finally got it right.
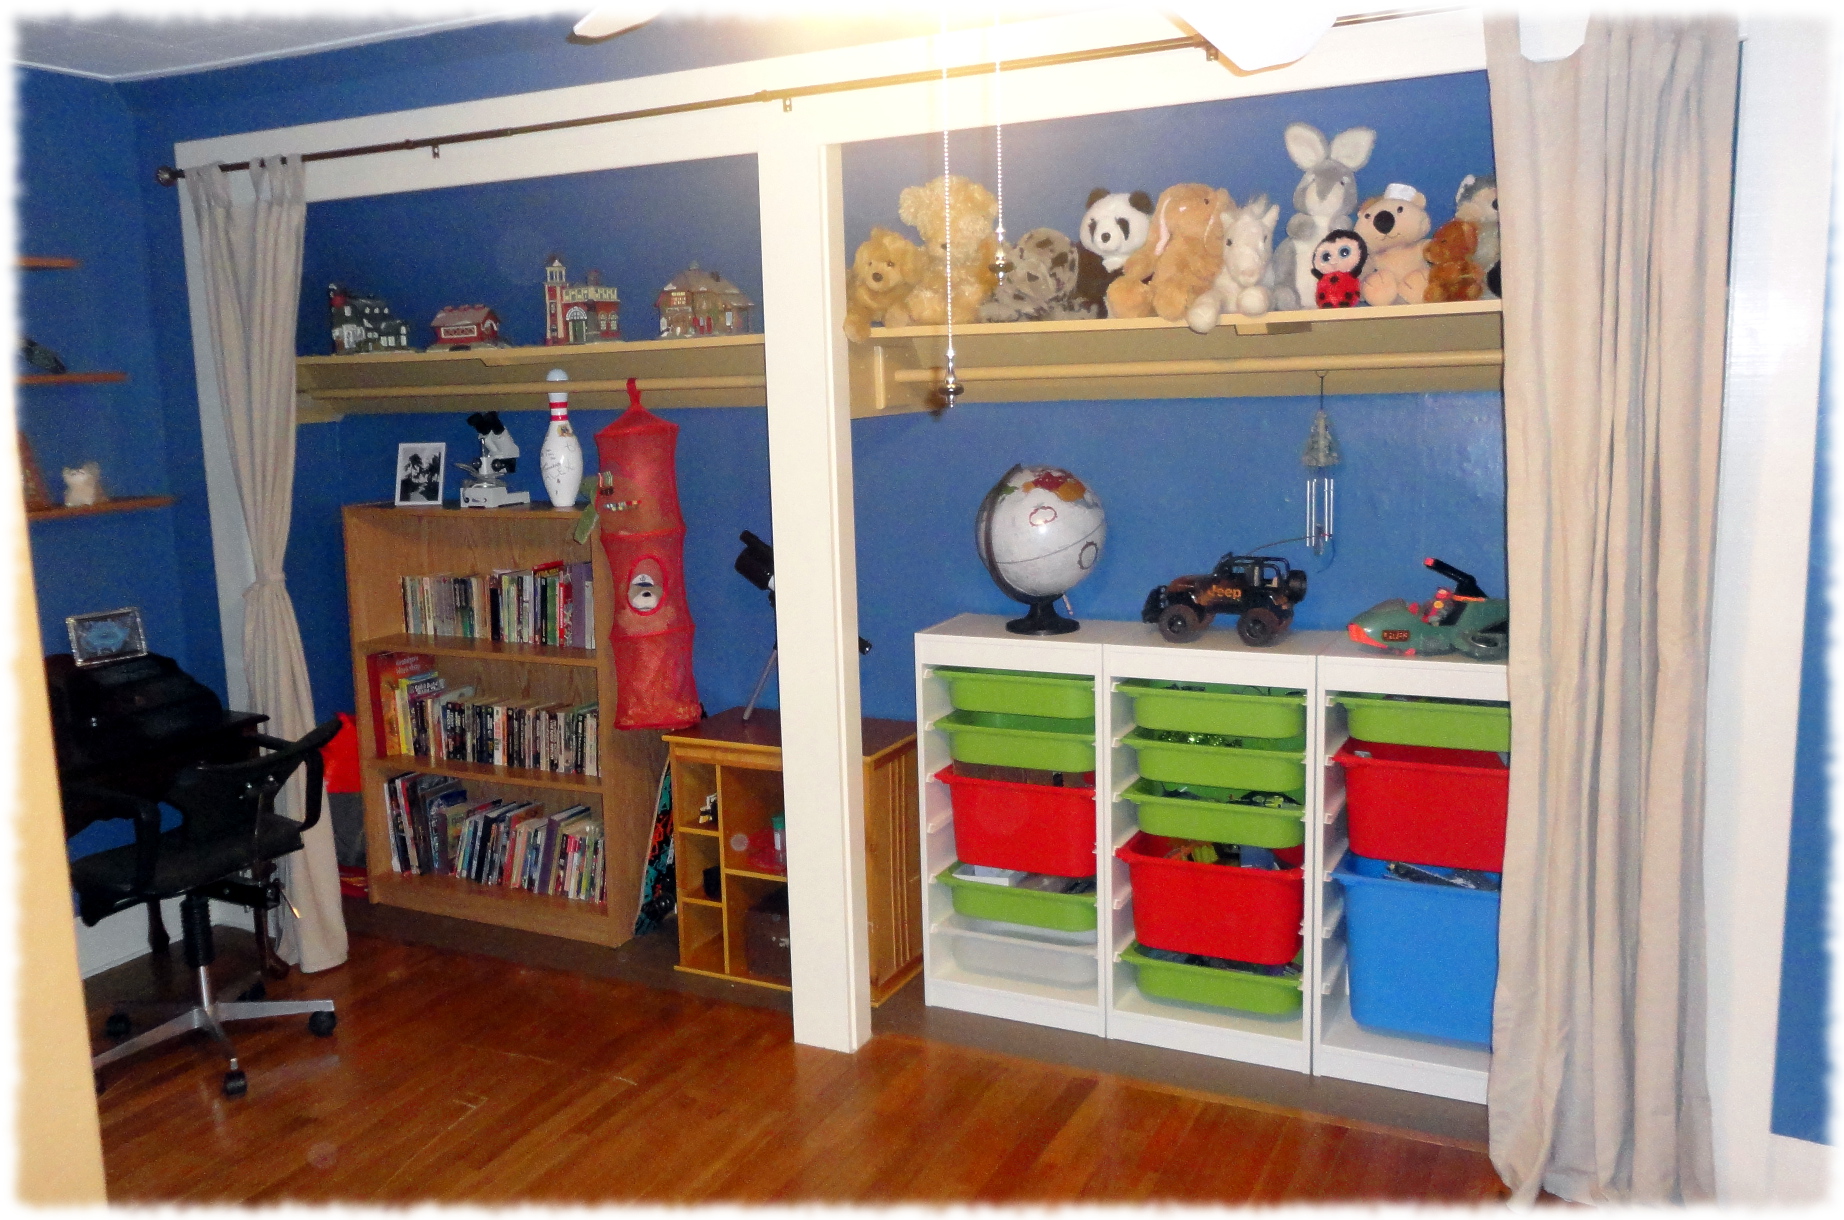
We repainted the open closet – it has a lot of colors – blue for the walls, off white trim, gold for the walls and brown on the floor that was previously painted the trim color. We were able to reuse paint from other projects. The gold accent color is the paint we used for the top of the walls in the kitchen, and the brown on the closet floor is the same floor paint we used in the hallway/back stairs. The trim paint is the same trim paint that we use in most of the rest of the house.
Even though all of Will’s belongings are out of the guest room and back in his room, I still have some odds and ends to wrap up in his room. I have to hook up the wiring for the new outlets in his room, but that only requires work in the attic, the guest room and basement (I didn’t want to yank power to the guest room while Will was living in it). I also need to reinstall the inside stops on the window next to his bed. That is a quick afternoon project, and doesn’t impact the room very much. I will hang the door tomorrow (I don’t feel like going to the workshop tonight to get the parts needed to put his door back on). And, finally, I need to finish painting the window on the far wall – I will probably wait until it is warmer and take out the upper and lower sashes and paint them outside.
I haven’t gotten the official notification yet, but it is coming soon. It looks like I will be furloughed one day a week starting in late-April. It will last up to 22 weeks (22 unpaid days off). It is a big cut in pay for six months – which adds stress. But on the good side, it is during the summer, and if I’m going to get extra time off, I would rather it be in the summer.
I’m working on a plan. I’m thinking that I should take the opportunity to get things done around the house. I had initially thought about making a list of 22 projects that I could do in one day (and that don’t cost much money). I think 22 projects would be too many. On the summer days that the boys are here, I want to be able to spend time with them, and not be a slave to house projects. Also, I would like to spend time with Susanna’s family when they come for the wedding.
I could also just spend the time working on whatever house project is in progress. But I’m thinking that it is a good chance to do some smaller projects that might otherwise be put off until a later year. I’m leaning towards making a list of 11 projects to finish on furlough days. I’m also discussing doing group projects with some of my co-workers if they are furloughed on the same day – that may allow bigger projects at each person’s house, taking turns at each house.
So here is my list so far (in no particular order). I’ll sit down over the next couple of weeks and prioritize them with Susanna. There are more than 11 projects below, so I’ll have to pick the ones I want, or maybe just have a long list and see if I can get 11 of the projects finished.
We are making progress on Will’s bedroom renovation. Today I finished up most of the painting and am just working on the finishing touches to the room.
I am trying something new for the floor. The hardwood floor was in pretty rough shape, but I didn’t have time to completely refinish the floor. So, I lightly sanded the surface (removing any stains that I could), and put a coat of dewaxed shellac down. The shellac dries in an hour or two. I then covered the shellac with a quick dry water-based floor finish from Home Depot. It certainly doesn’t look like a refinished floor, but it looks much better than before. I’ll have to see how well it holds up over time.
Tomorrow I have some touch-up painting to do, including the trim around the windows. Susanna will organize and sort the toys and clothes. Hopefully it will be a nice surprise to Will when he returns home on Monday afternoon. I also need to finish the electrical work for the room, but that will wait until after next week (the outlets are in, but I need to run a wire to the attic to hook them up).
There is a 2 hour snow delay on the SUBASE today, so I’m taking a few minutes to post a quick update on the house projects:
Will’s room is making progress. We are (almost) on track to move him back into his room on Sunday. Susanna has a couple of ideas about rearranging and decorating the room, so hopefully there will be a nice surprise for Will when he comes home on Monday.
The kitchen island is making progress. I roughed out the planks for the top. Now I have to mill them to size and glue up the top. I plan on gluing the top in two parts and then gluing the two parts together. After that, all I have to do is spray finish the bottom (a one or two night project).
Not much else is going on in the house. We are all waiting for spring and warm weather. And I’m very tired of snow…
I’ll post pictures of the projects later. Time for me to head into work.
I’ve been fighting a cold all week. I decided it was winning this morning. So I get to enjoy a nice quiet day at home watching TV and playing on the computer. I went back to sleep this morning and slept until 10:15. It was exactly what I needed. Now for some more hot tea and couch time.
Maybe this afternoon I’ll feel up for cleaning the house a little bit. But I’ll stay out of the workshop today.
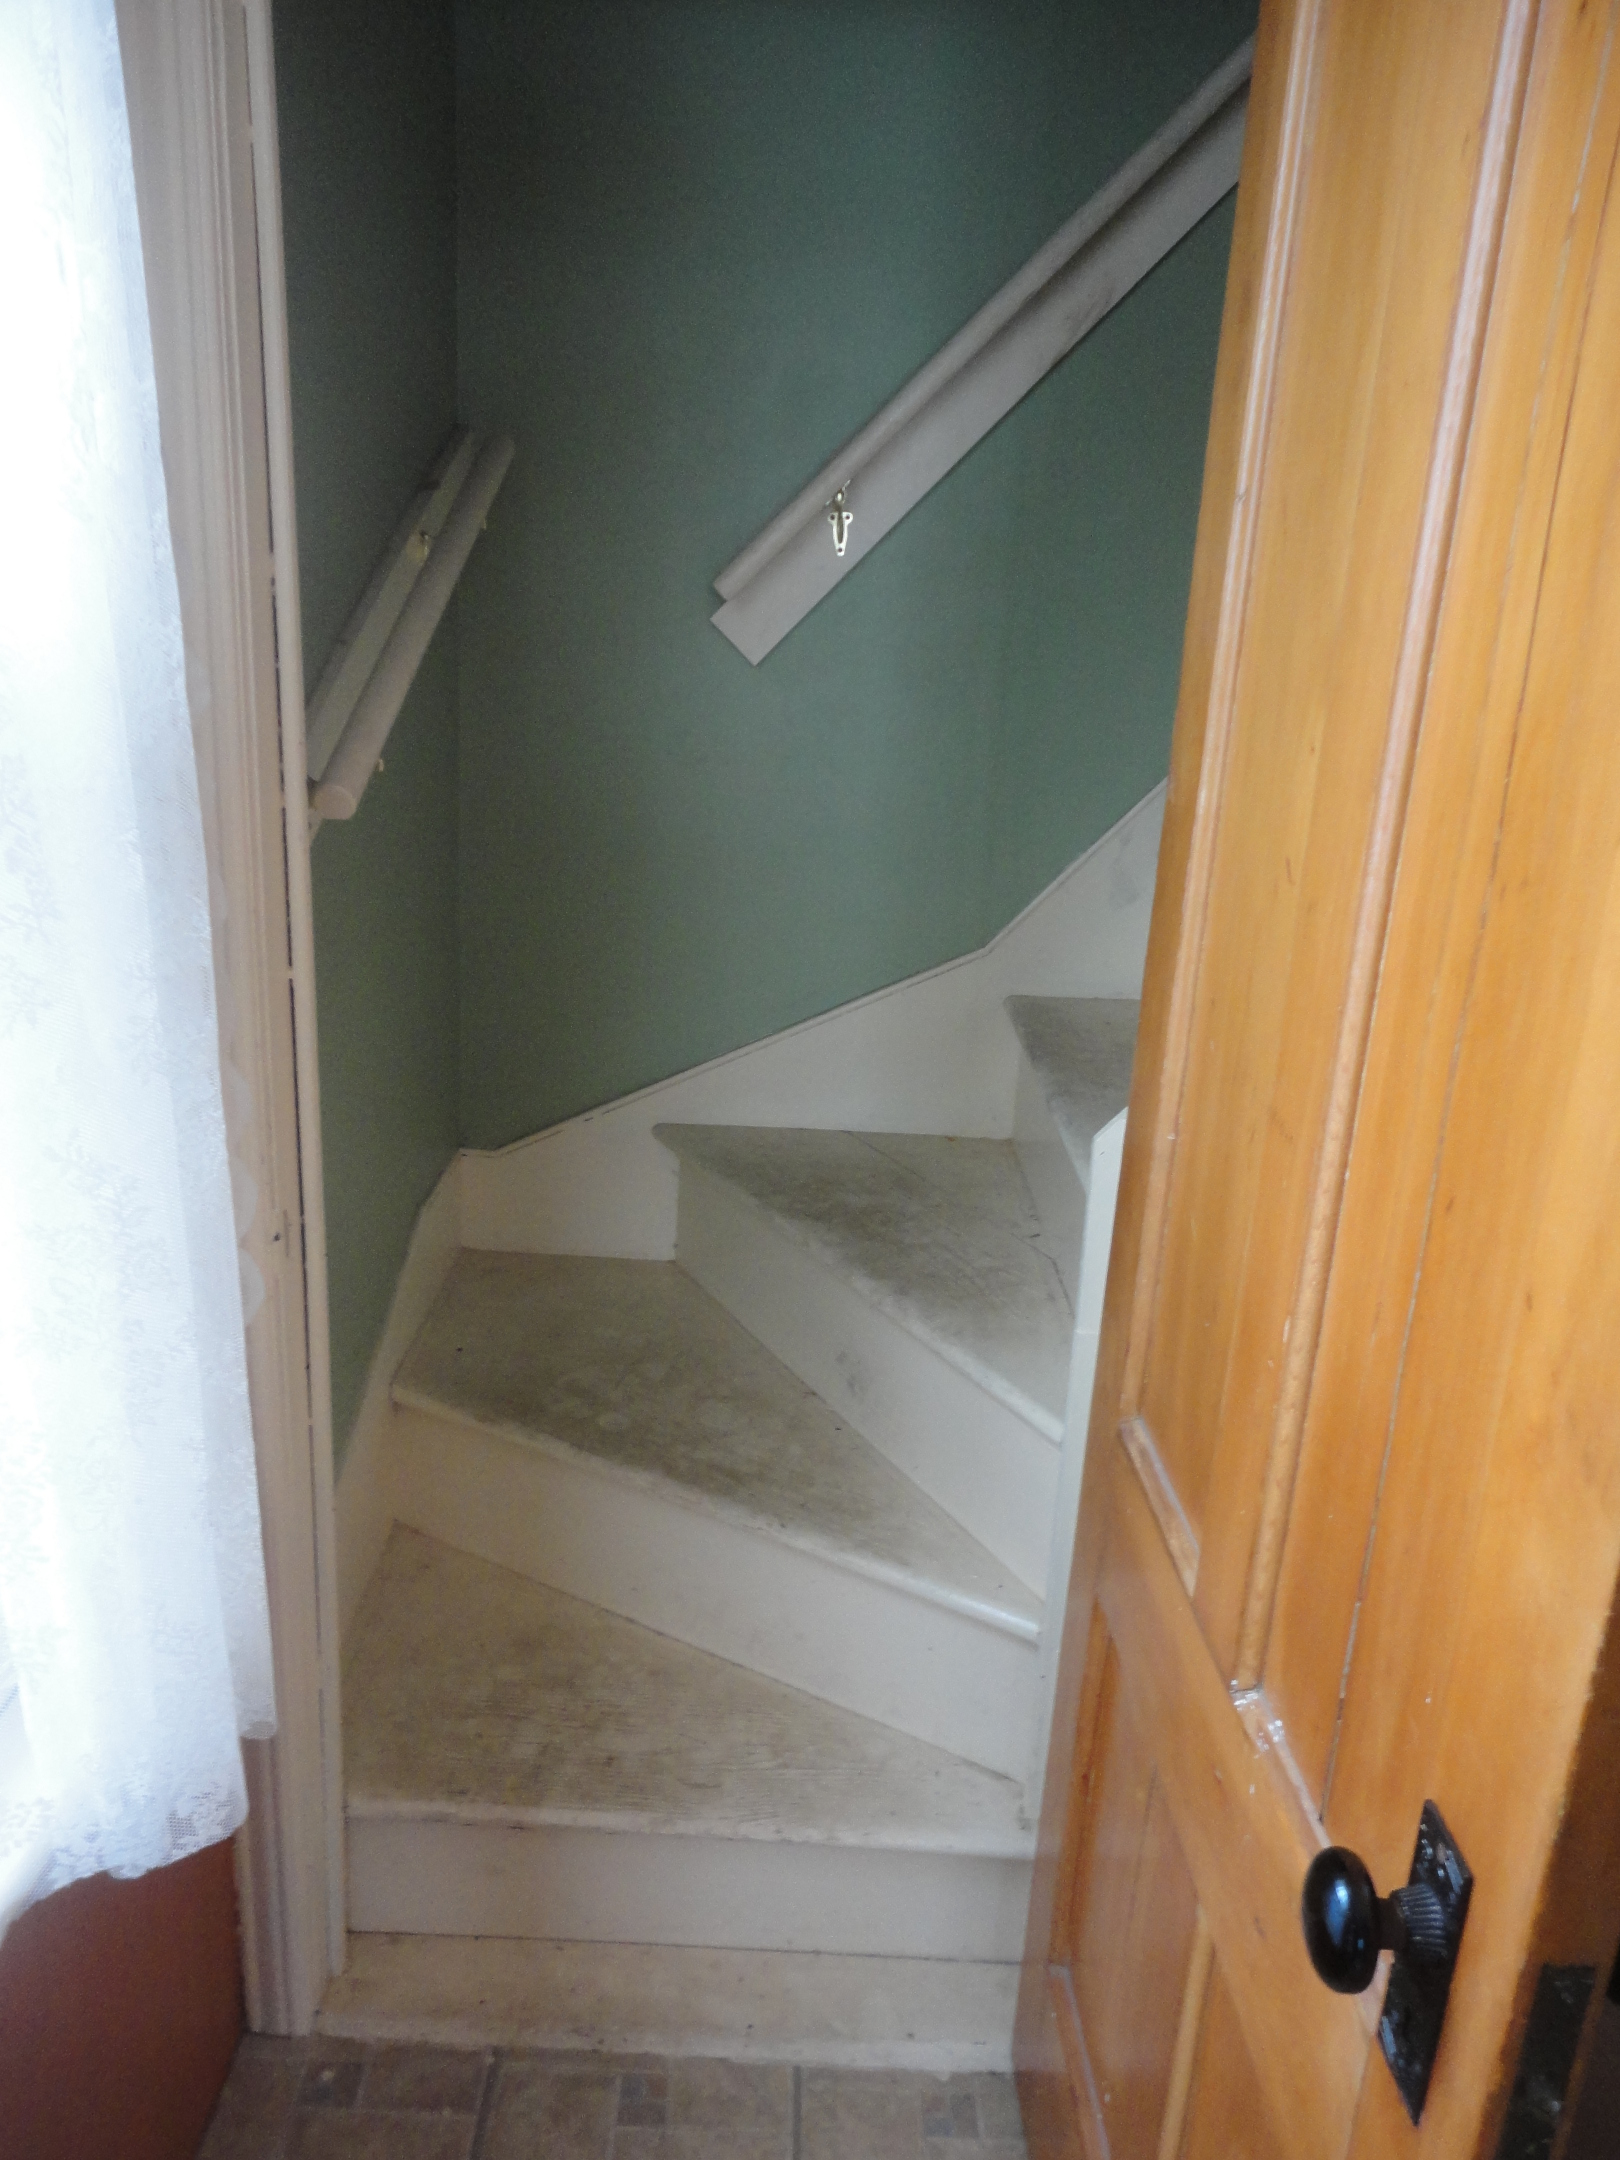
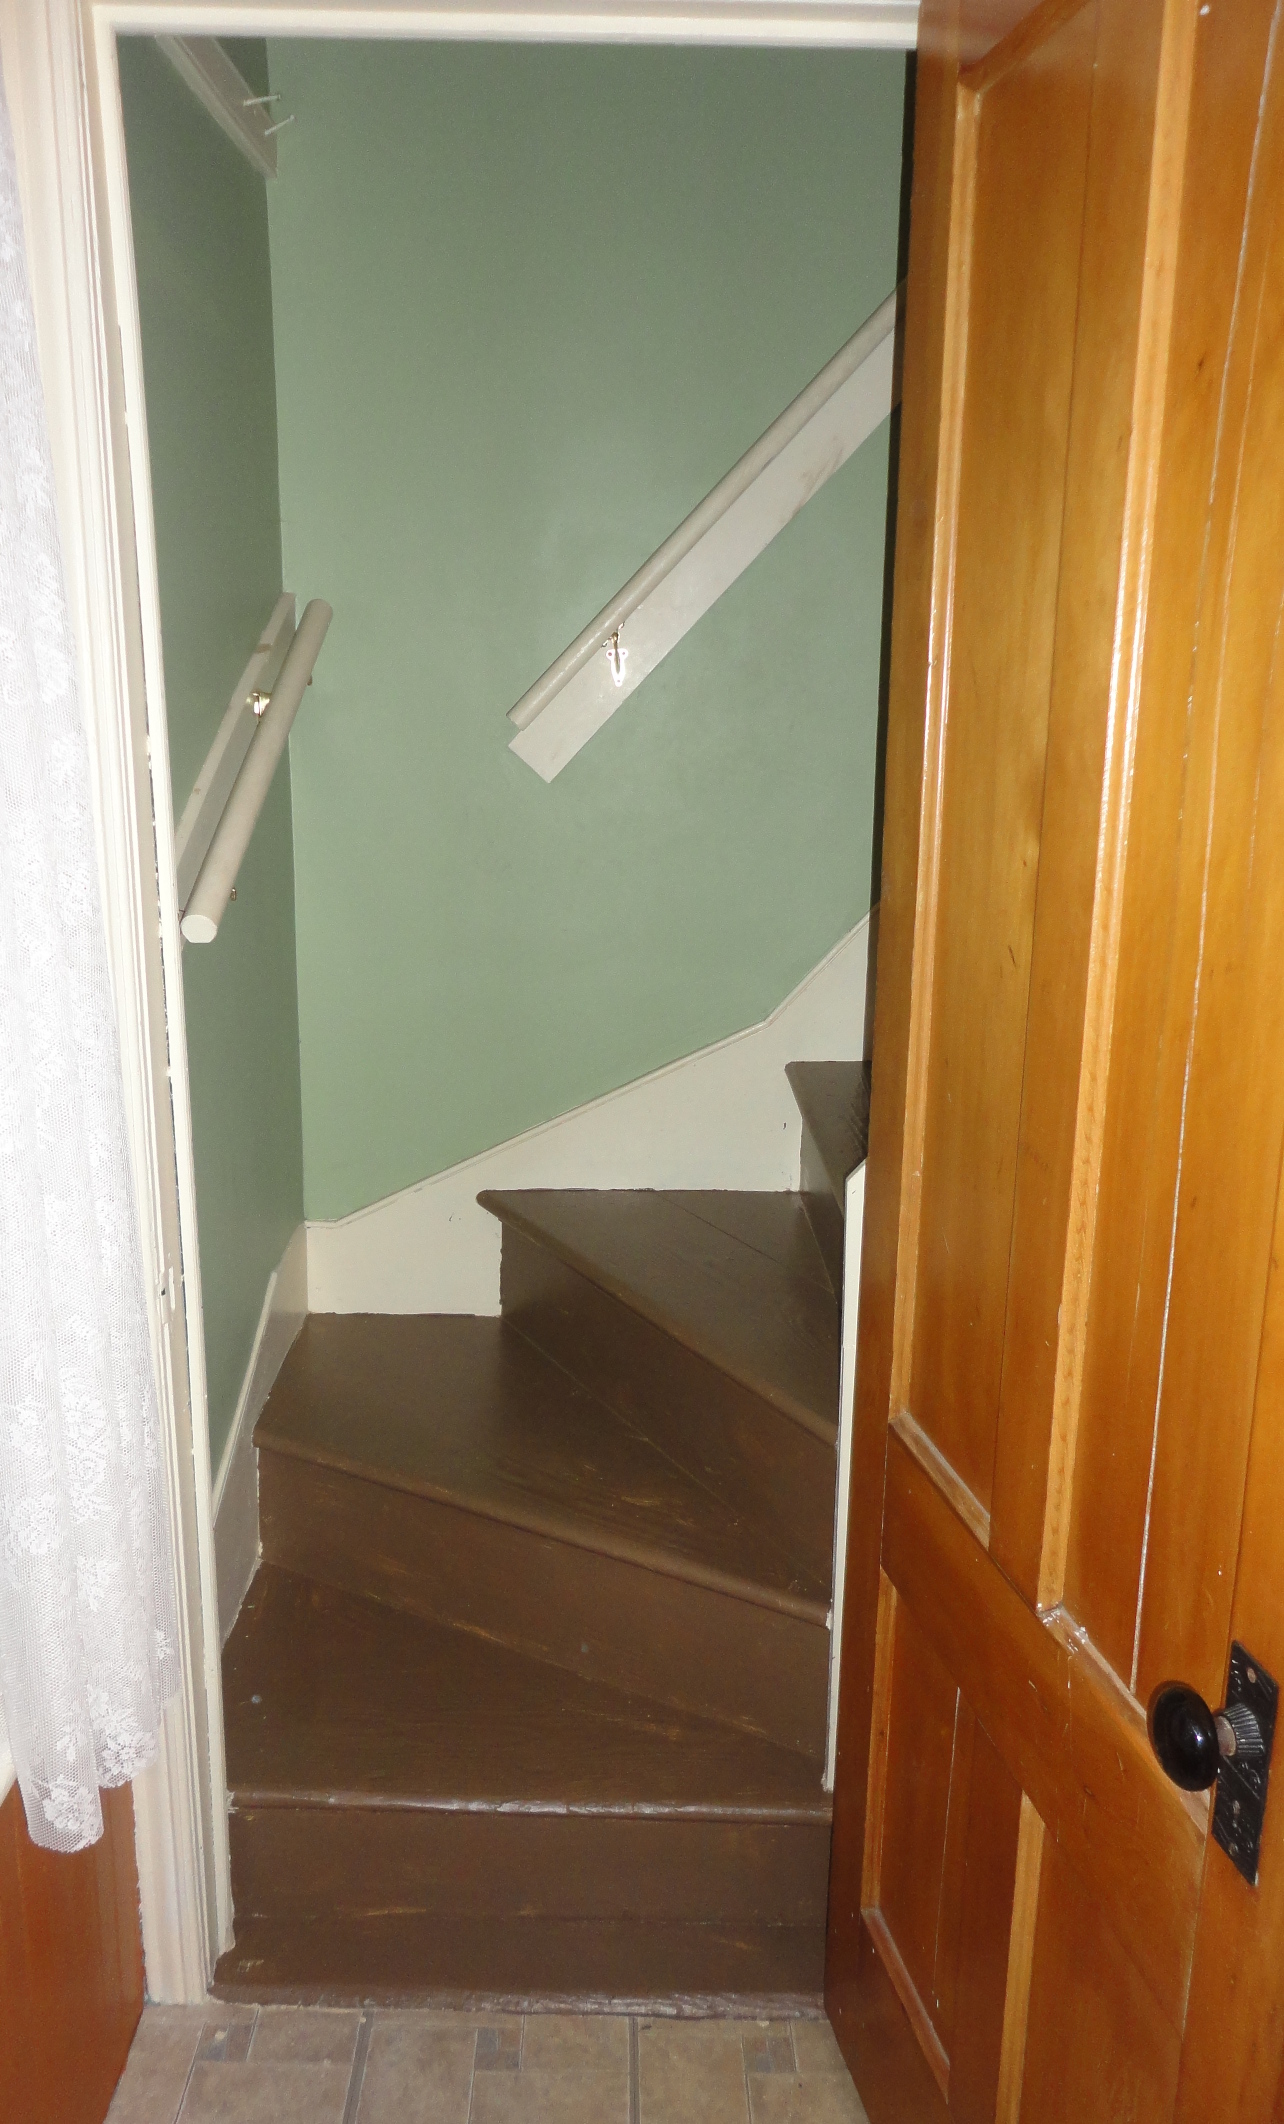
Several years ago, I painted the back stairs (and the second floor hallway) the same color as the trim (Classic Ivory). That was a mistake. It was much cheaper than getting it refinished, and the original carpet was a disaster, but the paint was impossible to keep looking clean.
So today, I scrubbed the back stairs with TSP, and painted them brown. I think the brown is more traditional and shouldn’t show the dirt as easy. As a side note, the TSP did a great job cleaning off the dirt that had been worn into the stairs, but with two boys and two dogs a light-colored floor is just not a good idea. I’ll eventually repaint the second floor hall, but that is a little bit more involved process (there are two stairs, so painting the back stairs doesn’t impact anyone).
Before and after pictures are below. They do need a second coat, but you can get the idea of how it will look. I used “Floor and Porch” paint from Sherwin-Williams. The paint color is “Tea Chest” (SW 6013).
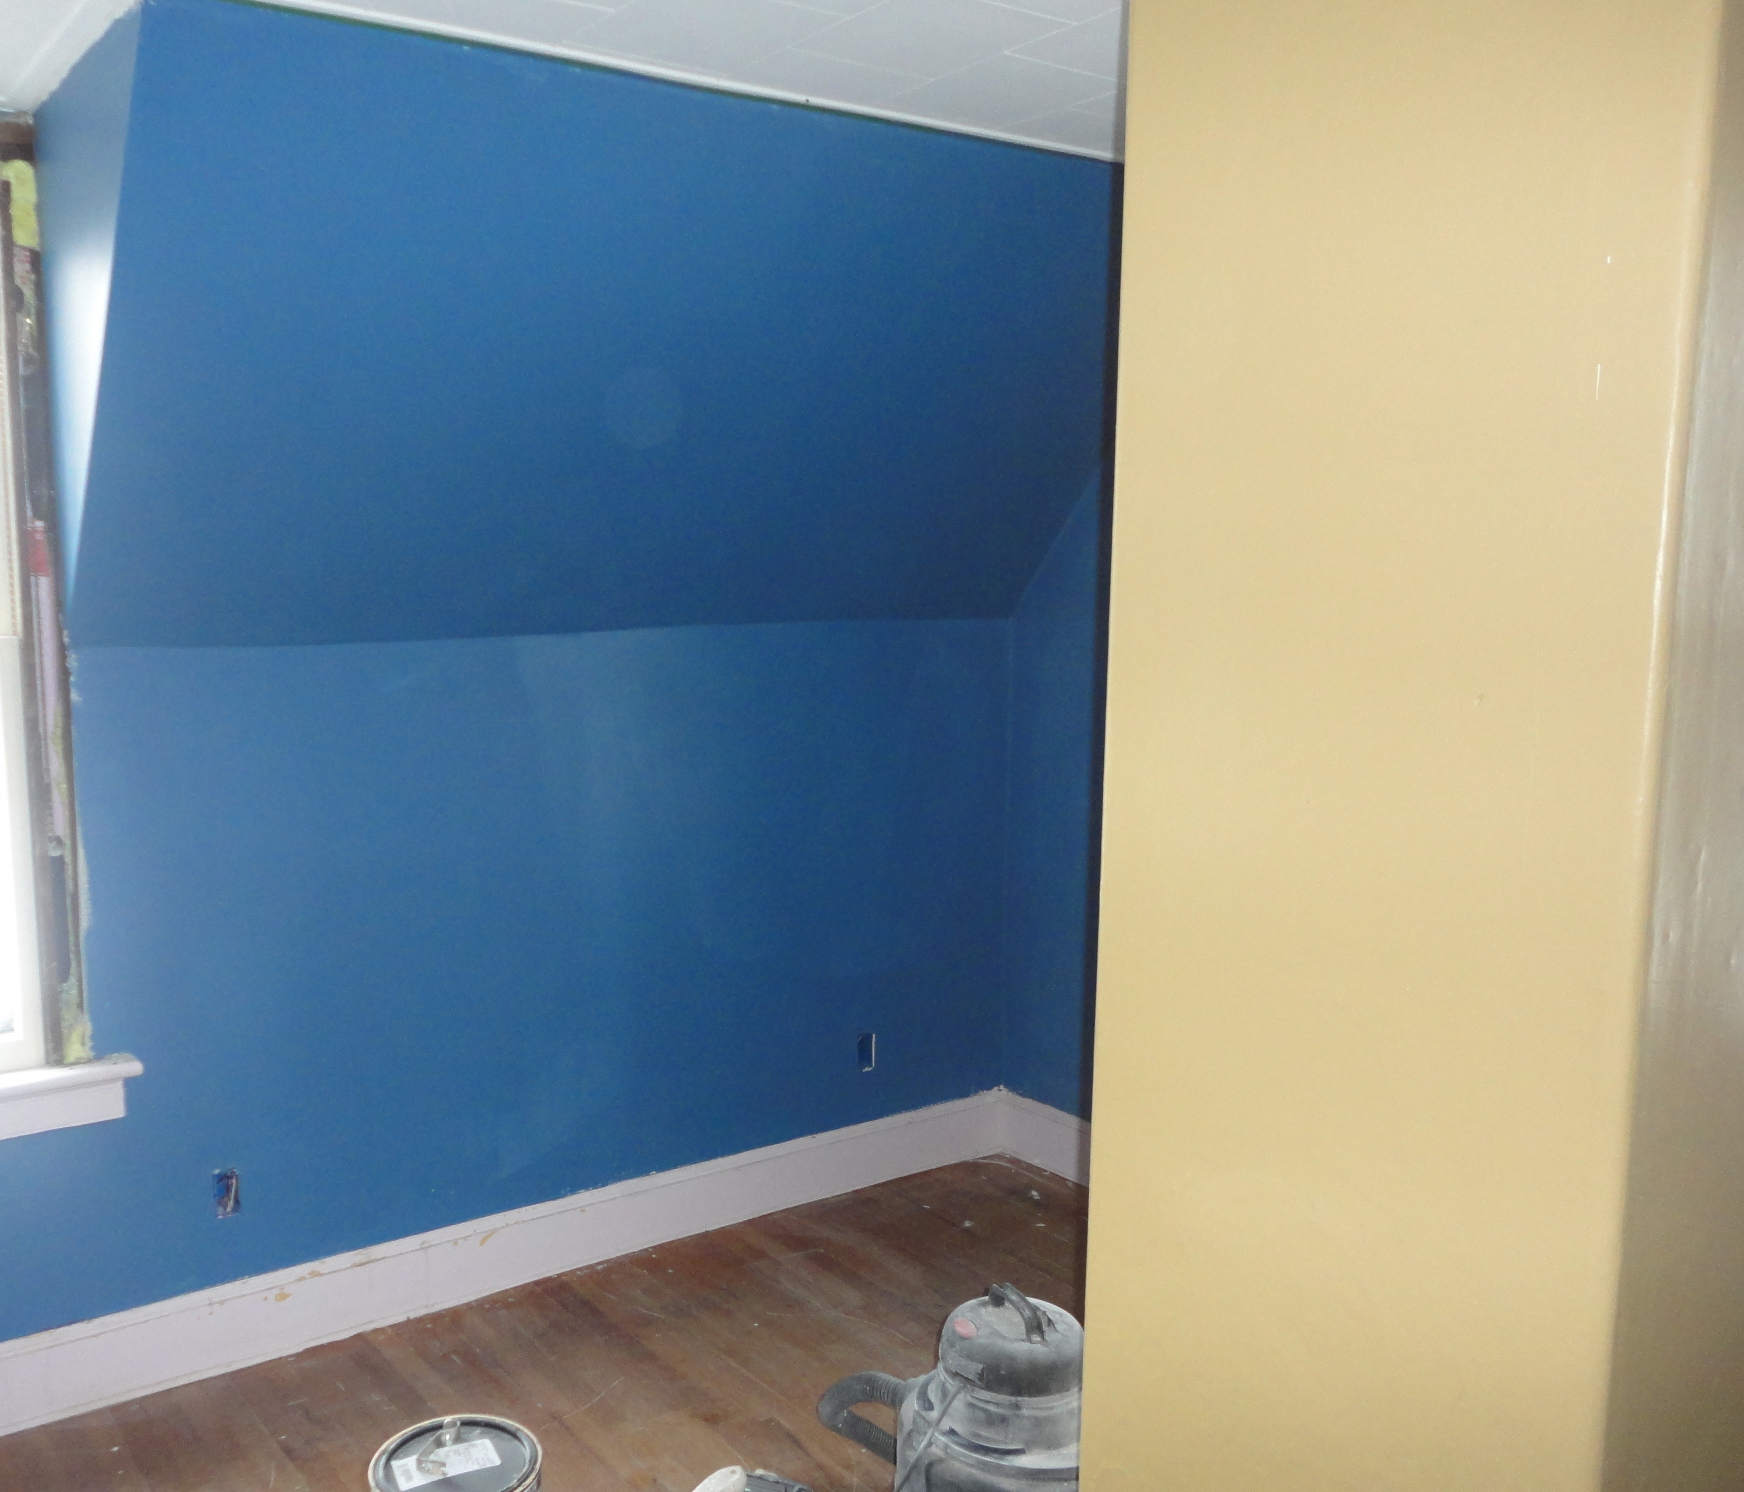
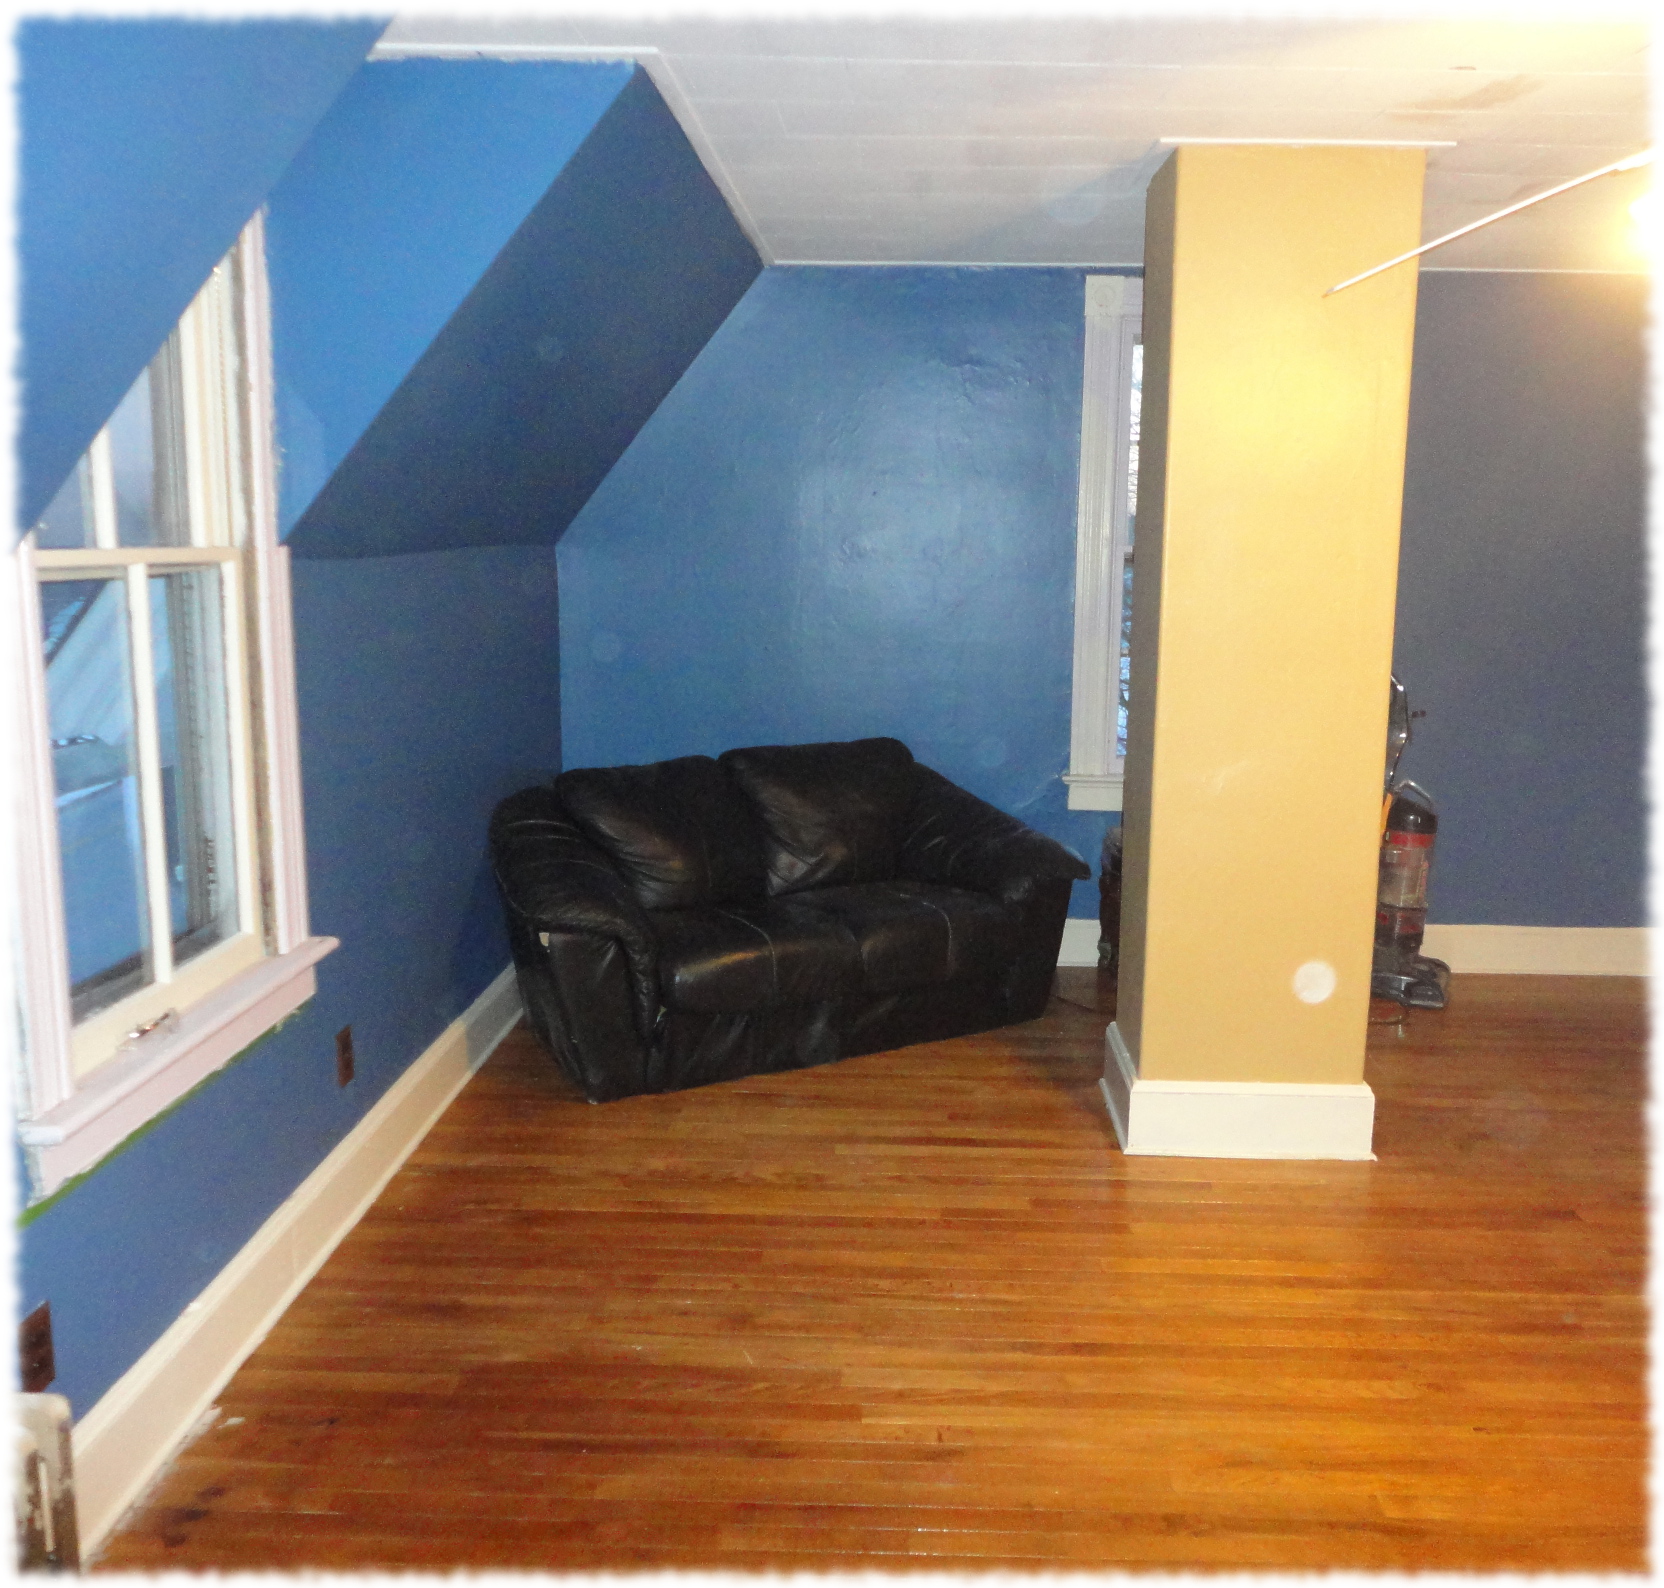
I was finally able to start painting Will’s room. Susanna had previously painted the ceiling white while I replaced the damaged wall. We are changing the room color from the previous green-blue to a blue with off white trim, and a gold color as the accent color (the chimney and doors are the accent color, and maybe one of the short walls, we will see when we get to that wall).
I found a section of the wall that missed when caulking the trim, so I will do that tonight before the final coat on the walls. The trim will need to be painted as well.
The colors are all from Sherwin-Williams. The walls are “Down Pour” (SW 6516) and the accent color is “Empire Gold” (SW 0012). The accent color is left over from the kitchen, but it seemed to complement the walls pretty well. The trim will be classic ivory.
It is a cold and rainy day today. A perfect day to get projects done in the house. I have a project in the works, but I’ll post about that when I”m finished with it tonight.
Breakfast is done; the boys are packed and ready to go to their mother’s house. Time to snuggle the dogs on the couch and play games on iPods and tablets.