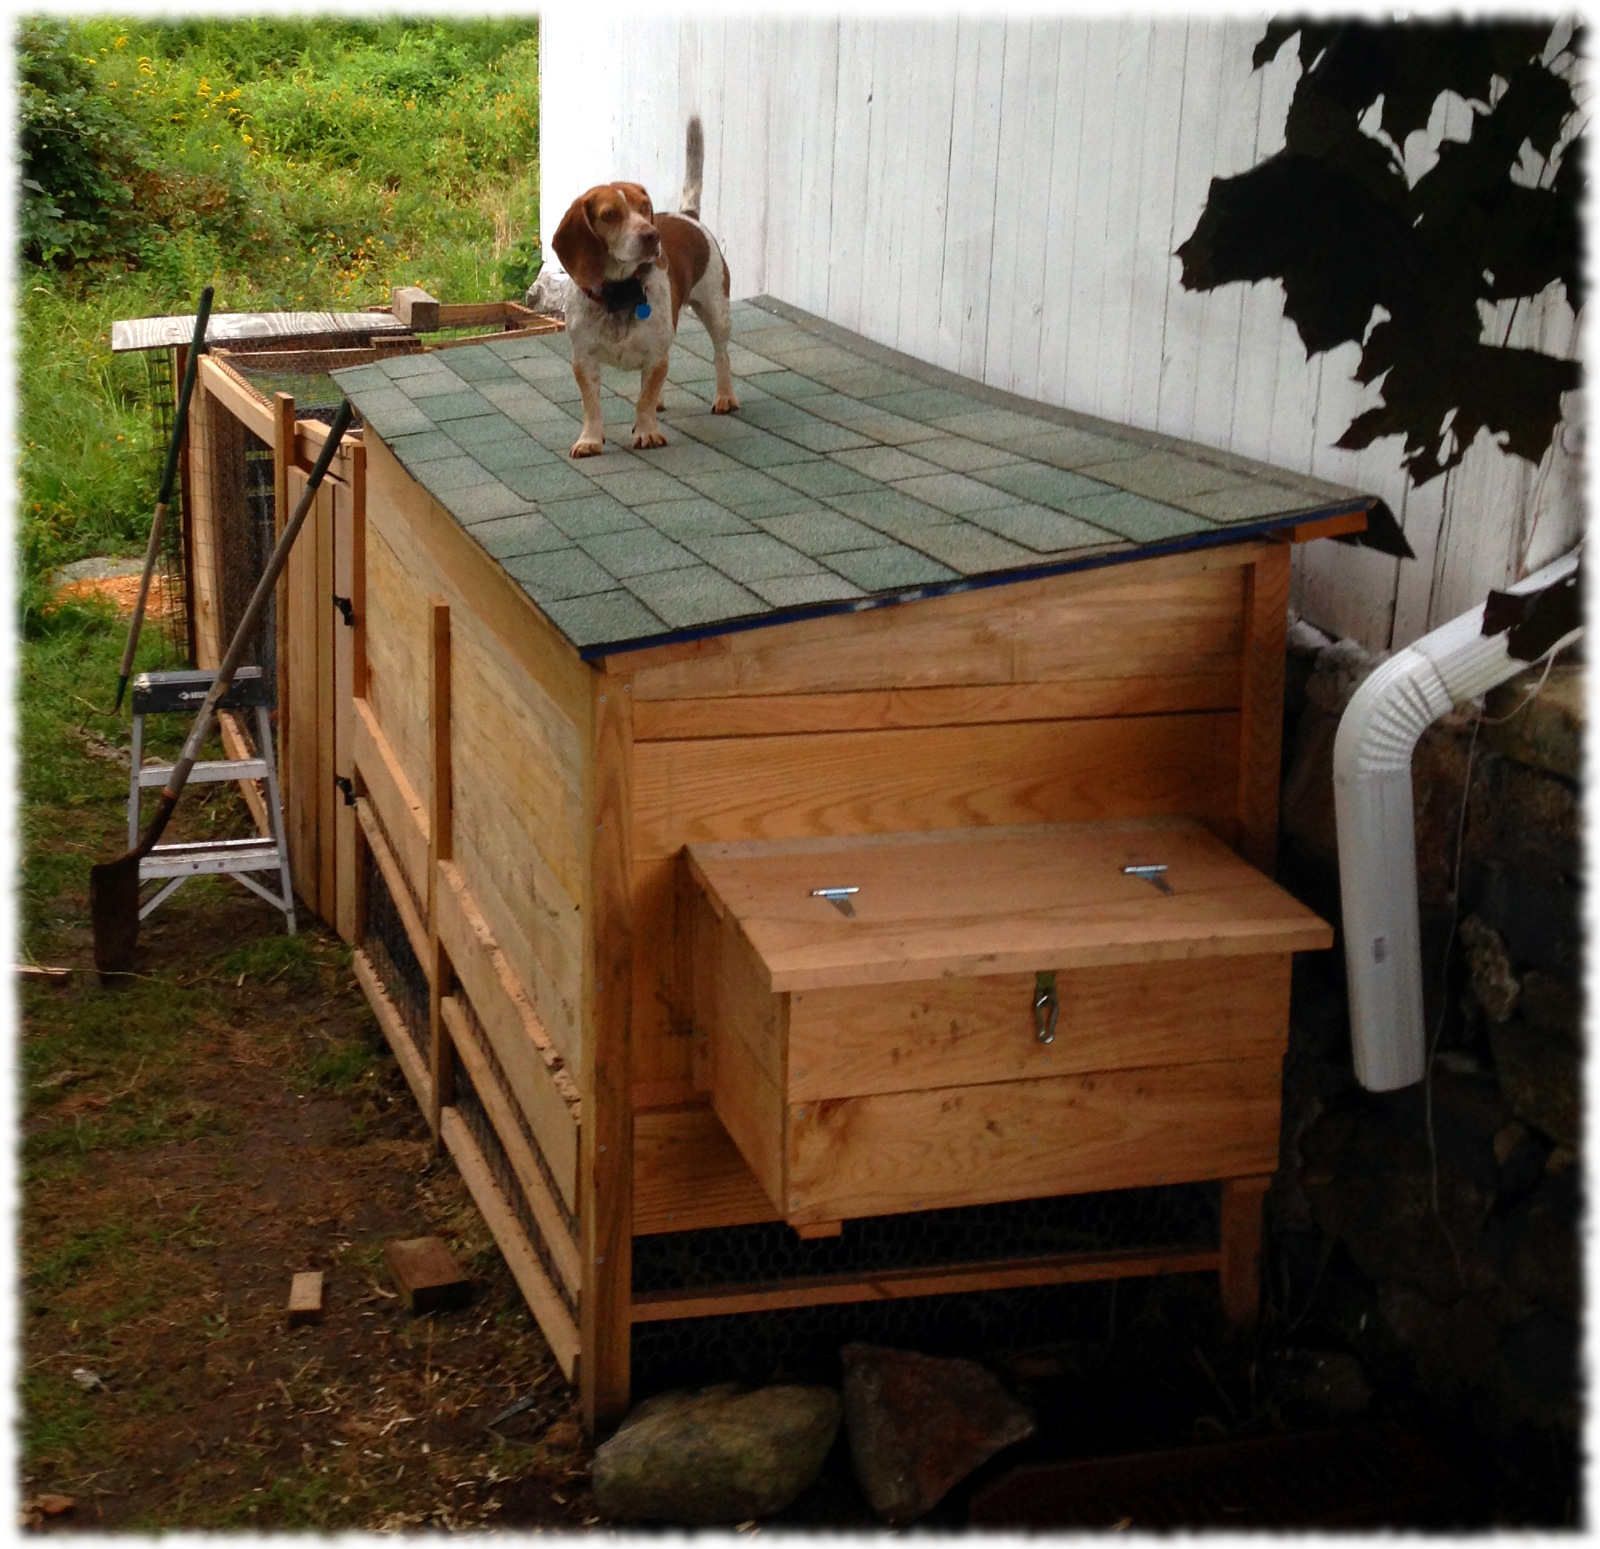
Tucker on the roof of the chicken coop. He can’t get into the run – and it was a little higher off the ground than Tucker expected.
… usually one can find Tucker. Today he found his way on to the roof of the chicken coop. I’m not quite sure how he go there, it is a bit of a jump from the driveway wall. Maybe he jumped on the nesting boxes to get up.
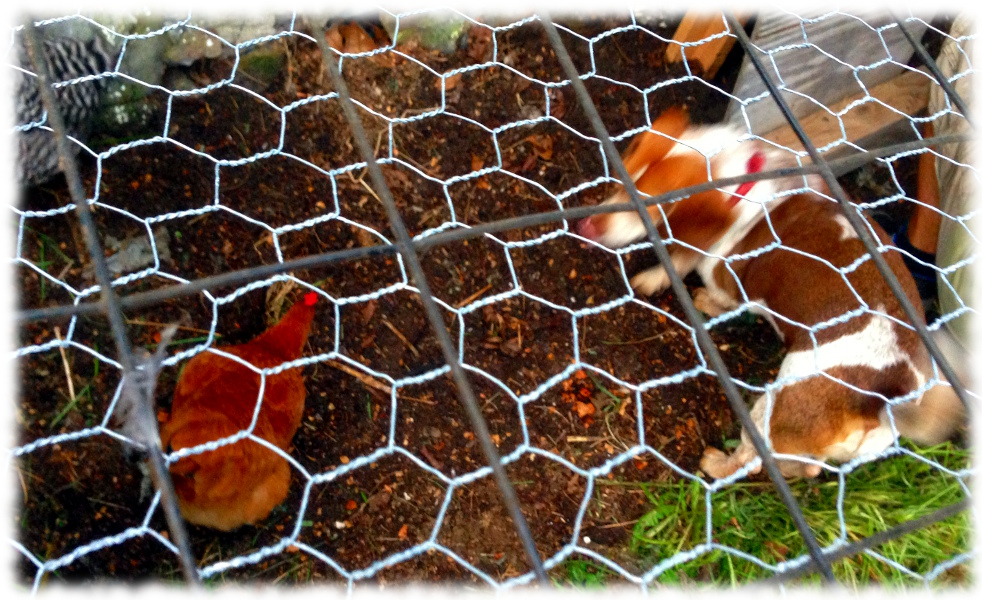
And, yesterday, he pushed his way into the coop while I was building the run for the chickens. He sat in the corner not quite sure what to do – until Susanna and I got him out of the pen.
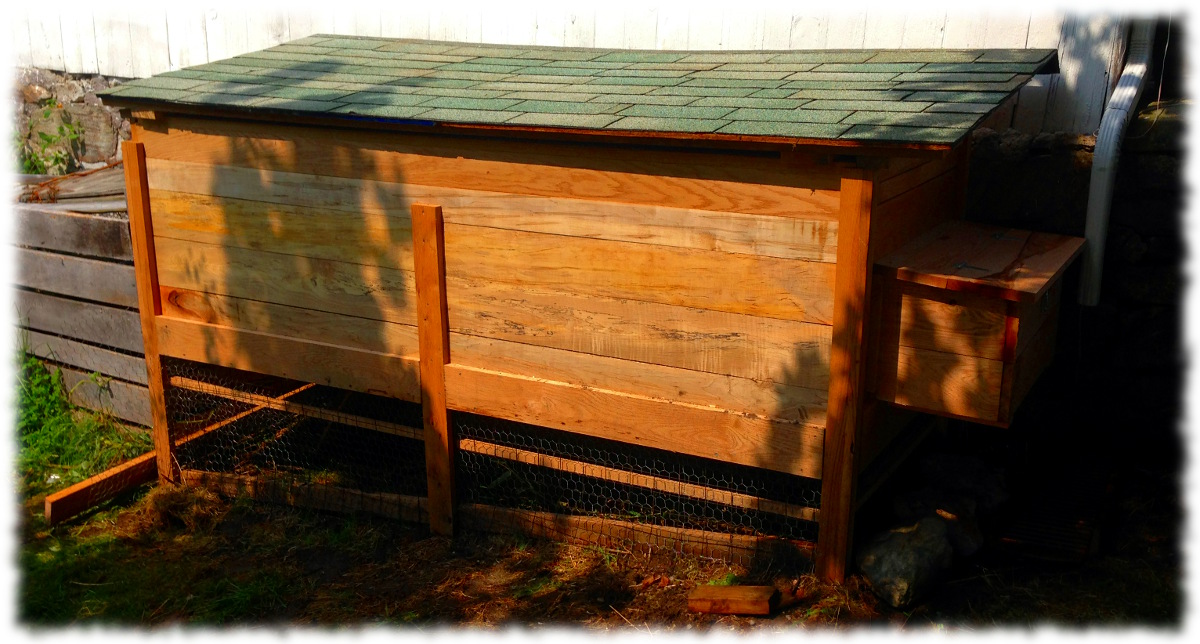
Completed chicken coop made with red oak and maple.
It has been a busy two weeks. I don’t write as much when life is crazy. Susanna got her green card and a full time job last week. They wanted her to start training this week, and she hasn’t even finished her last job. The boys start school and soccer this week.
I had been working on building a chicken coop and run. I told myself that I should finish one project before starting another project. Of course I don’t always listen to myself. For a month or so, Susanna and I had been planning on refinishing the living room floor this weekend. Of course things change. A new job. The boys’ schedule. Maybe in hindsight we should have pushed off the floor for a bit. But we didn’t. So I took a break from the chicken coop and over the weekend we finished the floor. The final coat went on last night. But I will save that for a later post when I can get good pictures of the floor. And I’m pretty sure it was worth doing the floor.
The chicken coop was finished yesterday and we picked up chickens from Mark and Jessica Matkovich this afternoon. The coop is 3′ x 8′ and is made from maple and red oak. The wood I had picked up for building the floor in the garage for the wedding, so was free. The shingles are left over from when the previous owner sided the workshop. I had some wire fencing left. The only materials I purchased for the coop was the chicken wire.
The wood was pretty wet when I milled it, so I plan on letting the coop dry for a couple of months and then painting it to match the house. I have to build a new compost bin (so I can take down the compost bin to the left of the coop) and build a bigger run for the chickens. I hope to finish that next weekend. But for now, the space should be enough for the 4 chickens.
I will have to add some more trim to the coop, and maybe another hinge to support the top. Susanna and I plan on trying to keep track of expenses to see how long it takes to pay off the investment for the coop.
So far our investment in the chickens:
$30 for chicken wire
$36 for a feeder, feed and bedding (I didn’t want to use the wood chips from milling the coop for the birds – the lumber wasn’t clean enough).
$3 for golf balls to encourage the chickens to use the nesting box. Plus they will offer entertainment for me when I mow over them in the yard after the boys leave them around when playing with them.
The wood, screws, and roofing was free (existing materials).
The boys are very excited about the chickens. Susanna not so much. But we will get eggs (hopefully soon) and they should help compost table scraps.
My plans are to add a 4′ x 12′ covered run for the birds. This will give 24 square feet of coop space and 72 square feet of run. The compost bin will be at the far end of the run. I will move the feed and water into a protected part of the run – or at least the move the water out where it is easier to check and fill. I may replace the watering system with one that is easier to keep clean – hopefully thanks to the Sawyer farm.
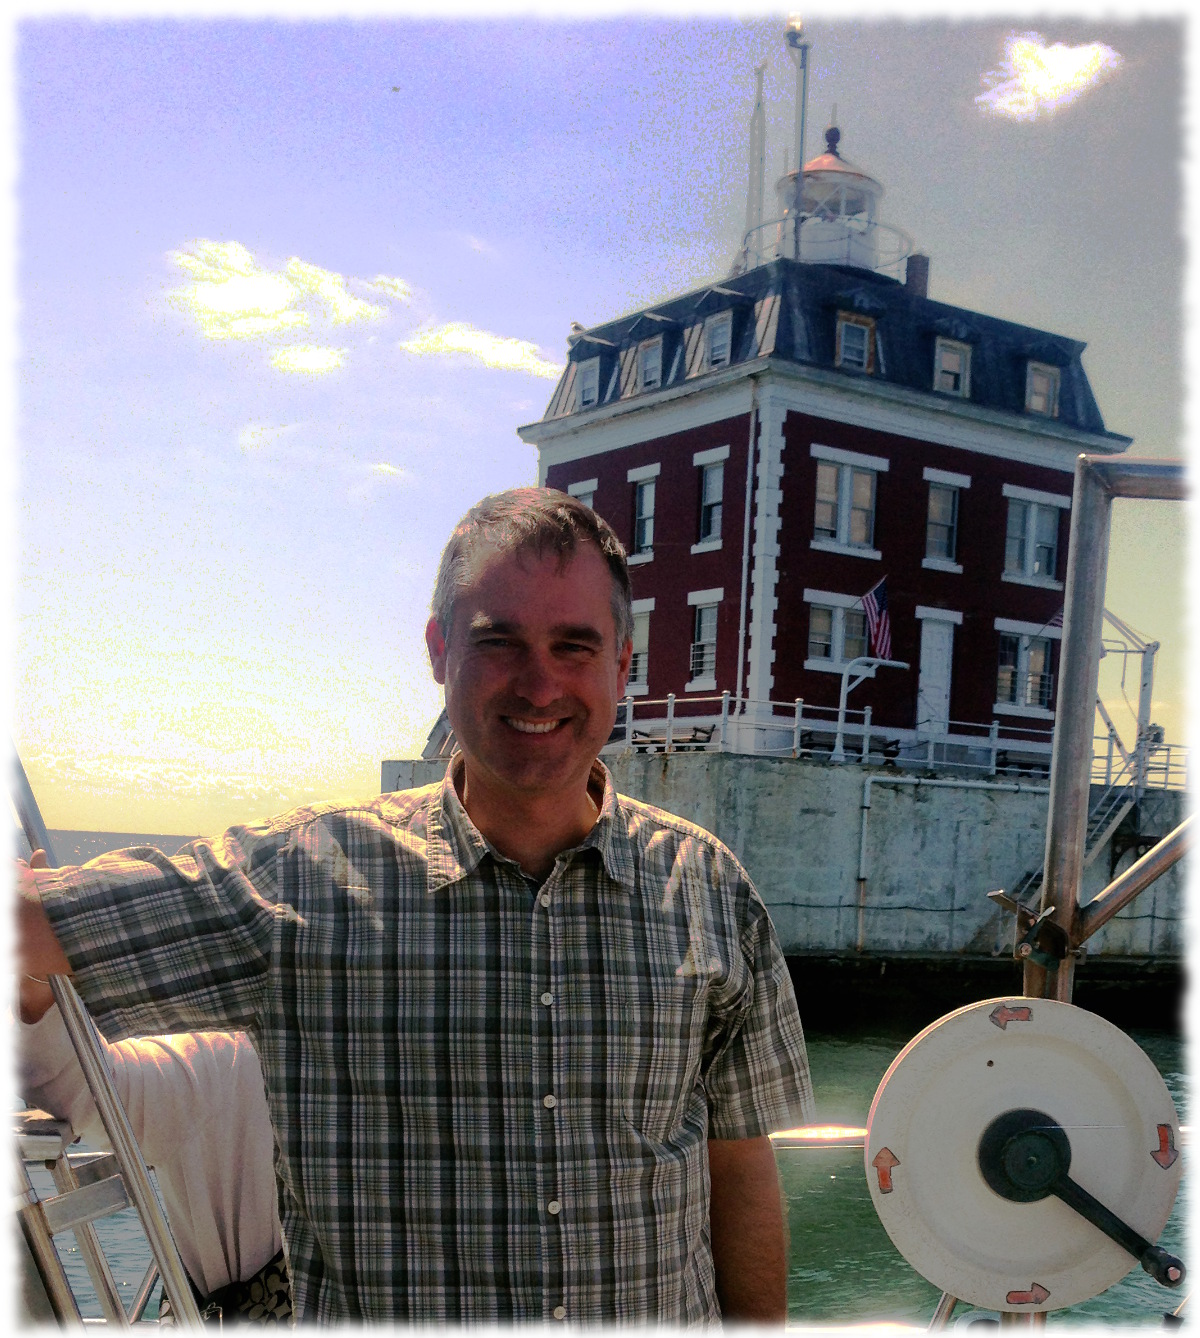
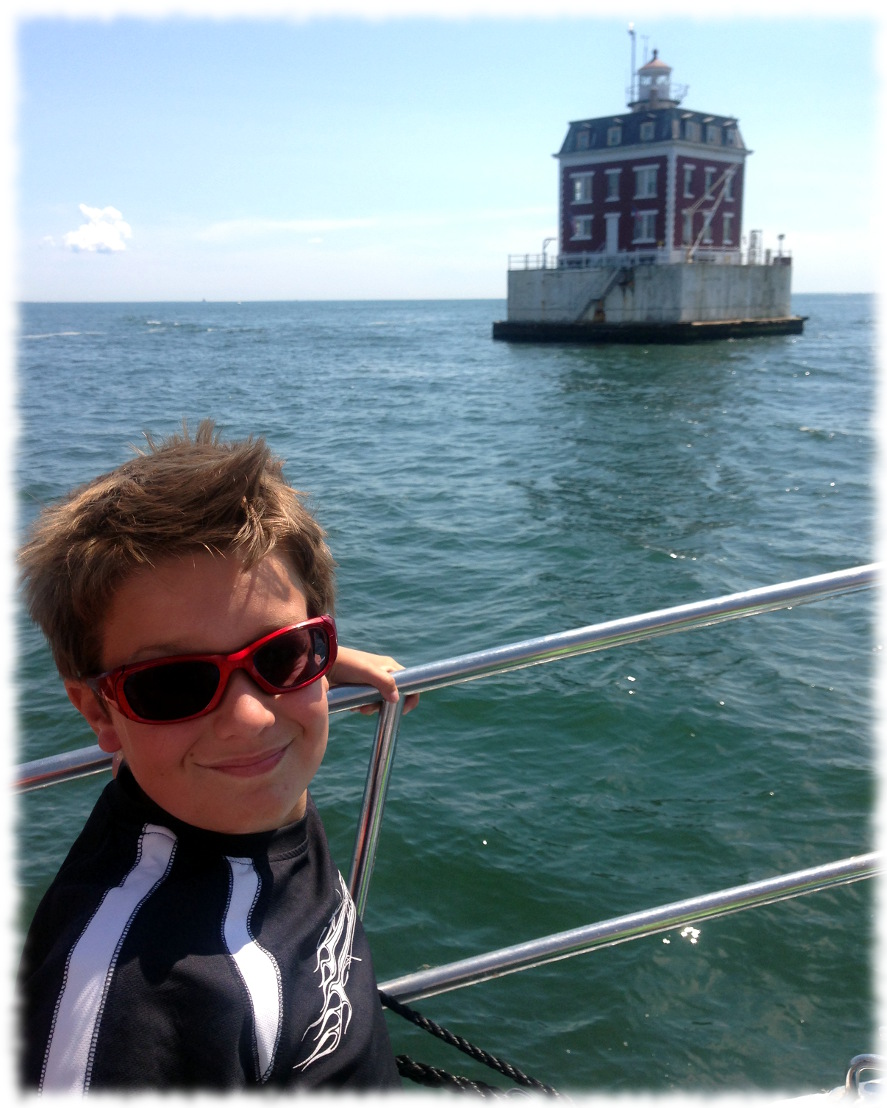
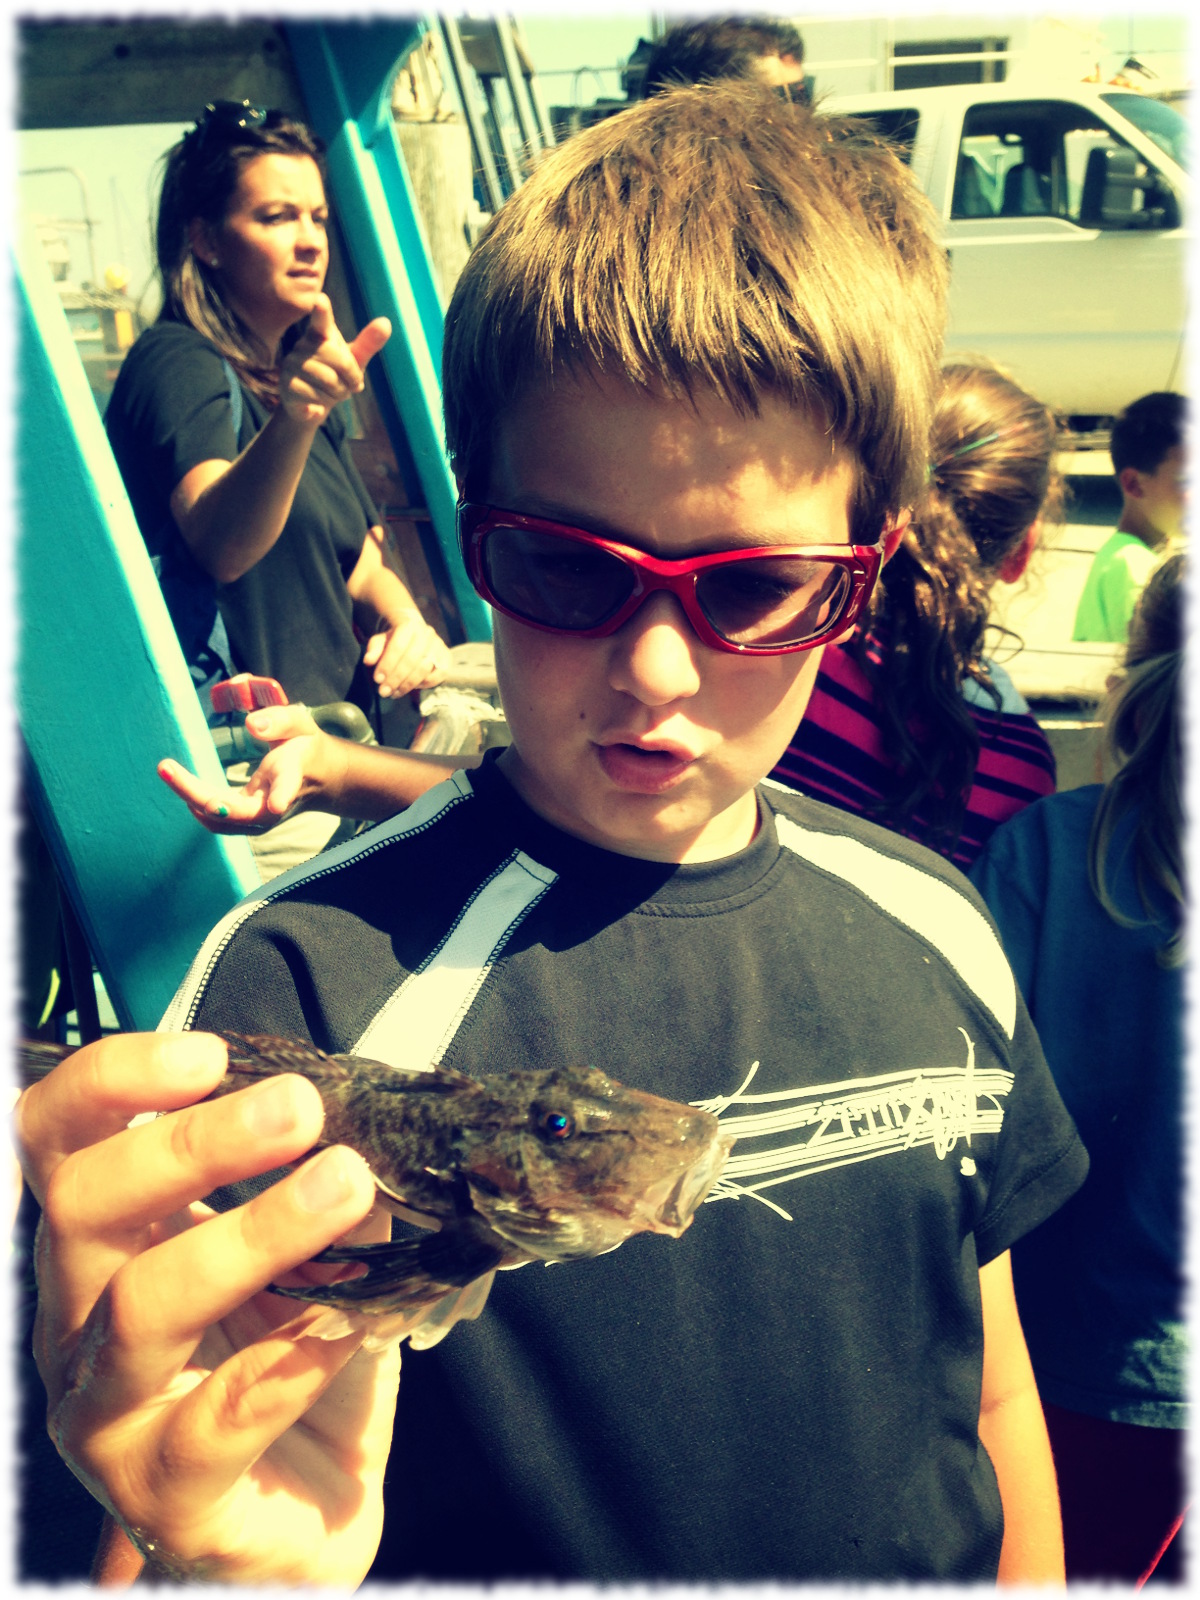
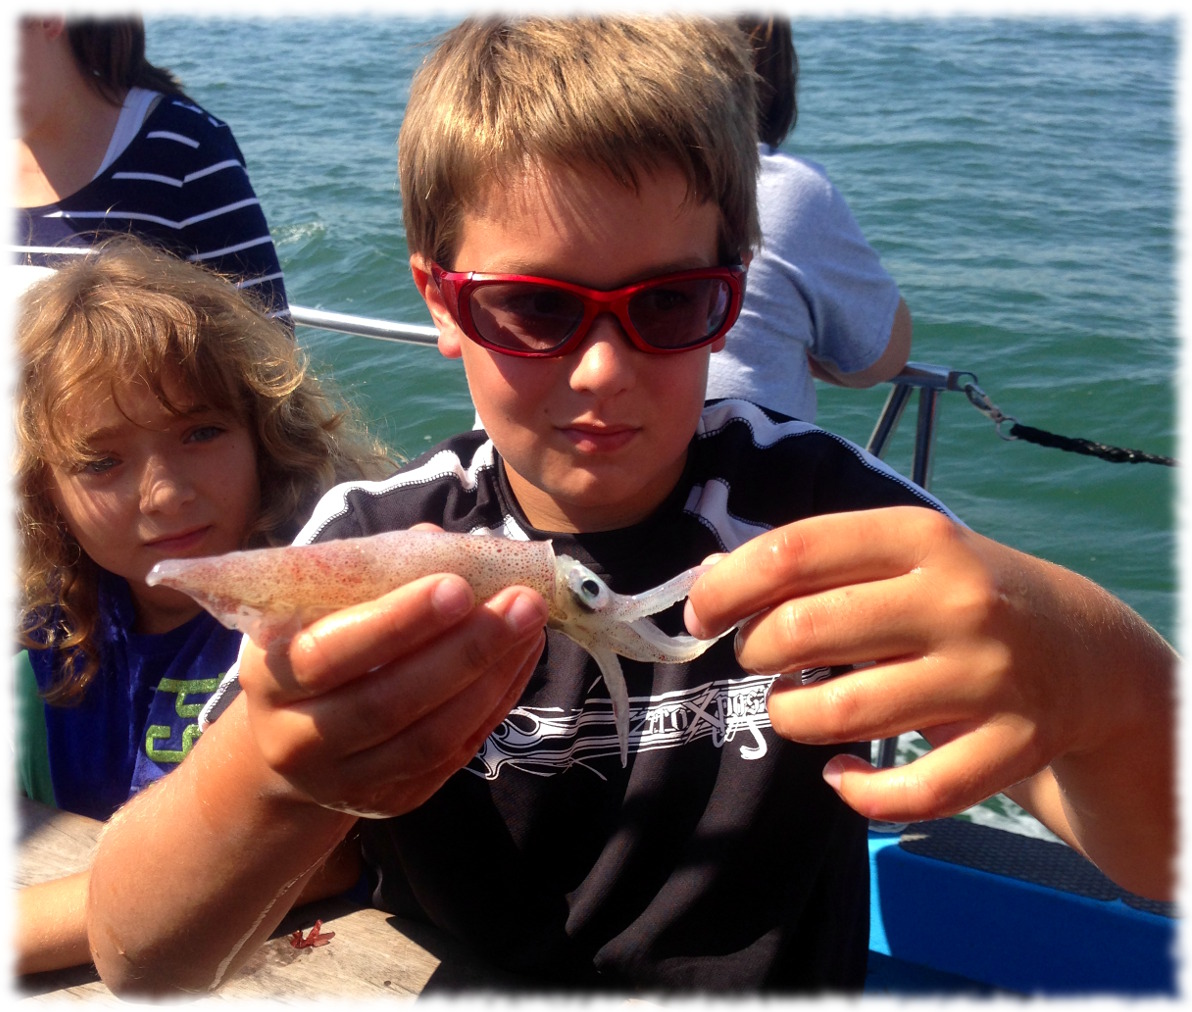
Will has been attending Project Oceanology Ocean Explorer camp this week. Today, Susanna and I got a chance to head out on the boat with his class and see what the camp is all about. Here are some pictures from today. I should be getting more pictures from the camp in the mail over the next couple of weeks and I’ll try to post them when I get them. We all got to pick up and inspect the creatures picked up when trawling around Ledge Light.
Passing close to New London Ledge Light.The view of New London Ledge Light.Will showing off a small sea robin.Will showing off one of the squids found while trawling in Long Island Sound with Project Oceanology.
Susanna and I had a weekend without the boys. This was the first time in a while we have had a full weekend without the boys and without Susanna working. It was a nice change. We didn’t take full advantage of a free weekend and get away – but one of these weekends we will. We also didn’t just sit around and do house projects all weekend either.
Susanna enjoying a glass of wine at Maugle Sierra Vineyards
Friday night saw us heading out for an evening with some friends. It is nice to catch up with old friends. However, I’m pretty sure I tell the same stories over and over. I’ll have to either have some more exciting trips with work (or with Susanna), or start being better at writing fiction. I guess I could stop telling old stories and listen to people. But that isn’t going to happen.
Saturday we didn’t have the most productive morning. But unproductive mornings are important. It is too tiring to have to be productive all the time. We did escape in the afternoon to a local vineyard for a wine tasting. We even had a nice discussion over a glass of wine on why we shouldn’t get a bigger sailboat. I’ll have to keep working on that one.
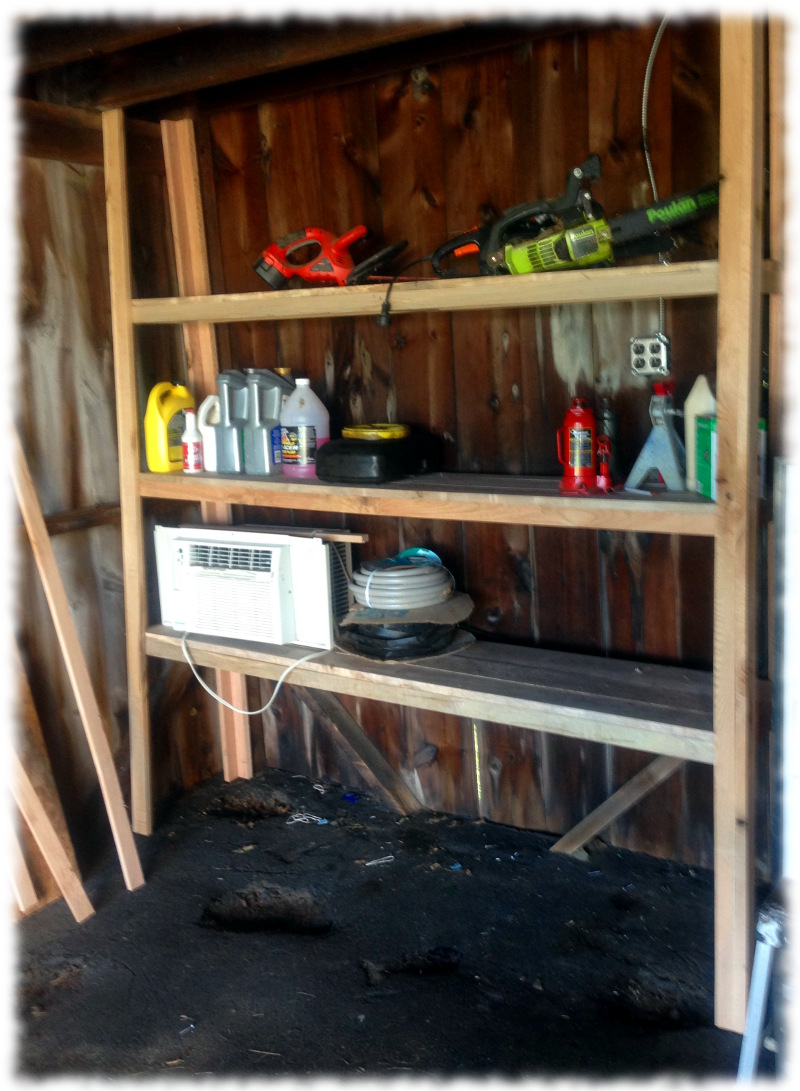
Today was a chore day. I know, “chore day’ sounds terrible. But it is nice to have no major projects to work on. I mowed the yard in the morning, and when I got bored with mowing I wandered into the workshop to finish building shelves (yes, my ADHD approach to chores – mostly finish one and move on to another one). But eventually I did finish mowing the yard.
I also finished the storage shelves in the garage somewhere in the middle of mowing the yard. There is nothing like having a ton or two of rough maple and oak to use to build utility shelving. The shelves start wide at the bottom and get narrower at the top. The slope was actually a planned feature, not just shoddy construction. These shelves are much narrower than the previous plywood and 2×4 shelving we had there before the wedding. Having shelves much deeper than 15-18” make it difficult to keep things organized. It is too easy to hide things in the back of the shelves.
Garage shelves made from maple and red oak.
After building the shelves I moved onto building a chicken coop and run…
We are looking to get 4 hens in the next couple of weeks (as soon as I have a coop and run built). The coop and run will be next to the garage and will replace the current compost bins. Construction pictures will follow as I get farther along in the project. So, for those asking, yes, I did finish enough of my other projects to start building the coop. We might even get the hens before they die of old age.
And in other good news, last week our furlough was reduced from 11 days to 6 days. This week will be my final week with a day of furlough.
I spent some time last night looking back at my old blog posts. Reviewing posts from 2 and 3 years ago. What a fright. I hate reading my own words. In addition to the obvious fact that I frequently don’t proofread my posts, it is clear that I wasn’t too comfortable writing. Hopefully over time my writing will have improved. Or at least not gotten much worse.
I read a decent amount of blogs. Okay, I don’t actually read them all always. I guess I would say that I have a bunch of blogs in my blog reader, and at times I read some of them. After reviewing my old posts, I started wondering how better writers go about writing in their blogs. What are the mechanics of writing a blog entry? I see writers that were professional journalists write several well written articles a day. And, yes, I understand that it was/is their job to write. But what are the mechanics. Do they just sit down and write? Do they make an outline and then write? Do they write and then rewrite?
This has been a busy week. This whole summer has been busy. Not crazy and stressful like last summer. But busy. I kind of feel that the summer is a bit like a water slide. I jump on at the beginning of the summer and it is a rush to the end of the slide. I have loved each week this summer, but I am also looking forward to the fall.
Susanna and I decided that, for the most part, we would not put the boys in summer camp the weeks they are here. Their last week of the summer here is the exception with Ben going to basketball camp and Will going to Project Oceanology. That has meant three weeks of family fun; although the first week was wedding week and not just family fun (but it was lots of fun).
This past week has been no exception. The boys arrived Monday morning. It takes the boys a couple of hours to land after a transition. But in the afternoon I took the boys and Will’s friend sailing. Susanna worked that night. Tuesday was no less busy. I worked and Susanna hung out with the boys. We met for lunch and she took them to the aquarium for the afternoon.
Wednesday was my furlough day. We had planned on going to Six Flags, but Ben was feeling sick. I took Will and his friend, Tyler, to the north lake and spent the afternoon watching the boys play in the water. Thursday I again worked while Susanna hung out with the boys. We met for lunch and she took the boys to a movie in the afternoon. Furlough Friday we went to Six Flags to make up for Wednesday.
Yesterday the boys had friends over (Will had Tyler and Shane; Ben had Max). I tried to get some projects done in the workshop, but mostly wound up making swords and daggers out of wood for the boys. With five boys over it is a continuous line into the workshop. Each boy constantly wanting a better sword, or bow, or dagger made from wood. But I wouldn’t trade it for an empty project day. The weeks where the boys aren’t here are too quiet and I don’t get much more done around the house.
Today we are finishing up the week with a quiet morning. The boys both wrote about their weeks on their blogs and are unwinding this morning. Later we will clean the house and maybe go sailing this afternoon. Tomorrow I head back to work for a full work week.
Now I should go proofread my writing before posting to the blog.
I took my next two furlough days this Wednesday and Friday. We had initially planned to go to Six Flags on Wednesday. However, in the morning, Ben wasn’t feeling up for a big trip out (he was fighting a cold). Instead we took an easy morning. In the afternoon, Will and I picked up his friend, Tyler, and headed to the base to go swimming at North Lake for a couple of hours. Ben stayed home with Susanna and rested.
Yesterday we headed to Six Flags. It wasn’t as hot as it was earlier this summer, but it was warm enough to support going to the water park for a couple of hours. We had a good day at the park, and headed home in time to catch dinner on the drive home.
Now I’m almost half-way done with the furlough. I think after next week, I switch over to taking furlough days each Friday until completed. There are rumors of the number of days being shortened to 6 or 8 total days. But of course those are just rumors.
I finally finished Moon Wind at Large, Sailing Hither and Yon by Matthew Goldman aka Constant Waterman (Breakaway Books, Halcotssvile, New York, 2012). I have been spending too many evenings watching TV or playing on my iPhone and not enough time reading.
It is way to easy to put the book down and pick up something that will deliver entertainment to me. The iPhone or TV hands me the full experience. I don’t have to work for it. A good book (and even a not so good book) makes you work for the experience.
I have started reading “Fishing in Utopia:Sweden and the Future that Disappeared” by Andrew Brown (Granta Books, London, England). It was a wedding gift from Susanna’s friends, Anni and Fia. Digging though the bookshelves I have found a couple of other books that I haven’t finished, so I should be good for a couple of more weeks. Assuming I can stay away from the electronics.
Of course, I’m playing on my computer writing in this blog instead of reading right now. But in being human, a little hypocrisy is expected; but hopefully not too much tonight, so I’ll finish up this post and turn back into my reading.
I started blogs for Will and Ben 18-months ago. They are a scrapbook of sorts for the boys, but using their own words. I plan on having the blogs printed into a book every year that they write in them (I already printed them books for last year). Currently the blogs are private and can only be viewed by registered guests. Of course it is more fun to play than to write in their blogs, but I have worked it out with them that they write a couple of days a week when they are at my house. Even Will has grudgingly admitted that it isn’t too bad to write, and it is cool to go back and look at what he has written. So an update on the blogs:
Will has 166 posts over 18 months, he wrote all but a handful of them. He has written 5,656 words with an average of 35 words per post.
Ben has 129 posts over the 18 months, and he also wrote all but a handful of them. He has written 4,752 words with an average of 38 words per post.
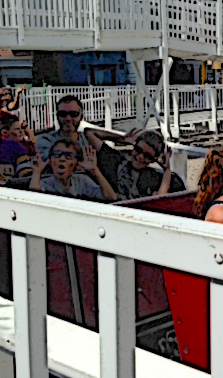
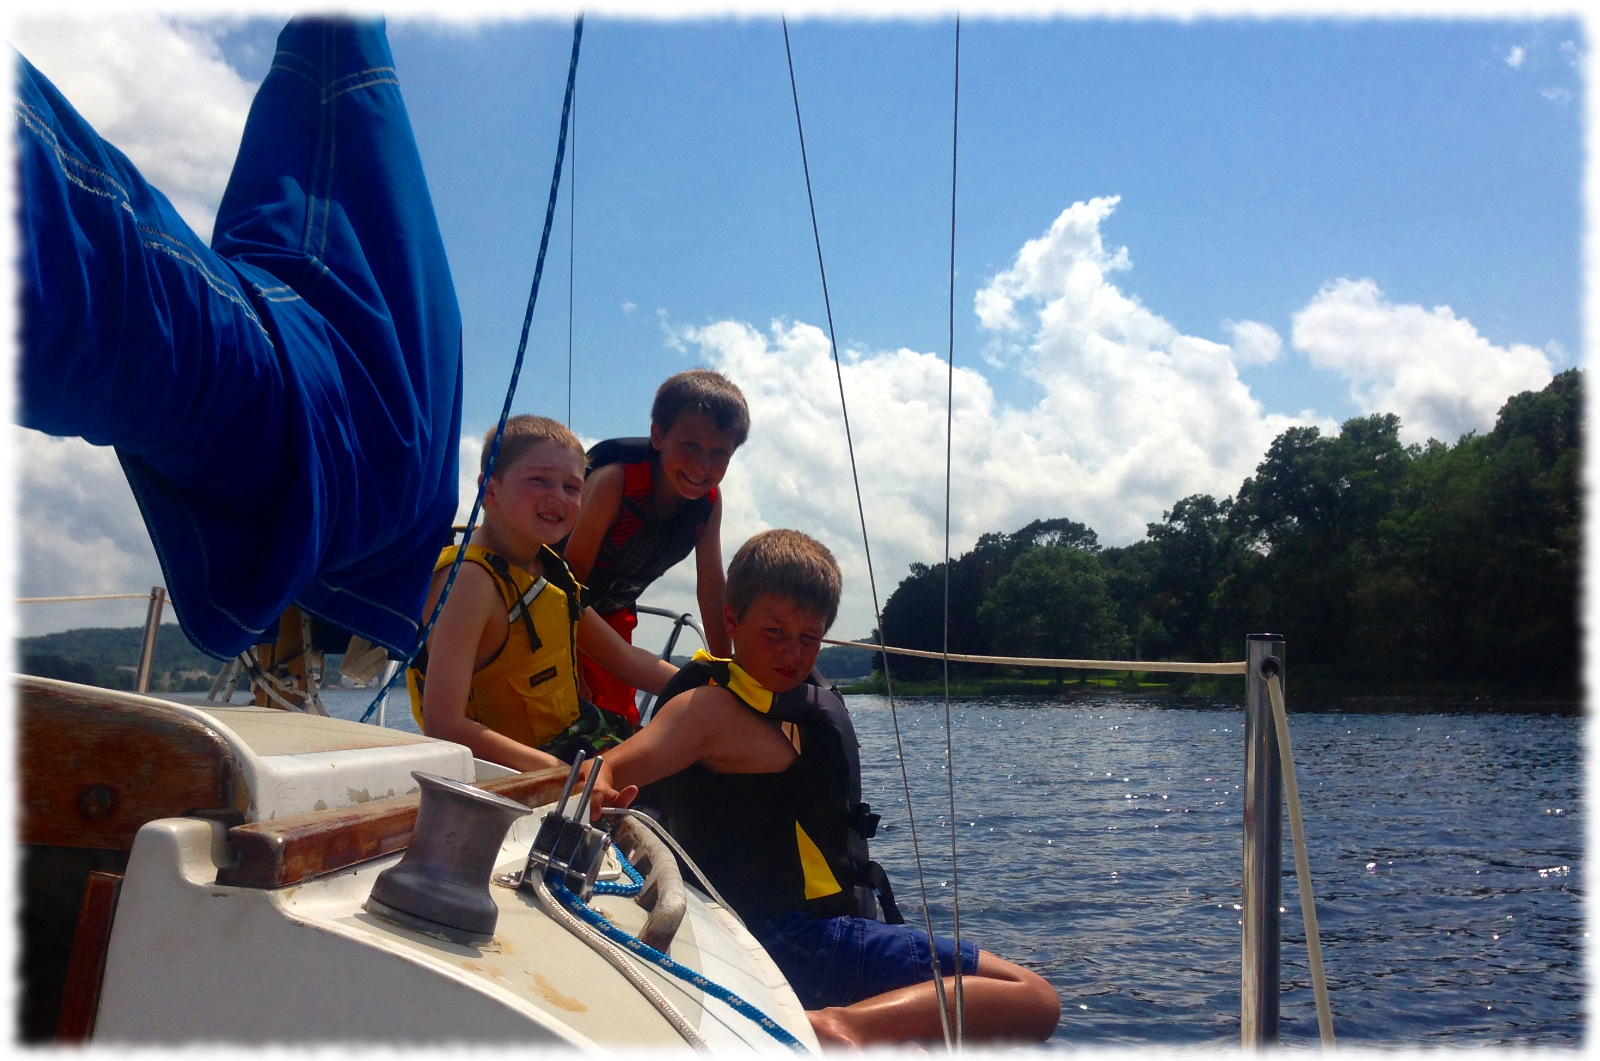
Will, Ben and Tyler enjoying the ride up the Thames
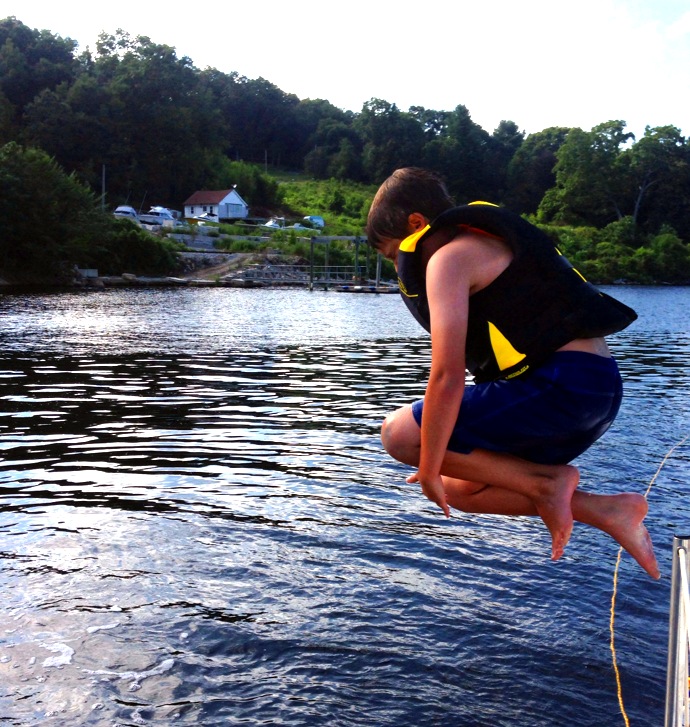
This afternoon I took Will, Ben and Will’s friend, Tyler, out on the boat. They wanted to go swimming up river. The wind was from the south, so we hanked one of the headsails and rode the breeze upriver to almost the highway 2A bridge over the Thames. We then dropped the sail and motored back down to our previous swimming spot. We dropped anchor in about 12 feet of water and spent the afternoon playing in the water. We headed home around 5pm and got home by 6.
I tried to get some pictures of the boys jumping into the water: